DIY Busy Board
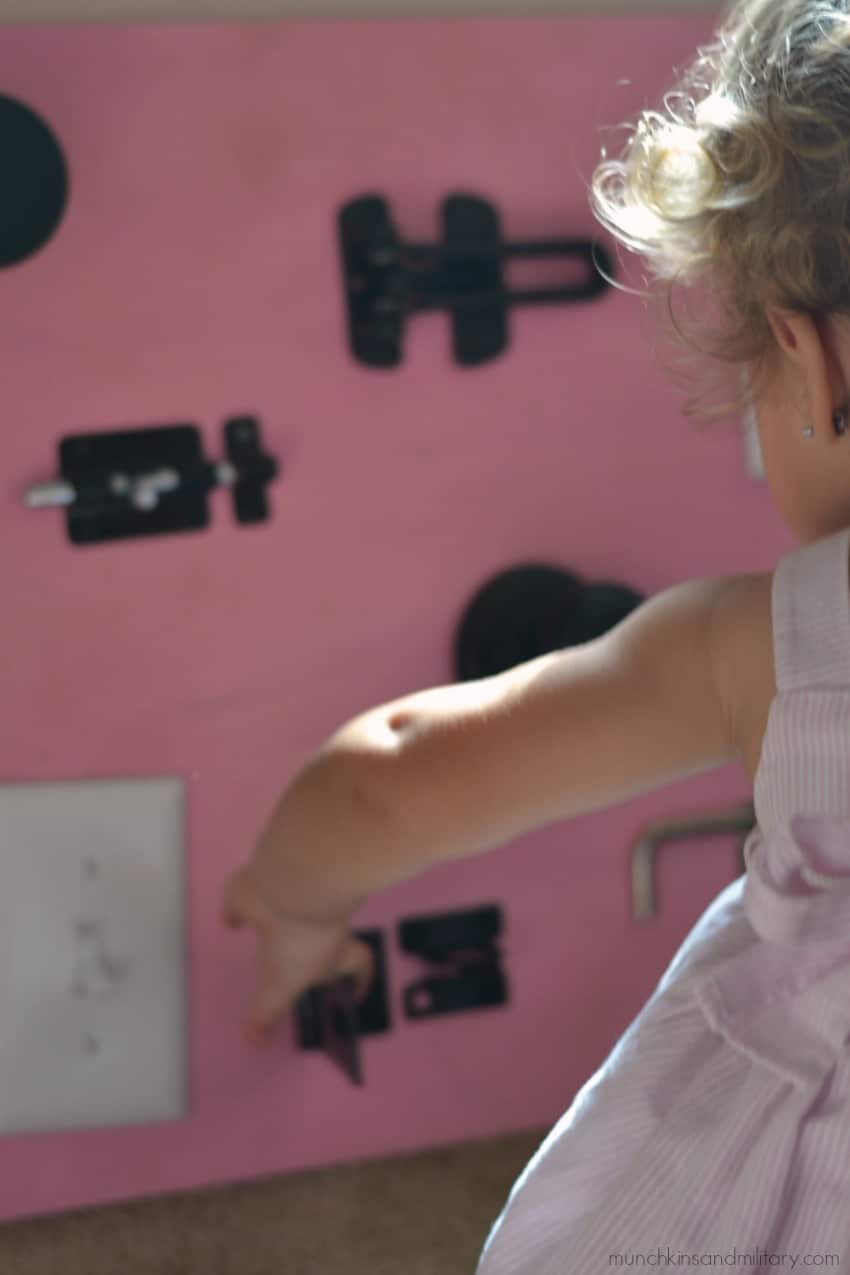
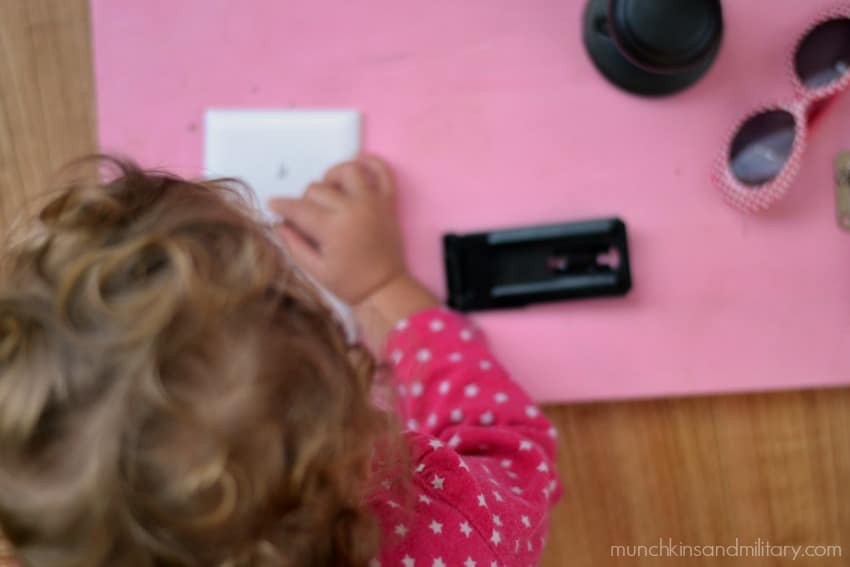
Juliana is an inquisitive little booger. She loves to touch anything she can get her hands on, as I assume most toddlers do. If I could list her top five favorite activities, they’d probably be: opening and closing doors, chasing birds, flipping the light switch on and off, playing with the door stopper, and loving on Caesar.
So, when Juli turned 1.5, I made a little gift for her. Since she’s my last baby, she’s spoiled rotten. So yes, she got 1.5 year old gifts. And 3 months, 6 months, and 9 months. Don’t judge me.
Anyway, I had seen the busy board idea on Pinterest, so I took a bunch of example and came up with my own. I chose the items that I knew she’d have a fun time playing with. Obviously, the light switches and door stopper made the cut. I roamed through the hardware store looking for other simple items that would pique her interest.
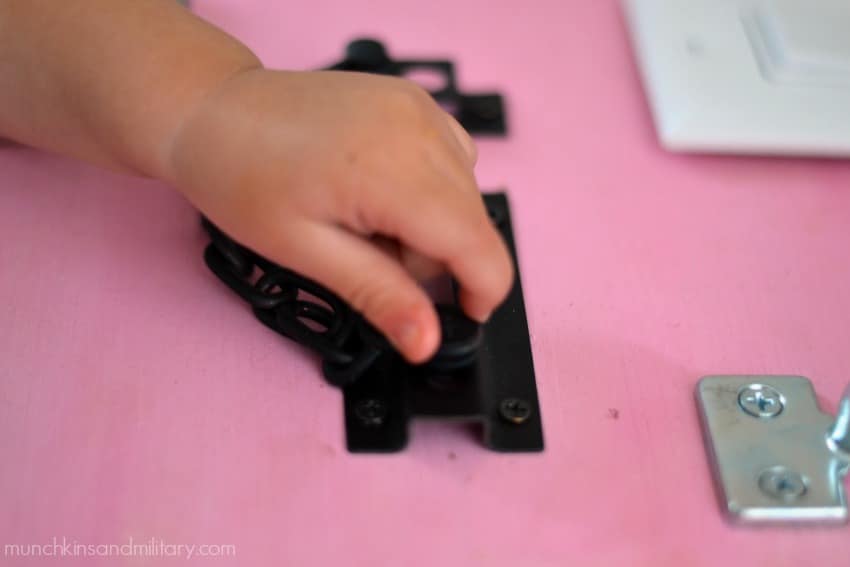
I managed to find quite a few latches and such for a pretty great price. The killer was the wood. Since I was wearing a sleeping baby and was in a rush to go pick up Adri from preschool, I just grabbed some fancy pre-cut sheet off the shelf. Fatal error.
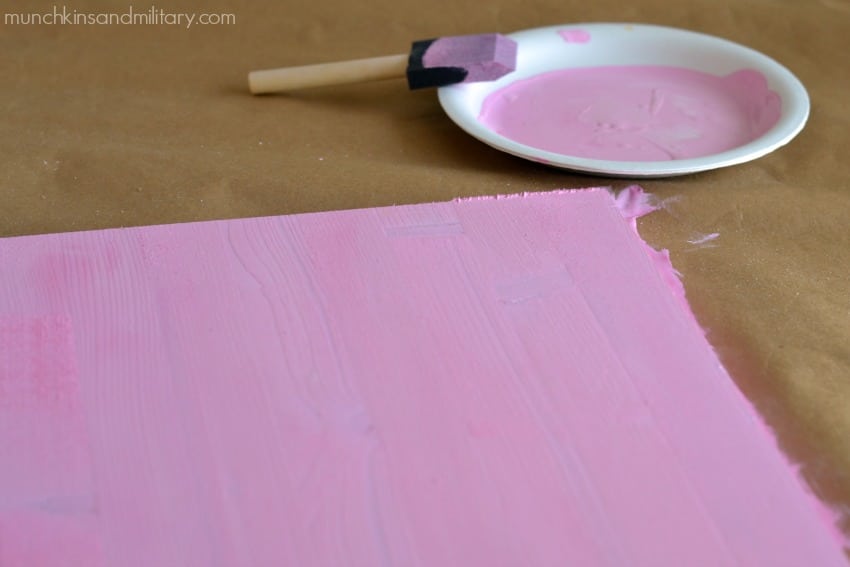
Before actually getting started, I painted the board a light pink color with some of the paint that I have around the house. Now looking back, I kinda wish I had stained it an espresso color. Oh well!
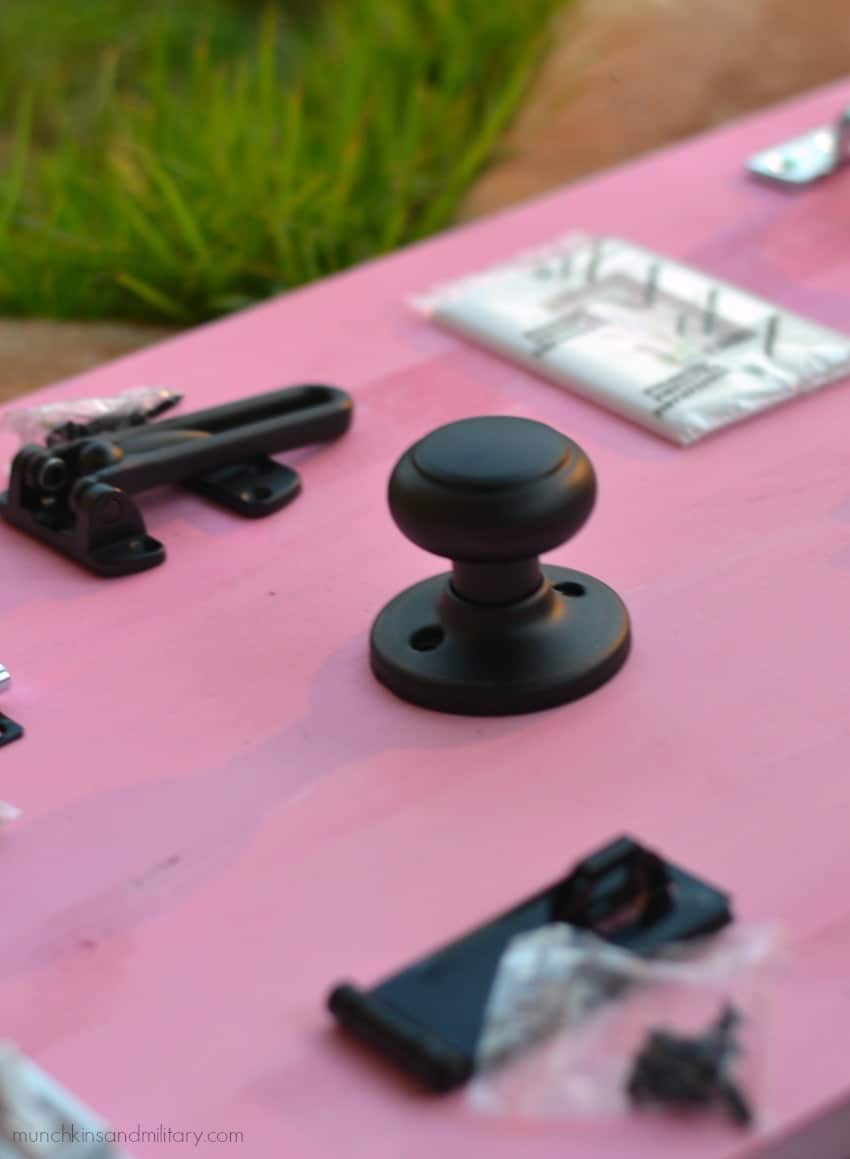
When it came to assembly, everything was pretty easy. I placed everything where I wanted it on the board, made some adjustments, then drilled all the screws in. The light switches did take a tiny bit more work though, because they have the bulky electrical stuff on the back. For those, I used a chisel, to create space for the back stuff. Nothing overly complicated.
Since I put a handle on it, transporting Ju’s busy board is super easy! I guess I could even grab it by the door knob.
Luckily, she loves it! With all sorts of little things to play with, it keeps her entertained for a decent amount of time. And just as expect, she LOVES the light switches!
