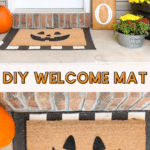
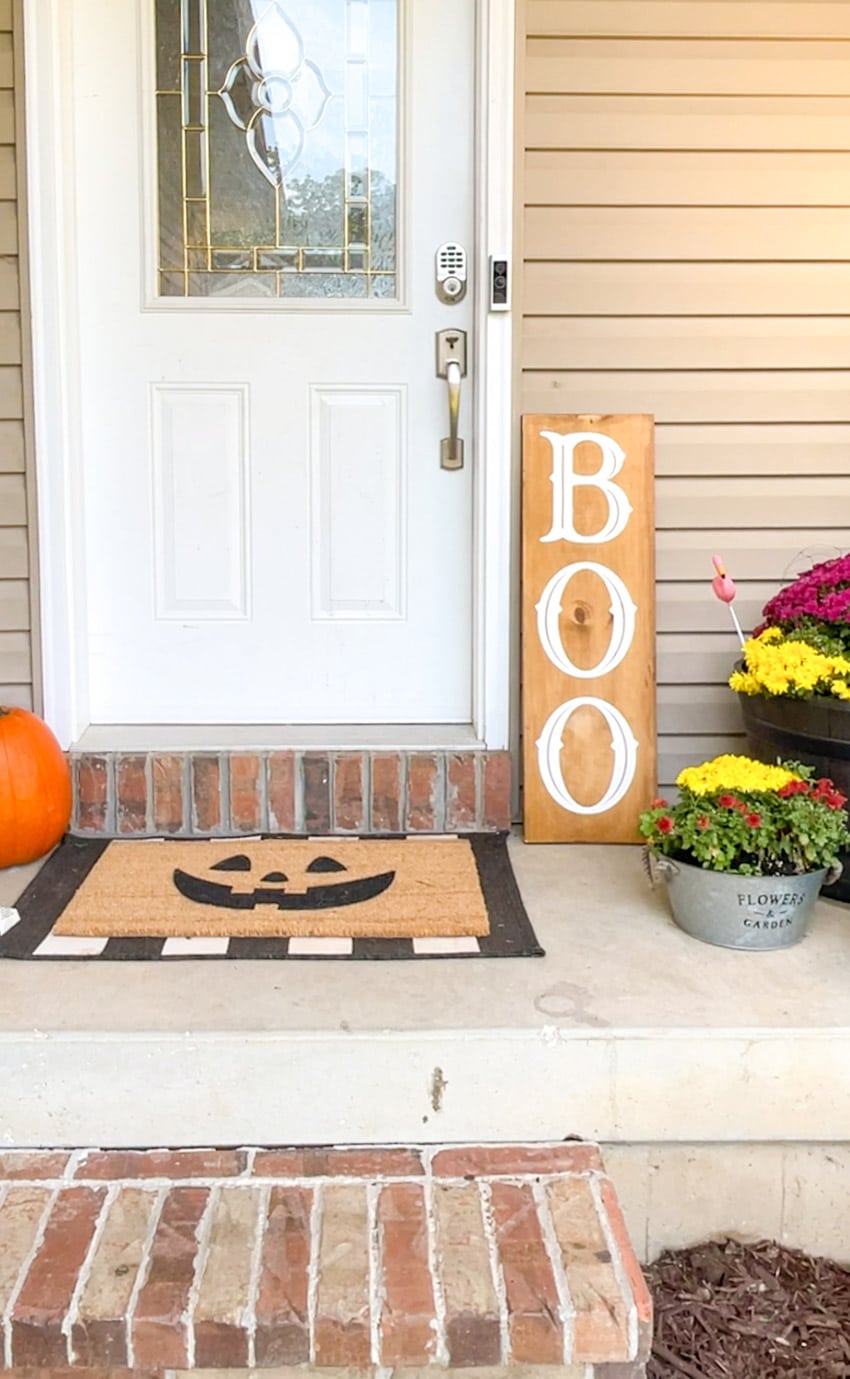
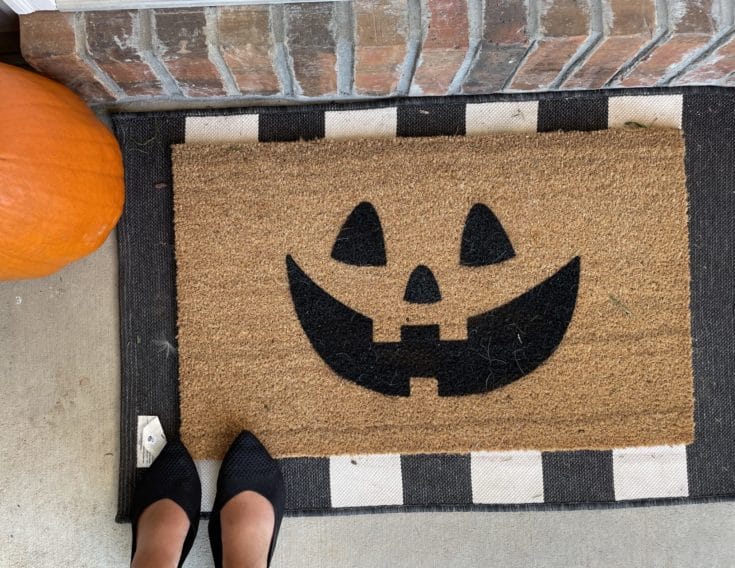
DIY Jack-O-Lantern Welcome Mat
Custom DIY welcome mats are my new favorite craft project for personalizing the front porch with each new season or holiday! They’re fairly easy to make and the options are literally limitless.
If you’ve been around this blog for a while, you might remember the DIY Doggy Welcome Mat that I made many, many years ago. At the time, I thought the method I used was the best option. Boy, was I wrong.
Thanks to the power of the internet, and of course Pinterest, early this year I learned a method that make making custom welcome mats so quick and easy!
When we first bought this house in Missouri, I created a welcome mat that said “new house, who this?” using freezer paper and Flex Seal Spray. Since then, I’ve created a handful of other fun mats for our porch, with the most recent being this jack-o-lantern welcome mat.
The first few mats I made were done with card stock and outdoor acrylic paint. This meant that I spent a ton of time pinning the card stock into place, then dabbing the paint on.
I tried using adhesive vinyl as a stencil as well, but that ended up in a gigantic mess, as the vinyl stuck to itself before you could even get it on the mat.
Why use freezer paper and Flex Seal?
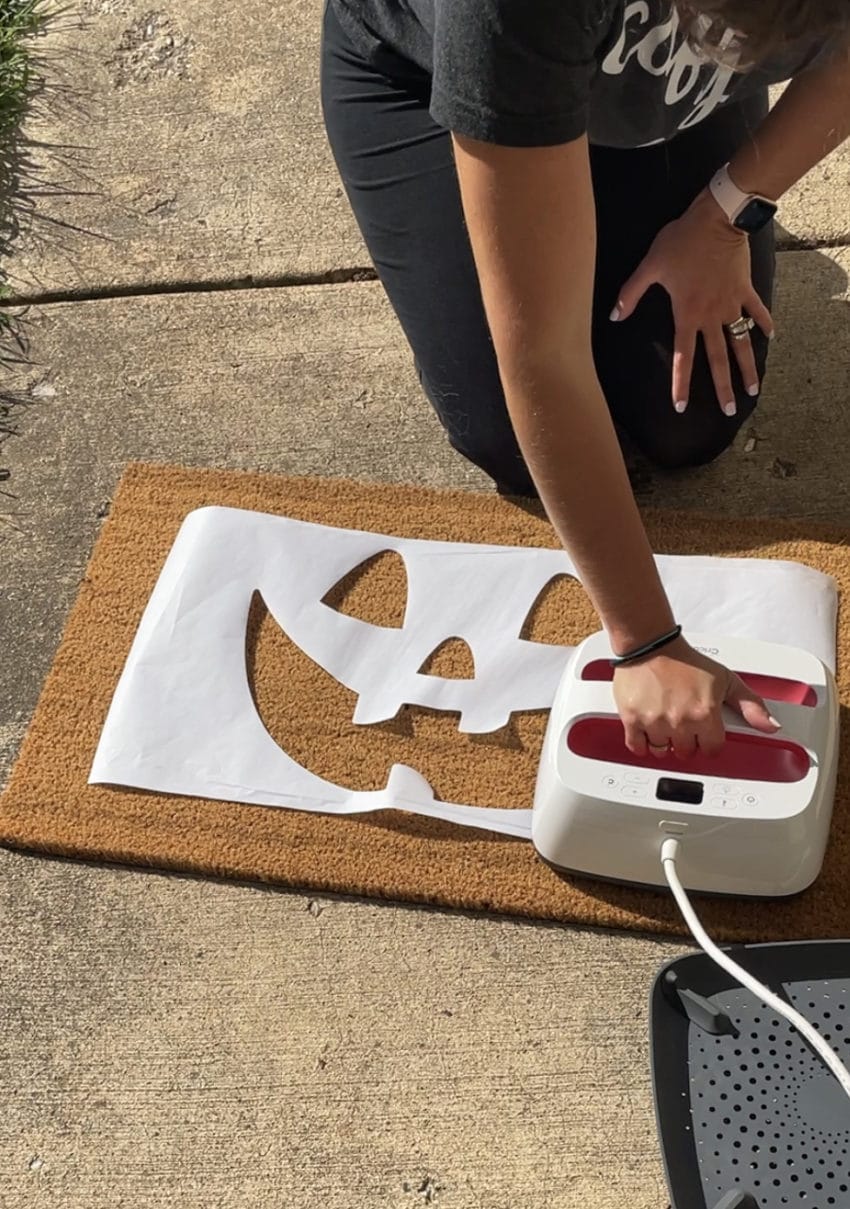
I love using freezer paper and Flex Seal to make custom welcome mats because of how easy the process is. Simply cut the design on your freezer paper, iron it down to the mat, and spray. The freezer paper stays stuck on well enough to act as a stencil, but is easy to peel off when your project is complete.
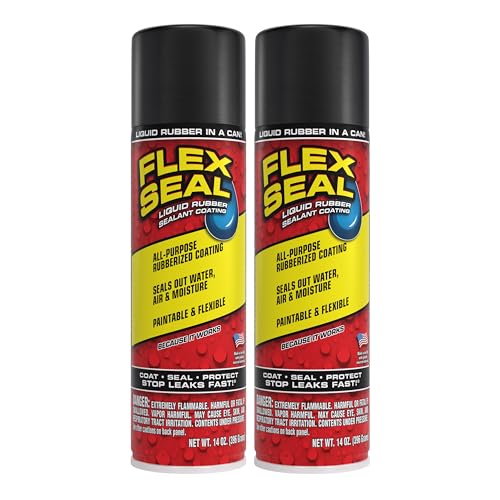
Flex Seal has held up the best out of all the other paints that I used. Both outdoor acrylic and spray paint seemed to fade pretty quickly. The layers of Flex Seal seem to absorb fairly quickly, but with 2 or 3 coats, the designs have all held up well. I noticed that Flex Seal is also available in several colors now, which is perfect for what I plan to do for our Christmas welcome mat.
Project Materials
What you’ll need:
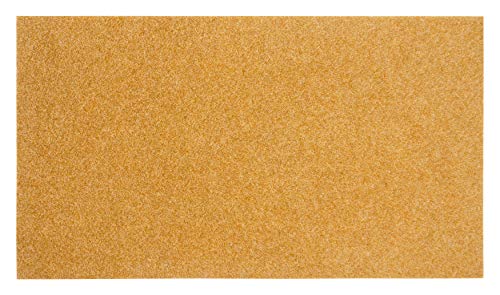
- Blank welcome mat – you can find these at Target, home improvement stores, and Hobby Lobby. I prefer the 18″x30″ size, as it allows for my decorative mat underneath to show through.
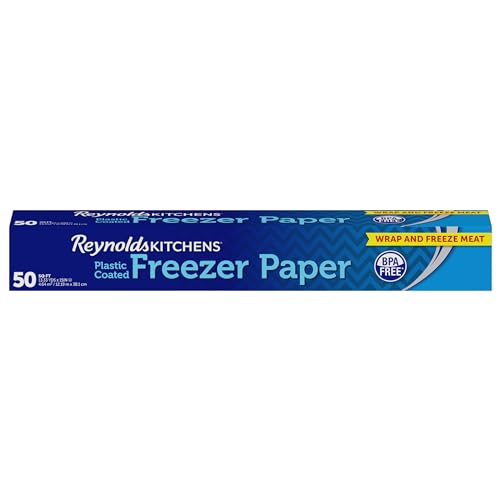
- Freezer paper – they sell huge rolls at the grocery store or find it on Amazon
- Painters tape – while not entirely necessary, I use the painters tape to cover the border of the mat to avoid overspray, as well as to help keep the stencil down
- Flex Seal Spray – Flex Seal holds up better to outdoor weather conditions for a long lasting design. You’ll find it at home improvement stores or somewhere like Walmart.

DIY Jack-O-Lantern Welcome Mat
Materials
- Blank welcome mat
- Freezer paper
- Painters tape
- Flex Seal spray
Tools
- Cricut
- Cricut mat
- EasyPress or Iron
Instructions
- Add a jack-o-lantern design to Cricut Design Space. Make the max dimensions between 11.5" and 23.5".
- Cut freezer paper down to size so that it fits on mat. Place freezer paper on Cricut mat with the shiny side touching the mat. Use Cricut's freezer paper cutting settings to cut out your design.
- Remove the freezer paper stencil from the Cricut mat and position on welcome mat. Use EasyPress or iron set to 375º F, to adhere the freezer paper to the doormat. Use painters tape on the border of the freezer paper to cover the mat and avoid overspray.
- Lightly spray at least 2 to 3 coats of Flex Seal over the stencil. Allow to dry briefly, before removing the stencil.
Notes
My exact design can be found in Cricut Design Space here: https://design.cricut.com/landing/project-detail/61659c0fbd06a20001cb55af
Recommended Products
As an Amazon Associate and member of other affiliate programs, I earn from qualifying purchases.