What to Include in Your Emergency Preparedness Kits
This post is sponsored by Clorox. All opinions are my own.
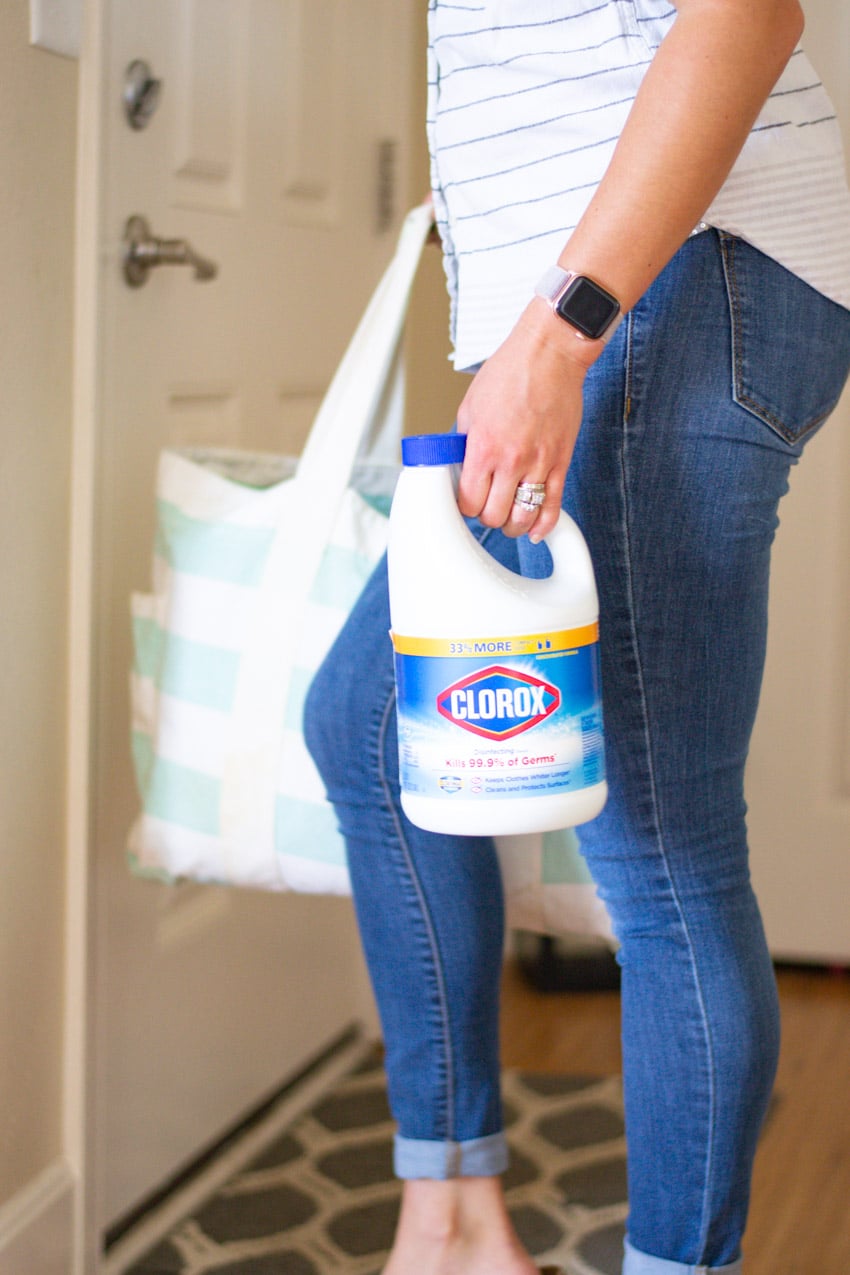
This year more than ever, we can all agree on the importance of being prepared as best as possible. More specifically, I’m talking about being prepared for natural disasters in the age of the COVID-19 pandemic. There are a few essential items and simple steps that your family can take to be prepared for potential storms. Now that we’re in the midst of Natural Disaster season, keep reading to see how I put together our tornado shelter box, along with a to-go bag in case of evacuations.
Having grown up in South Florida, I am no stranger to hurricane season and storms of that nature. I vividly remember a window shattering over me as I slept in my parents bed during hurricane Andrew in 1992 and stranded at my grocery store job when Katrina blew over Miami in 2005. Those experiences growing up impacted the way in which I now prepare my own family for potential disasters.
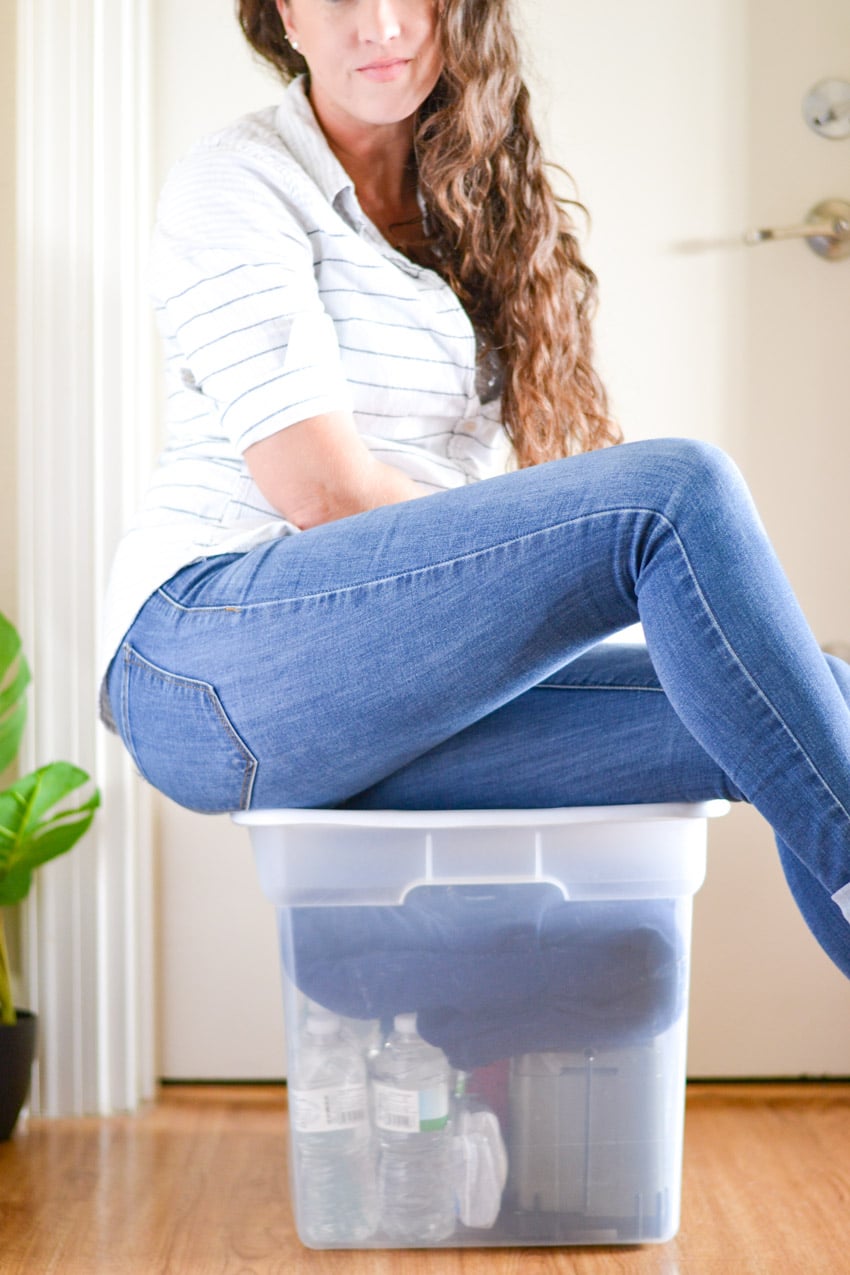
This leg of John’s military career has brought us to Tornado Alley, in the heart of Kansas. We live in a place where tornadoes can arise at any moment. As a result, one of the first tasks we had when we moved here in the middle of tornado season was putting together an emergency preparedness box.
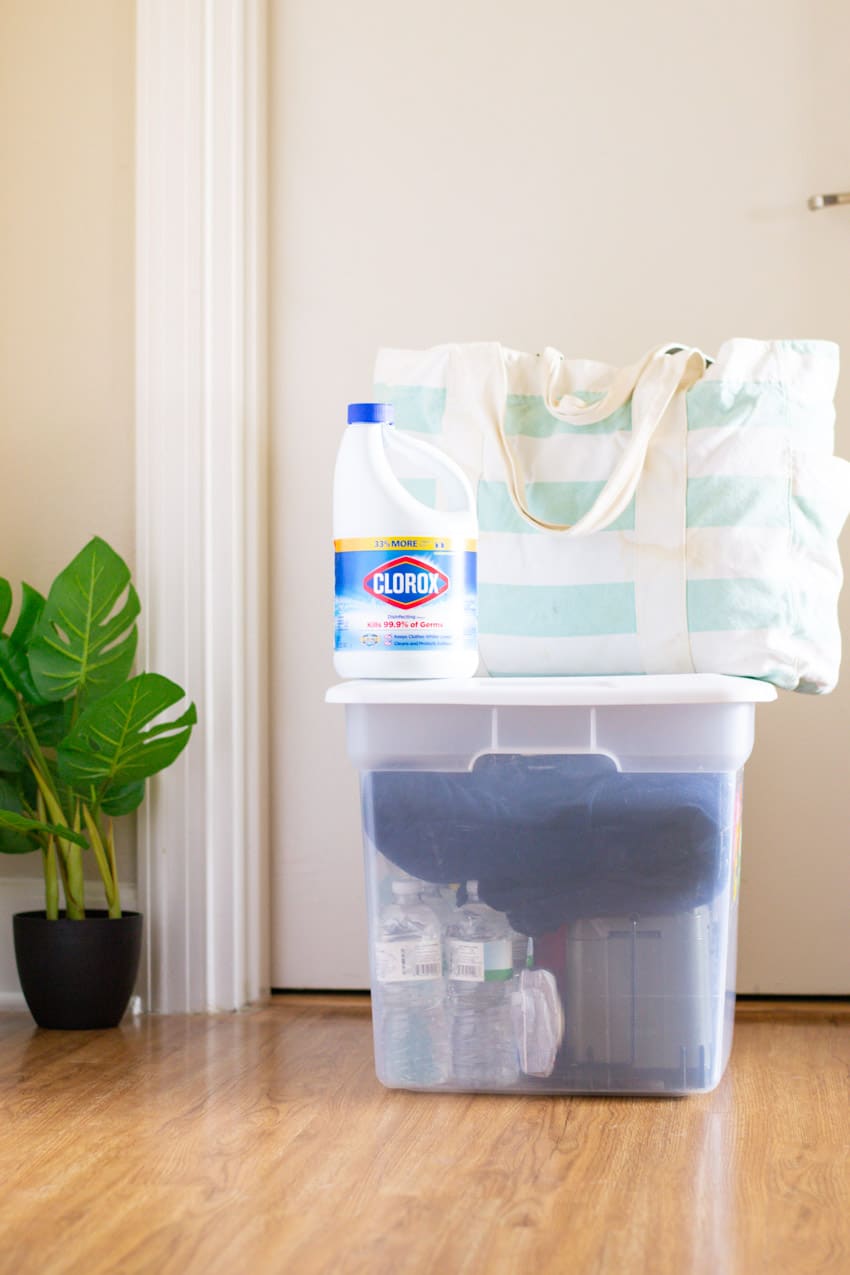
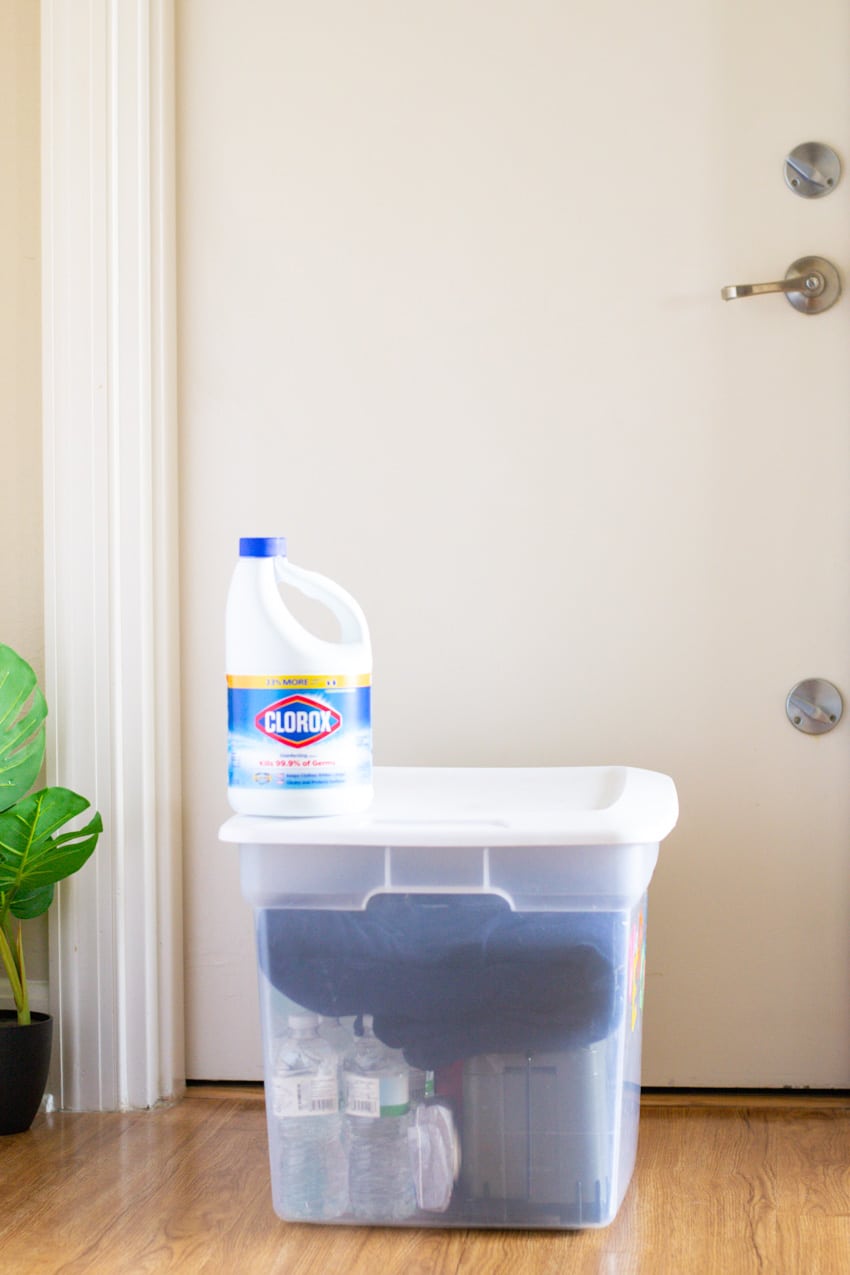
In the event of a severe storm, we’ll have our necessities readily available inside of our built-in storm shelter.
What To Include In You Emergency Preparedness Kit
When building your kit, keep the following in mind. These recommendations also include guidance from
the American Red Cross.
- Important documents: Keep copies of important documents such as birth certificates, insurance policies, and wills in sealed plastic zipper bags.
- Bottled water: It is recommended to have at least a 3-day supply of water for each person and pet.
- Non-perishable foods: Keep easy to prepare canned items such as soups, beans, and ravioli, along with protein bars, peanut butter, and crackers. Be sure to look for cans with pull-off lids, or make sure to include a can opener in your kit as well.
- Toiletry items: Keep toiletry items such as: wipes, soap, and hand sanitizer for basic personal hygiene.
- First aid kit: Stores sell pre-made first aid kits that contain a thorough variety of remedies for all sorts of injuries.
- Medication: The American Red Cross recommends a one month supply of prescription medications and medical items. Don’t forget to include over the counter medications, as well as anything required for your pets.
- Phone charger: Use a charger when electricity is still available. Consider a solar charger for situations where power might not be available.
- Flashlight: We keep a battery operated lantern in our kit in case our power goes out.
- Weather radio: If cellular signal is down, a hand crank weather radio will provide up to date weather info.
- Shoes: Ideally, family members should each wear their sneakers into the shelter, but if space allows, keep a pair packed in the kit.
- Pet supplies: Don’t forget to include your pets in your preparedness kits. Items such as leashes, soft kennels, medication, and food
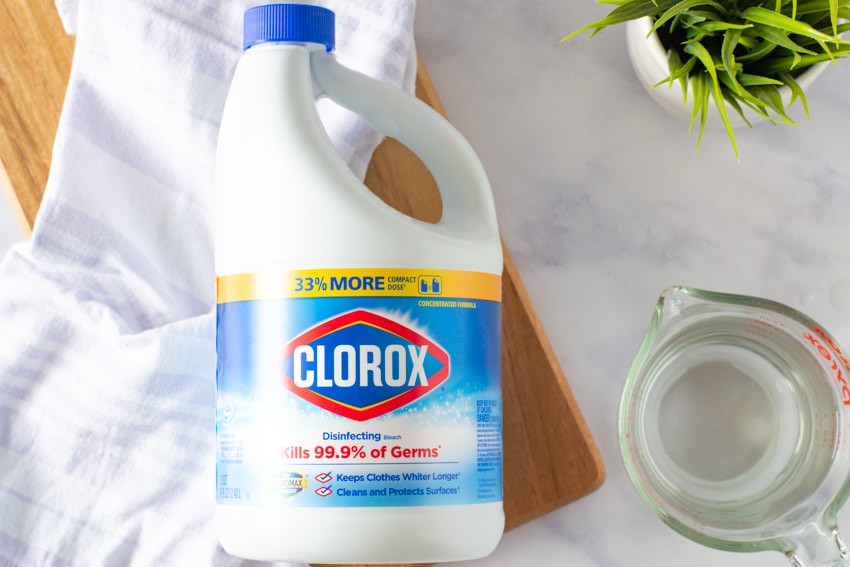
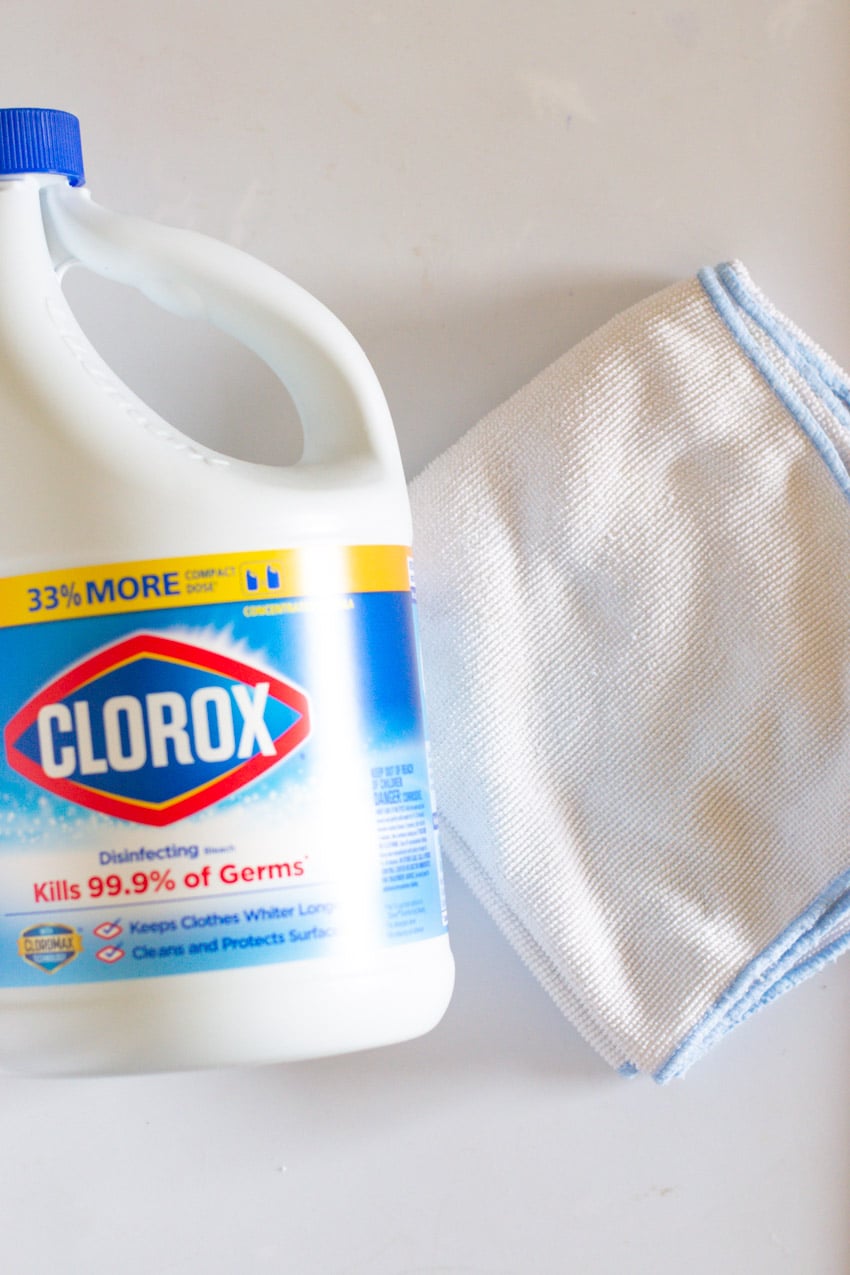
- Disinfecting Products: Clorox Disinfecting Bleach is a multi-purpose cleaner that can be used to kill bacteria around the house as well as to make water potable after a storm.
How to Kill Bacteria Around the Home
- When using Clorox bleach products, always remember to look at the label to follow product usage instructions and safety precautions.
- Bleach Solutions:
- For 6% sodium hypochlorite, dilute 1 Tablespoon with 2 cups of water.
- For 7.5% sodium hypochlorite, dilute 2 teaspoons with 2 cups of water.
- Do not mix with anything other than water.
- For additional guidance, click here .

How to Make Water Potable
Water can be made potable by using Clorox® Disinfecting Bleach.
- Prior to the addition of Clorox® Disinfecting Bleach, remove all suspended material by filtration using a clean cloth, towel, coffee filter, or by allowing it to settle to the bottom.
- Put the clarified contaminated water into a clean container and add 25 drops or 1/4 teaspoon of Clorox® Disinfecting Bleach to 1.75 gallons of water (4 drops to 1 quart).
- Allow the treated water to stand for 30 minutes. Properly treated water will have a slight chlorine odor.
- If water does not have slight chlorine odor, repeat dosage and allow the water to stand an additional 15 minutes.
- The treated water can then be made palatable by pouring it between clean containers several times.
- If the water is contaminated with a chemical, adding the product will not make it drinkable.
What To Include In You Evacuation Kit
In addition to a shelter kit for the home, it’s important to prepare a separate kit in the event that evacuation is necessary. An evacuation kit should be a smaller, more lightweight “go bag” that can quickly and easily be transported if leaving the home is necessary.
Evacuation kits should contain a 3-day supply for each person of:
- Food
- Water
- Personal hygiene items
- Cleaning and disinfecting items
Evacuating During a Pandemic
With the on-going COVID-19 pandemic, ensure that face coverings such as masks are brought for each person that is safely able to wear one.
If possible, reach out to family or friends outside of your immediate area, to see if you can stay with them in the event of evacuation. Be sure to verify that no one has symptoms of COVID-19 or that no one in the home is high risk for serious illness. If either of those situations are the case, make other arrangements. You can call around to see if hotels, motels, and campgrounds are open.
While evacuating, the bleach solutions listed above can be used to disinfect shared surfaces on-site that one might come in contact with. Consider using a bleach solution to clean communal tables, chairs or even railings.
For more tips and information on preparing for natural disaster visit: https://bit.ly/2Htg4JZ