The Best No Churn Vanilla Ice Cream


This no churn vanilla ice cream recipe uses simple ingredients to create a rich and creamy frosty treat!
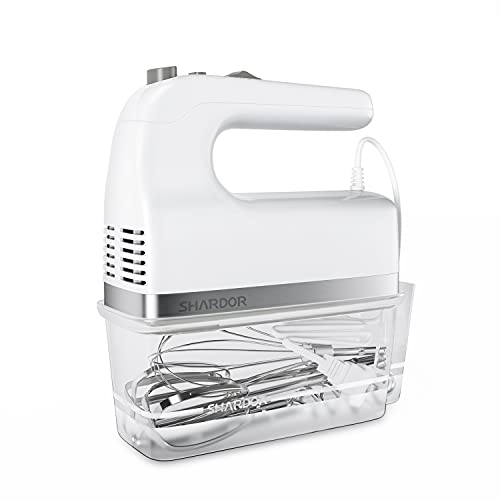
I started photographing this post fully intending to simply replace the images in my existing vanilla ice cream post, but given that no-churn ice cream recipes are so popular, I figured I’d give no-churn a try! The base for the ice cream is exactly the same as my other vanilla ice cream that has been so popular. The only difference here, is that I’m using a hand mixer, instead of the KitchenAid ice cream maker attachment.
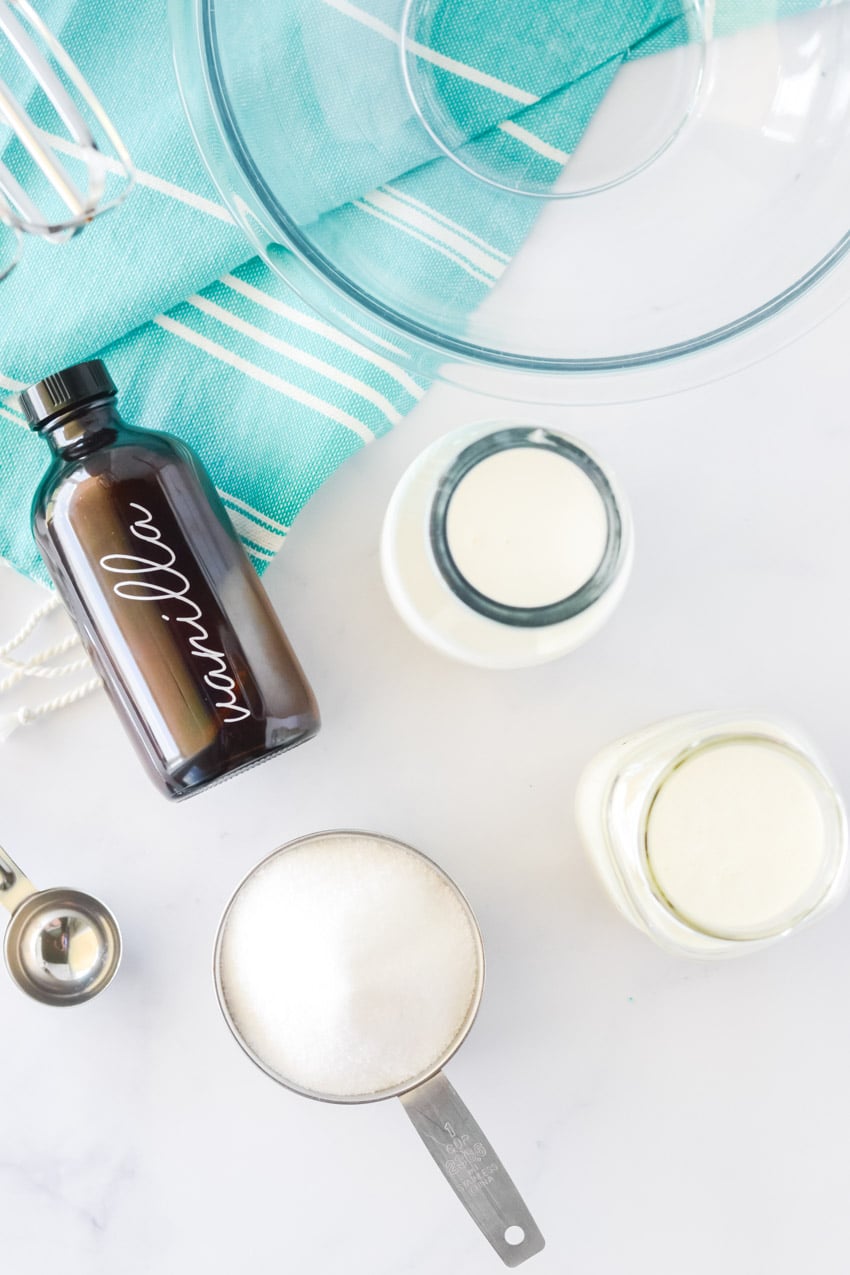
The ingredients for this vanilla ice cream are simple. After all, my favorite ice cream brand when I was growing up only had milk, sugar, and cream. I’ve experimented with making ice cream using milk, and the results are icy and not great. Instead, I combine heavy cream, half and half, sugar, and some homemade vanilla extract.

I love using the homemade vanilla extract in this ice cream recipe, because it has those beautiful little specks of vanilla beans. But, as Ina Garten says, if you don’t have homemade vanilla, store bought is perfectly fine!
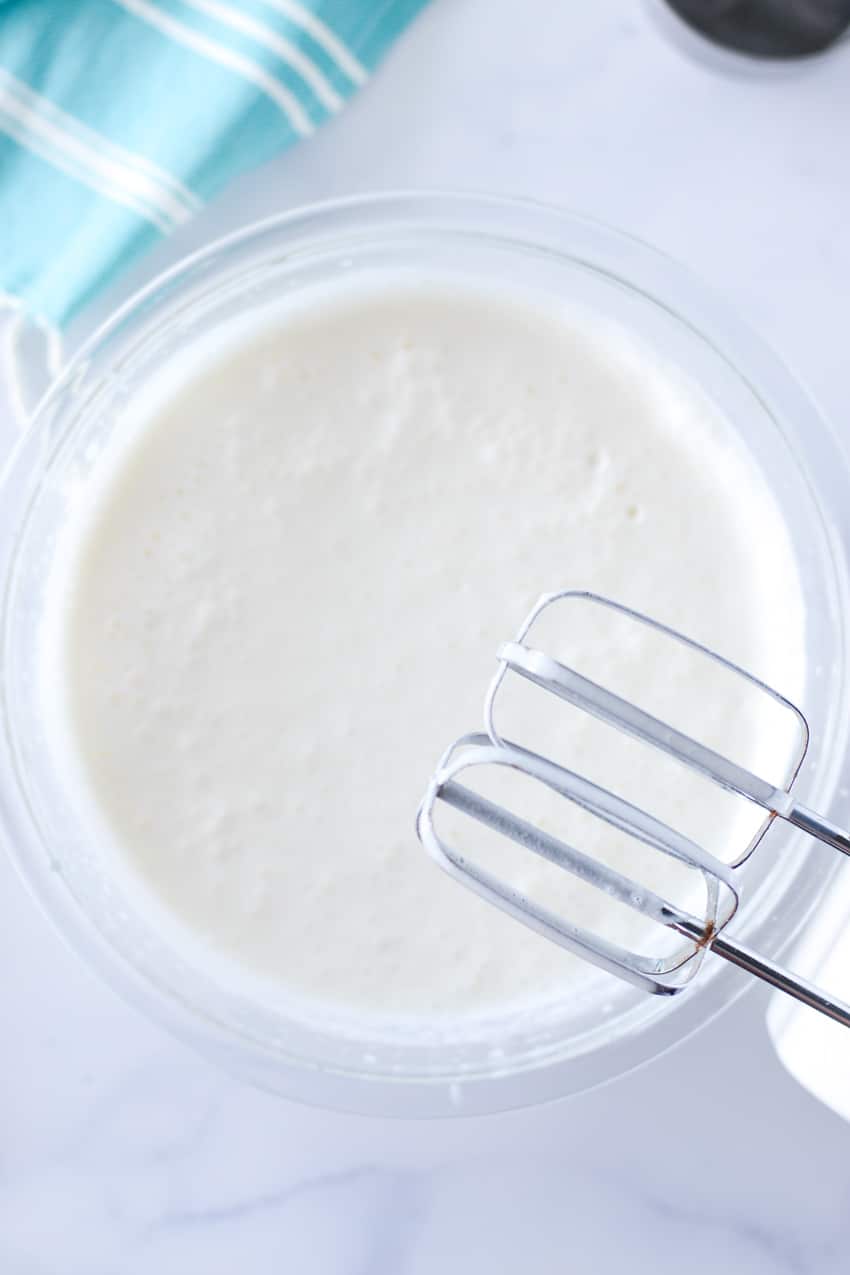
After making dozens of whipped coffees, I realized that my hand mixer seems to work faster and more efficiently than my KitchenAid stand mixer, which I why I chose to use it here. The bonus is that since this recipe is made using cold ingredients, you can feel once the sugar has been dissolved completely into the cream mixture.
Typically, an ice cream recipe will heat the liquid to either help dissolve the sugar completely, or to temper the eggs in the recipe. In this case, the hand mixer takes care of the sugar (a blender works great as well) and there are no eggs in this recipe. A faster way to delicious homemade ice cream?! Yes, please!
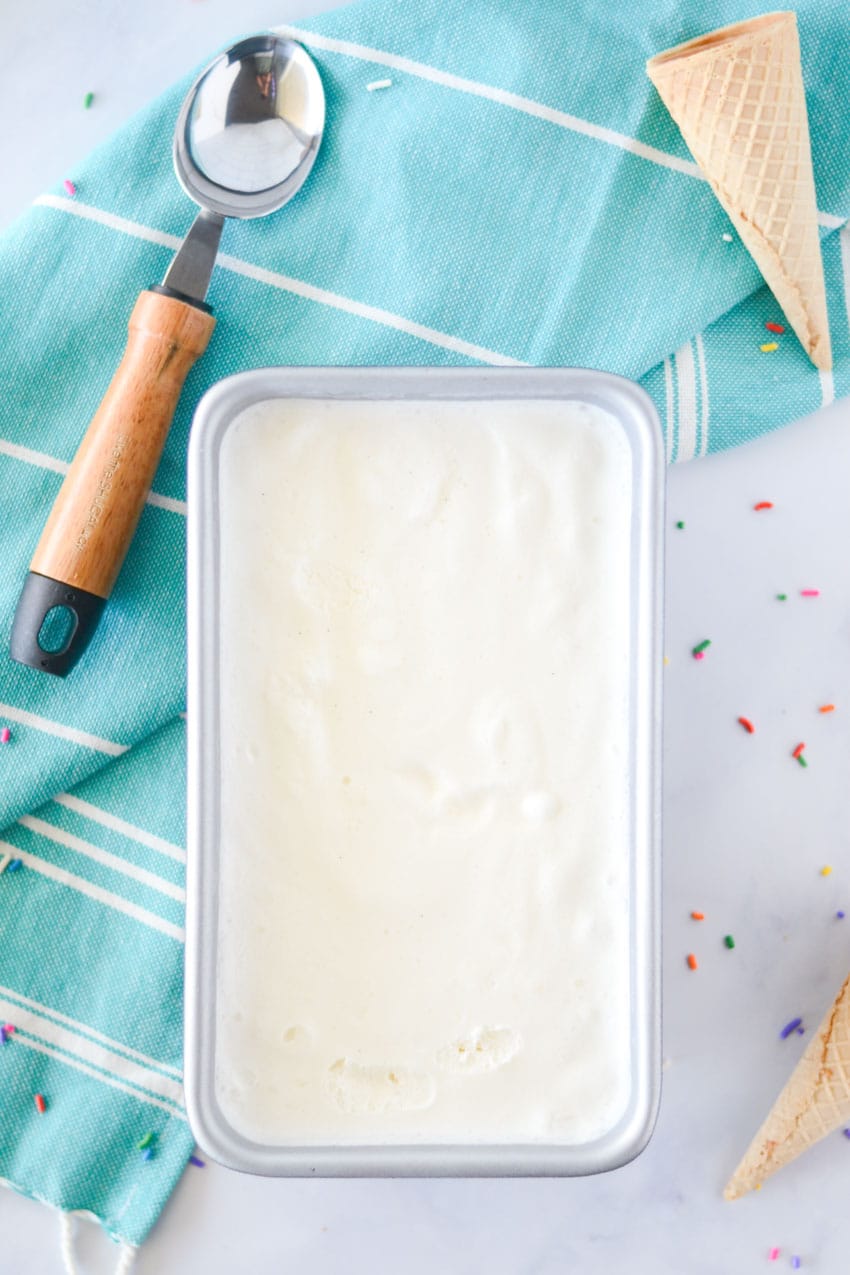
Once you’ve got the ingredients all mixed up, I recommend freezing over night. The girls were in a rush to try this batch (notice the finger marks in the image above), and 4 hours in the freezer just wasn’t enough.
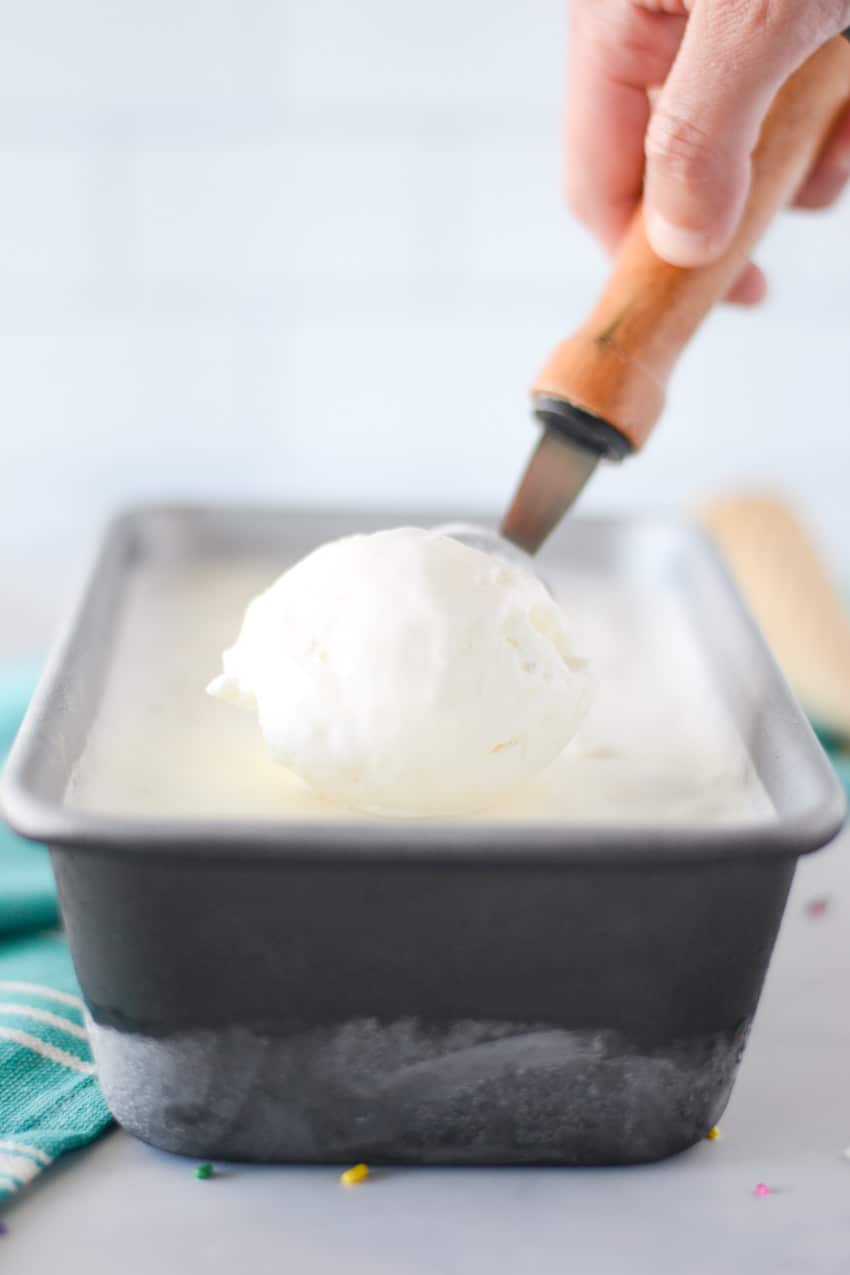
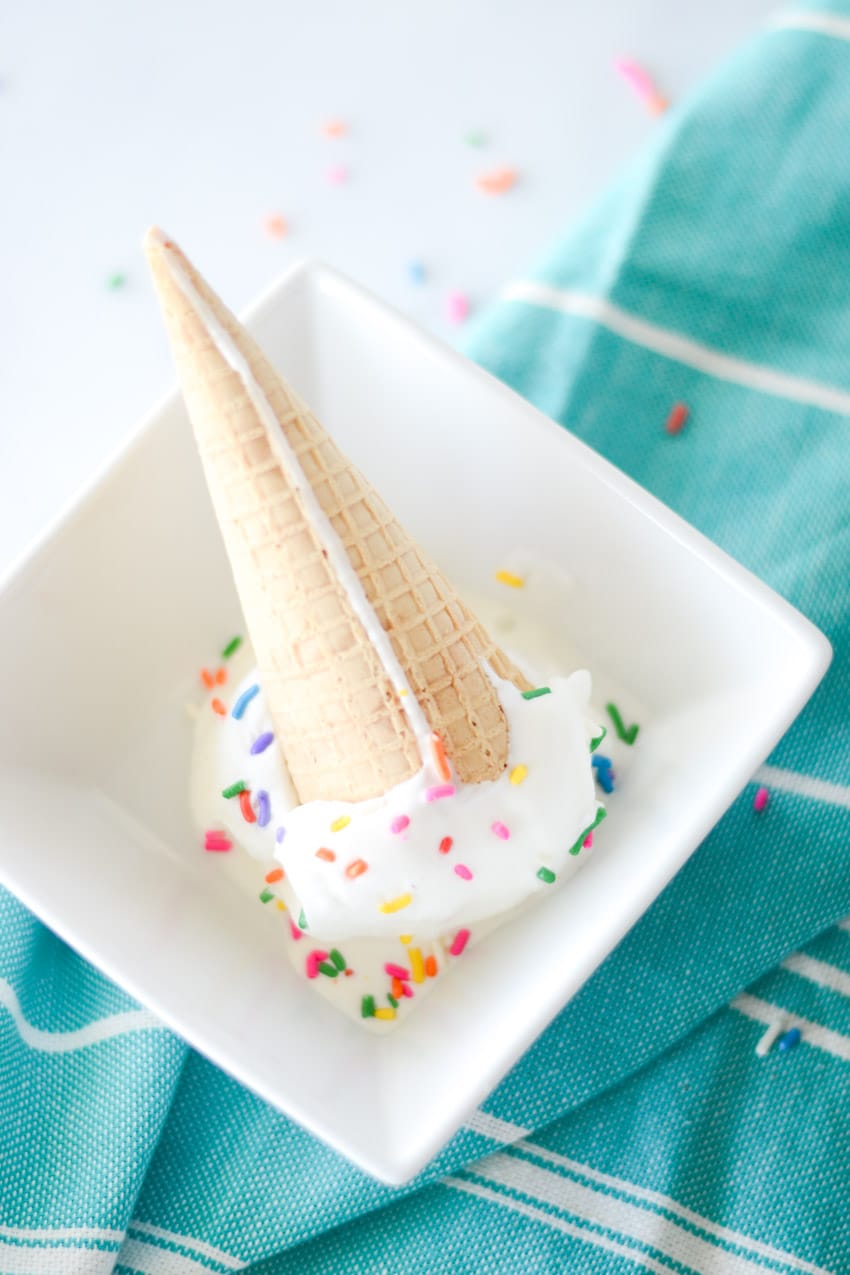
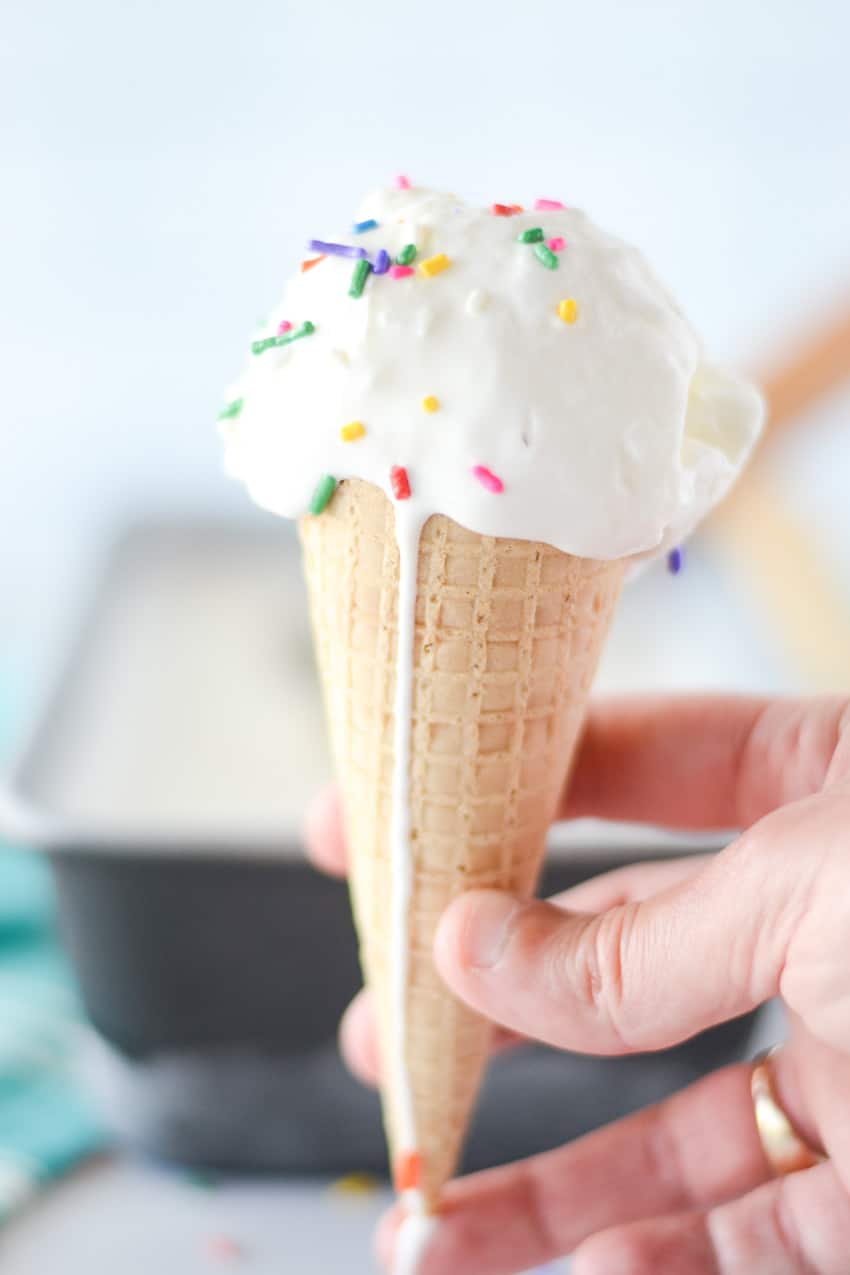
After a good freezing, this deliciously creamy no-churn ice cream is perfect for scooping into a cone or for using in a sundae. It’s also a great base for creating flavored ice creams! I’ll be trying a strawberry version next!
The Best No-Churn Vanilla Ice Cream
Ingredients
- 1 1/2 cup heavy cream
- 1 1/2 cup half & half
- 1 cup sugar
- 1 tablespoon vanilla extract
Instructions
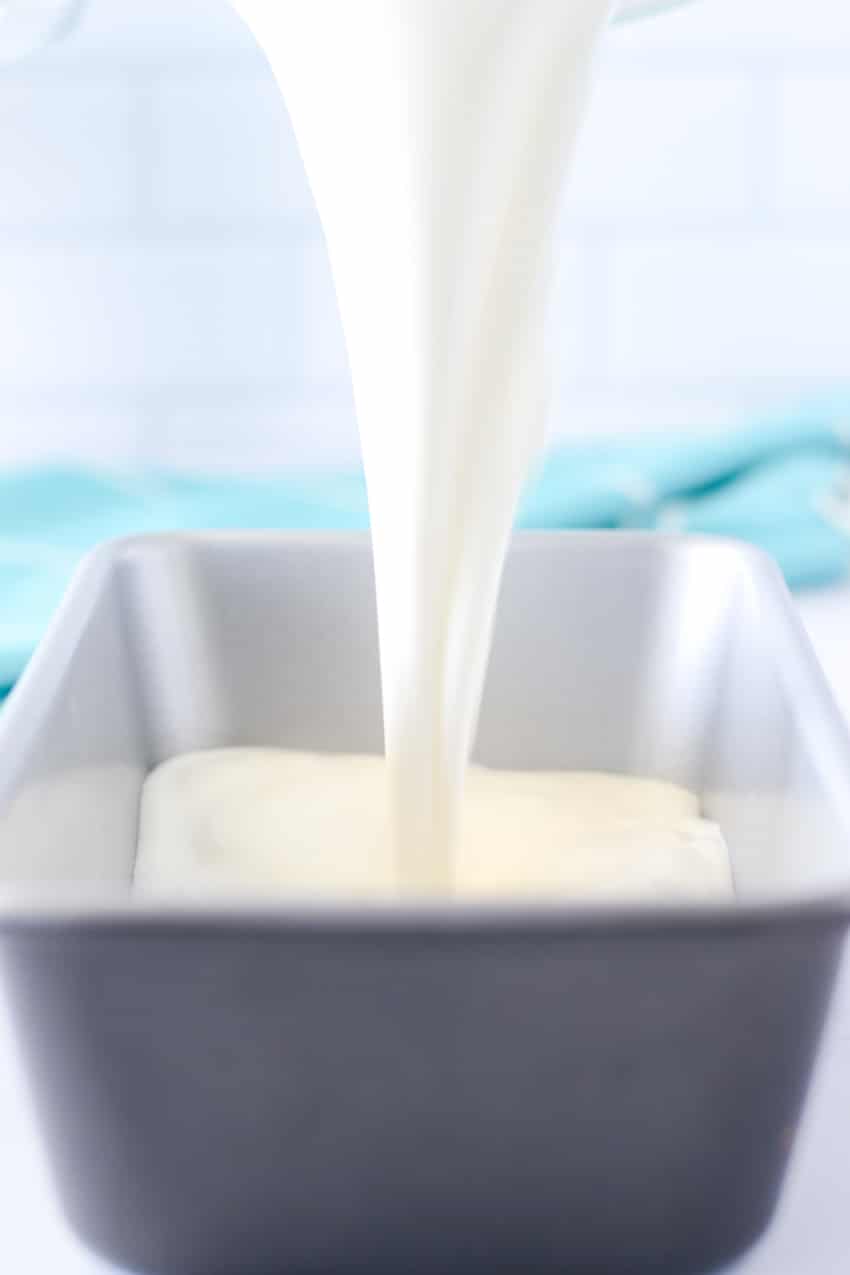
- Combine all four ingredients in a large bowl. Use a hand mixer to mix the ingredients together, making sure that the sugar is completely dissolved from the bottom of the bowl.
- Beat the mixture on high speed for an additional 2-3 minutes. The top should be frothy.
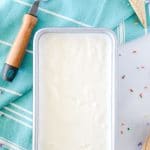
- Pour the ice cream mixture into a freezer-safe container. Freeze covered over night and store in an airtight container.
Recommended Products
As an Amazon Associate and member of other affiliate programs, I earn from qualifying purchases.

Nutrition Information:
Yield:
6Serving Size:
1Amount Per Serving: Calories: 412Total Fat: 28gSaturated Fat: 18gTrans Fat: 1gUnsaturated Fat: 9gCholesterol: 88mgSodium: 54mgCarbohydrates: 38gFiber: 0gSugar: 38gProtein: 4g