Peek-a-Boo Wine Glass DIY Craft
This is a sponsored conversation written by me on behalf of Cricut. The opinions and text are all mine.
Peek-a-boo wine glasses are a fun upgrade to glitter dipped glasses that are so easy to make! They’re perfect for gift giving or simply adding a festive seasonal touch to your beverage!
One of my absolute favorite crafting trends at the moment is glitter dipped wine glasses. Glitter dipped wine glasses have a layer of glitter at the bottom to add a bit of fun sparkle. You can add a tiny bit of vinyl before glittering the wine glasses to create a peek-a-boo effect.
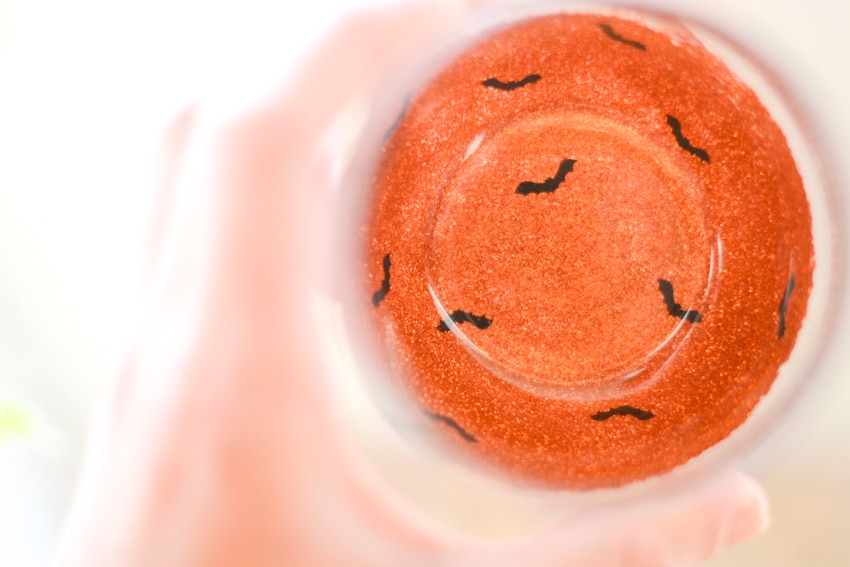
Glitter dipped glasses look super fancy, but they’re such an easy project to make! The possibilities for personalization are nearly endless, which makes them perfect for homemade gift giving! There are SO many beautiful and creative themes to customize your peek-a-boo stemless wine glasses! For Halloween, I made a simple design with orange glitter and tiny black vinyl bats.
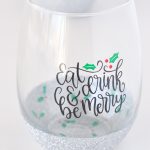
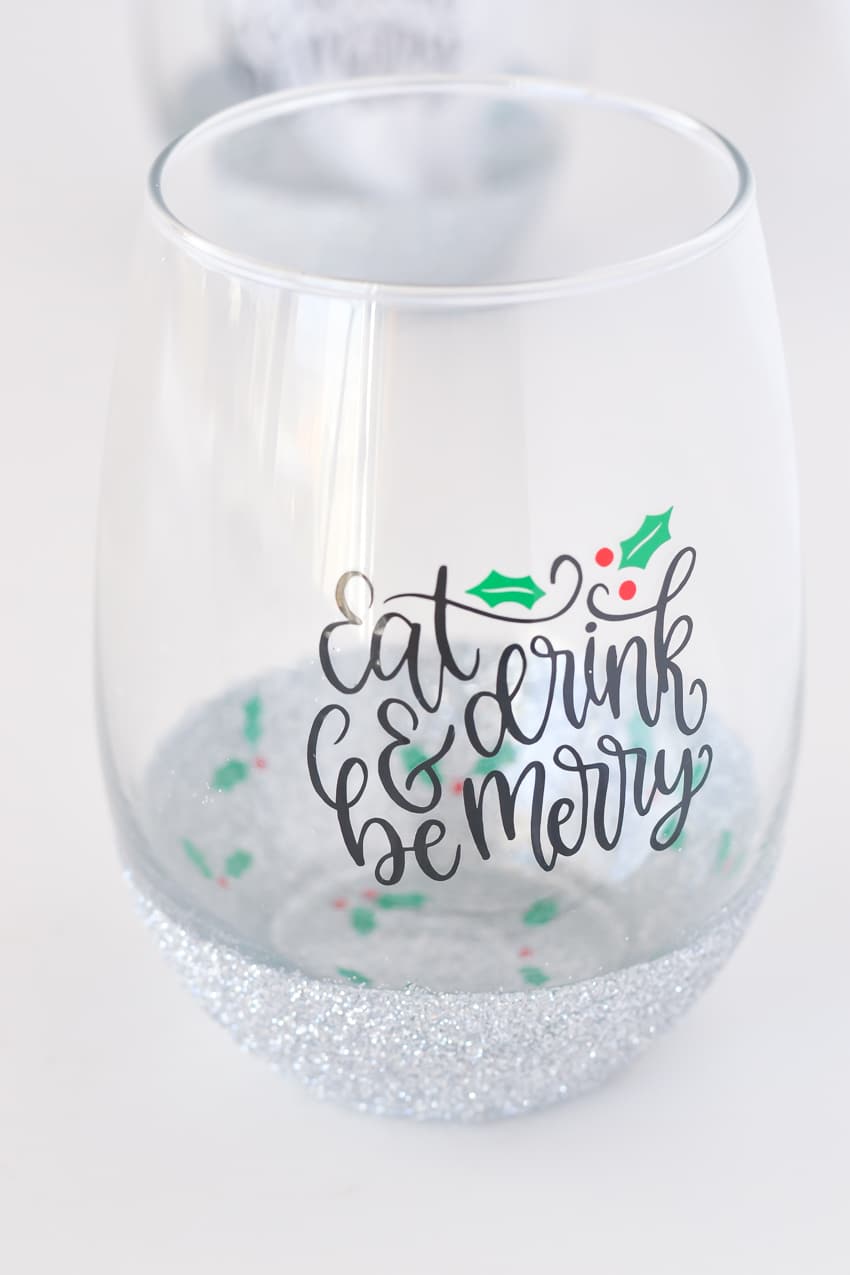
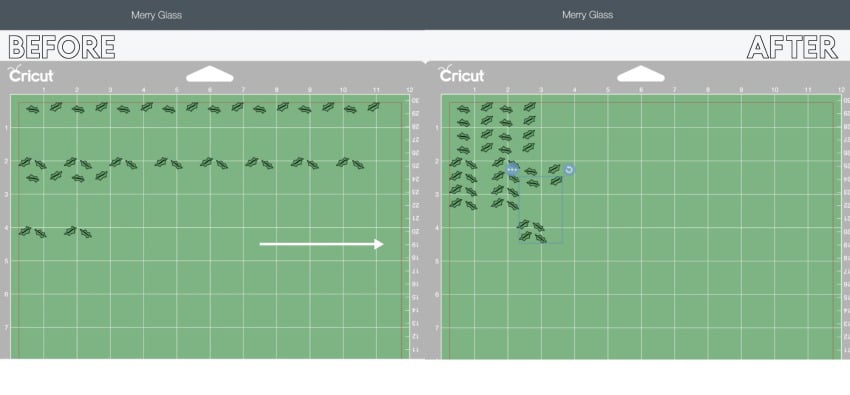
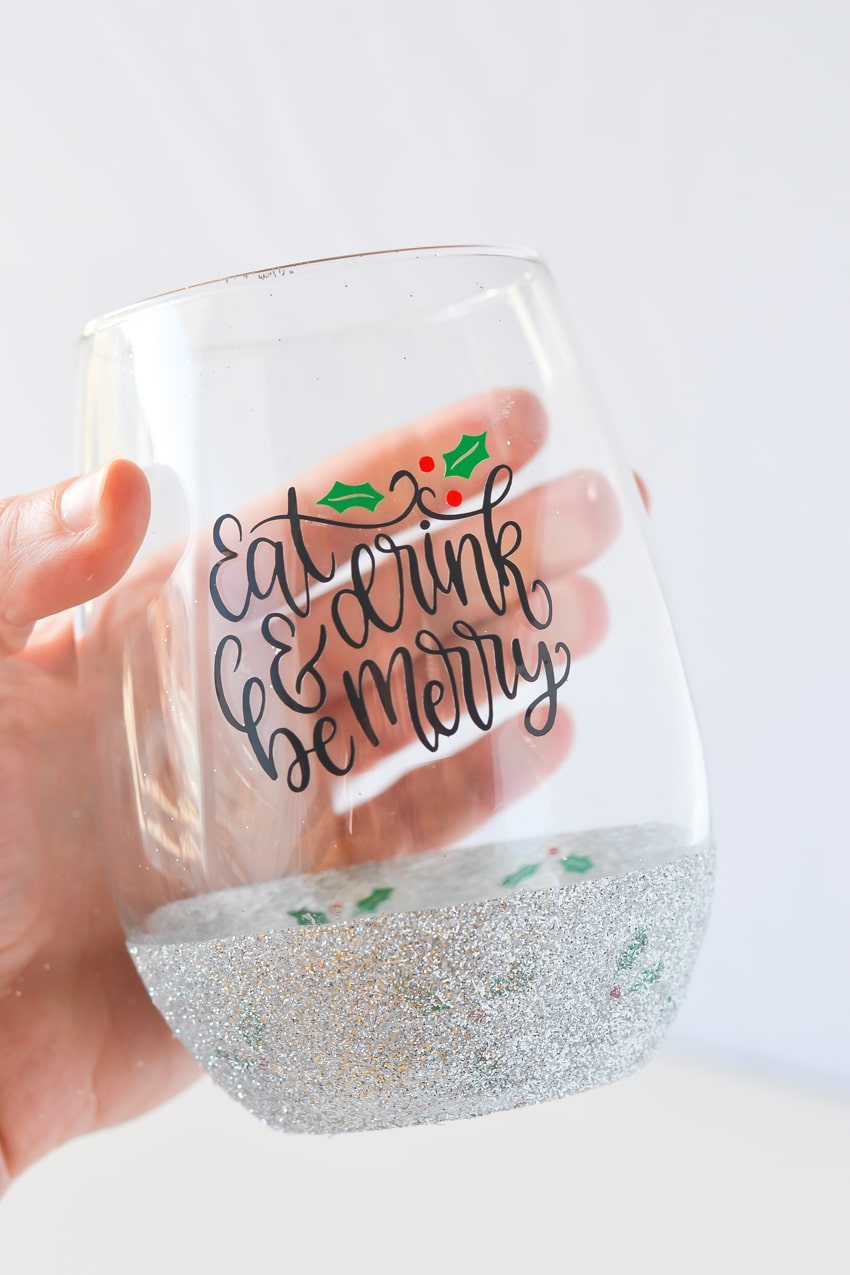
Cricut Design Space has a TON of really fun hand lettered image designs perfect for adding to wine glasses! For this project, I chose one that says “Eat drink & be Merry.” This specific design matches the Merry Christmas Y’all throw pillow that I made last week really nicely!
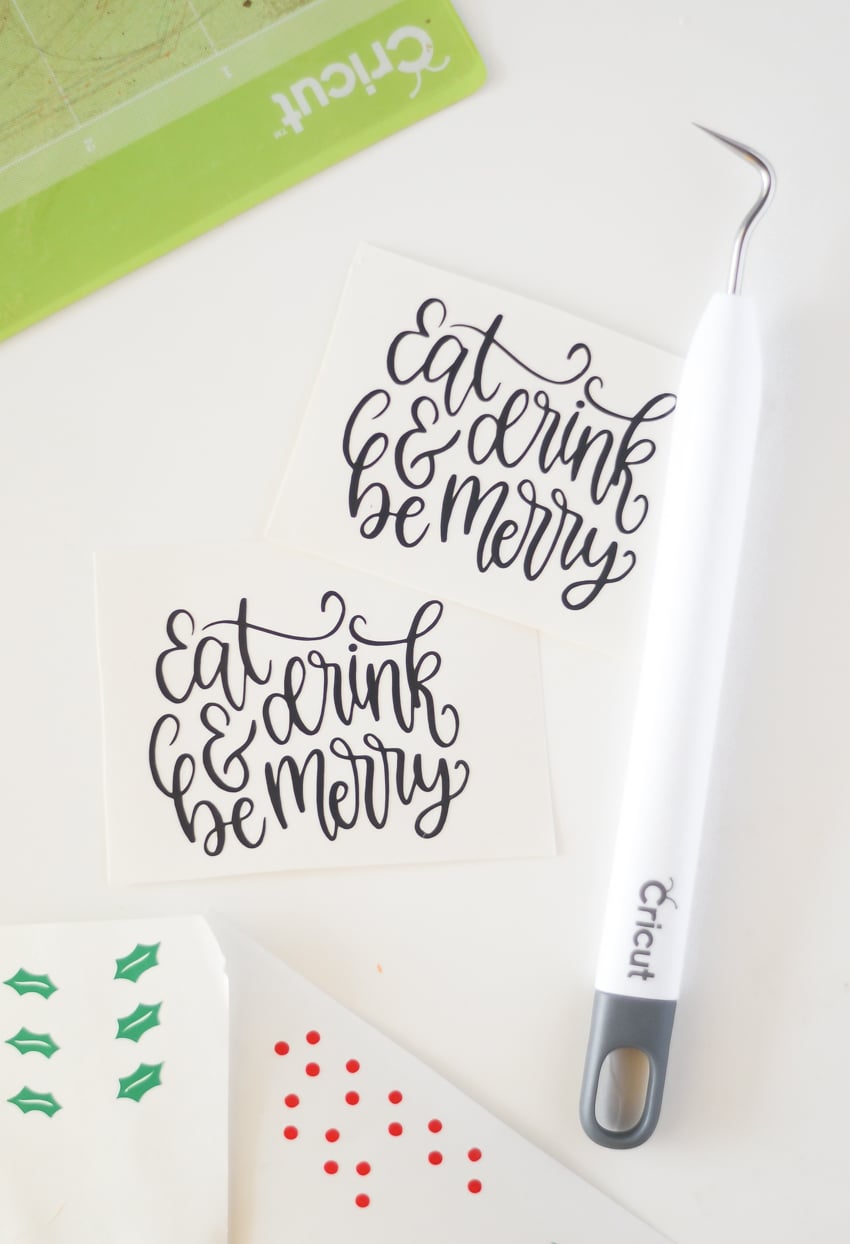
The best part about the image that I chose for these peek-a-boo glasses is that it came with holly and berries. All I had to do was duplicate those pieces without the text to get the perfect little peek-a-boo pieces for the bottom of my wine glass.
Take a look at my actual design in Cricut Design Space >> Eat, Drink & Be Merry Wine Glass Design
Pro tip: When you’re getting ready to cut, don’t forget to rearrange all the little pieces on the mat, so that you don’t waste vinyl!
Making a Peek-A-Boo Wine Glass
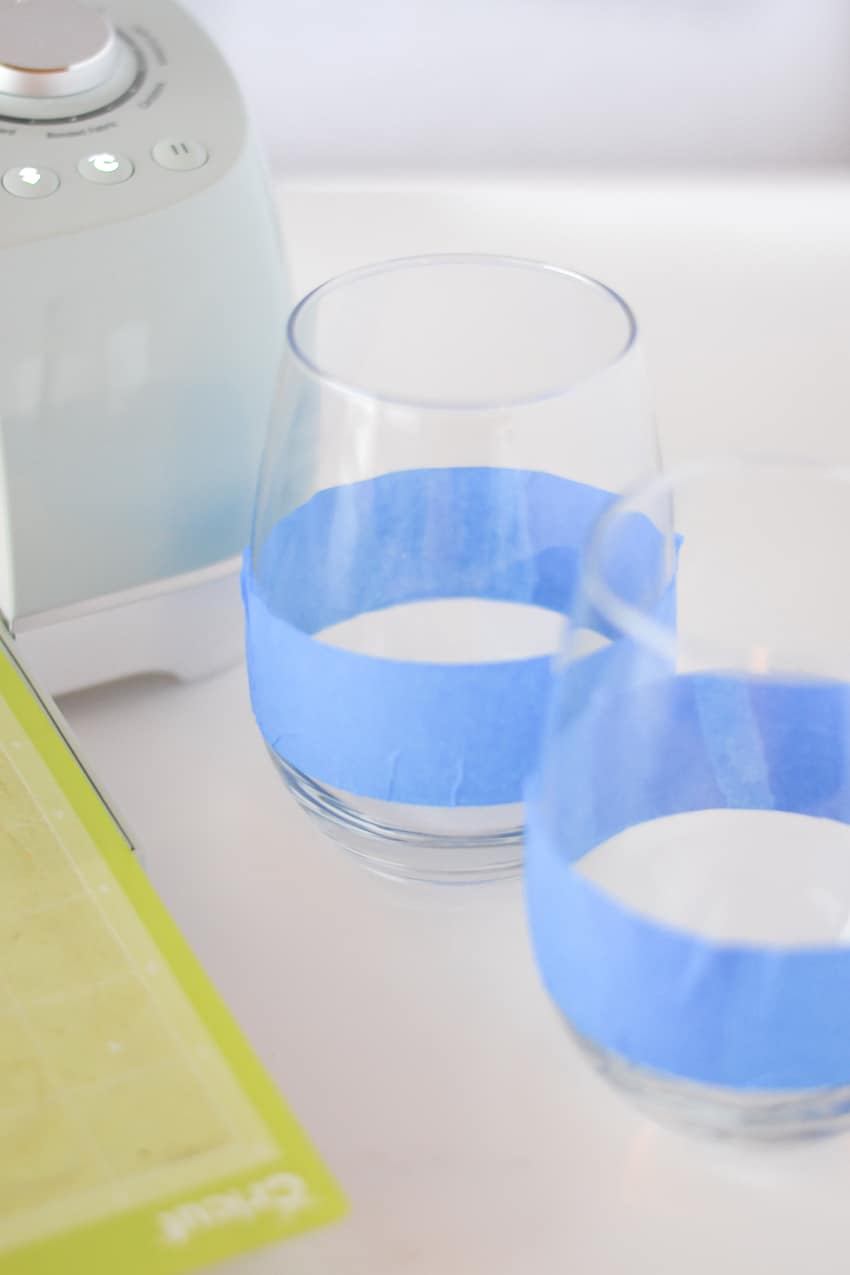
One of the most important steps to remember when making your peek-a-boo wine glass, is to start with a clean glass! For best results, use an alcohol swab to remove any dirt or oil from the area where you’ll be applying vinyl or glitter.
Next, mark off the area where you’d like the glitter. I like to use painters tape to mark off the area that will get glittered. Masking tape, washi tape, or electrical tape are also great options! Make sure that the bottom edge of the tape is straight and adhered completely.
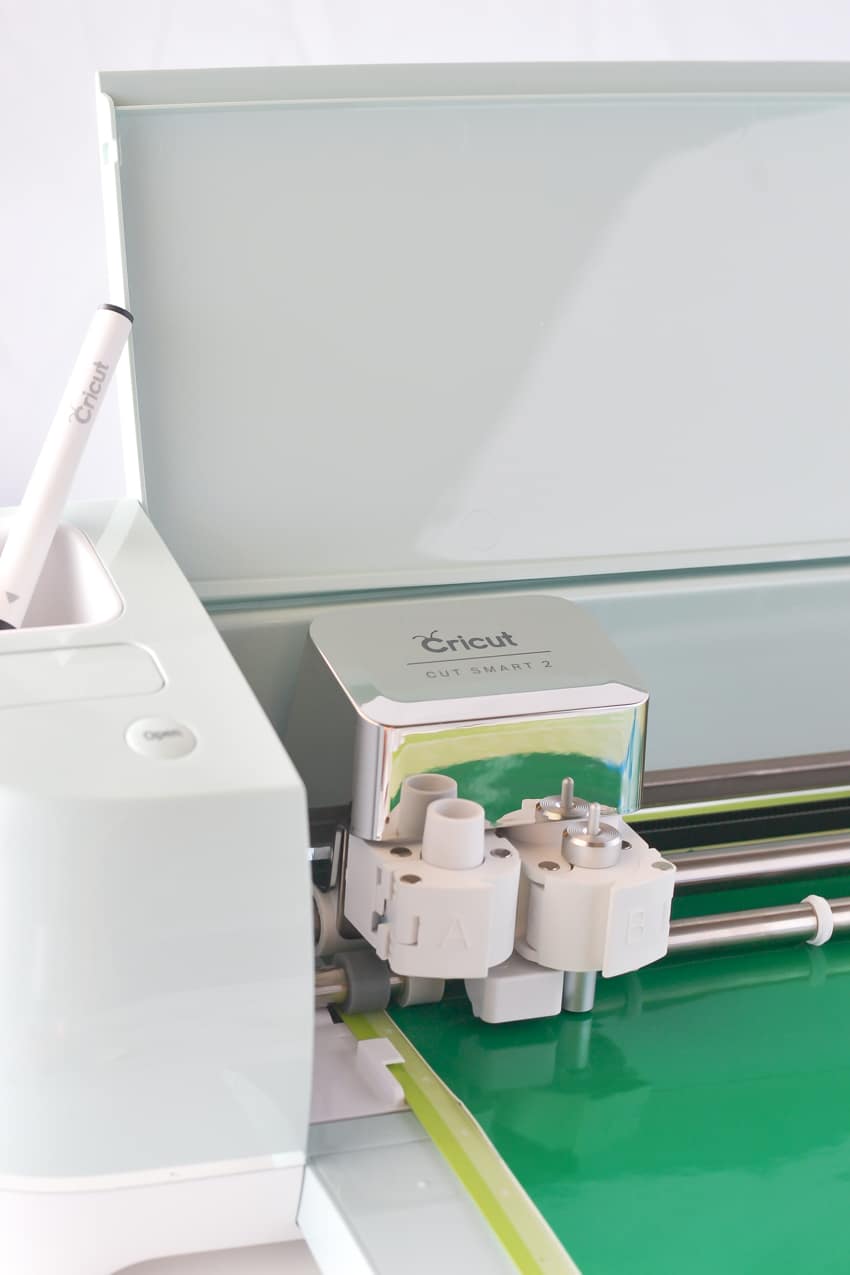
Before cutting the vinyl design out with the Cricut, measure the areas of the wine glass to get a general idea of size necessary. For the stemless wine glasses that I use, 2 inches high is about perfect for the main design, and then about .25 inches is ideal for the peek-a-boo design that will be covered in glitter. The Circut Explore Air 2 does a fantastic job of cutting these teeny tiny pieces!
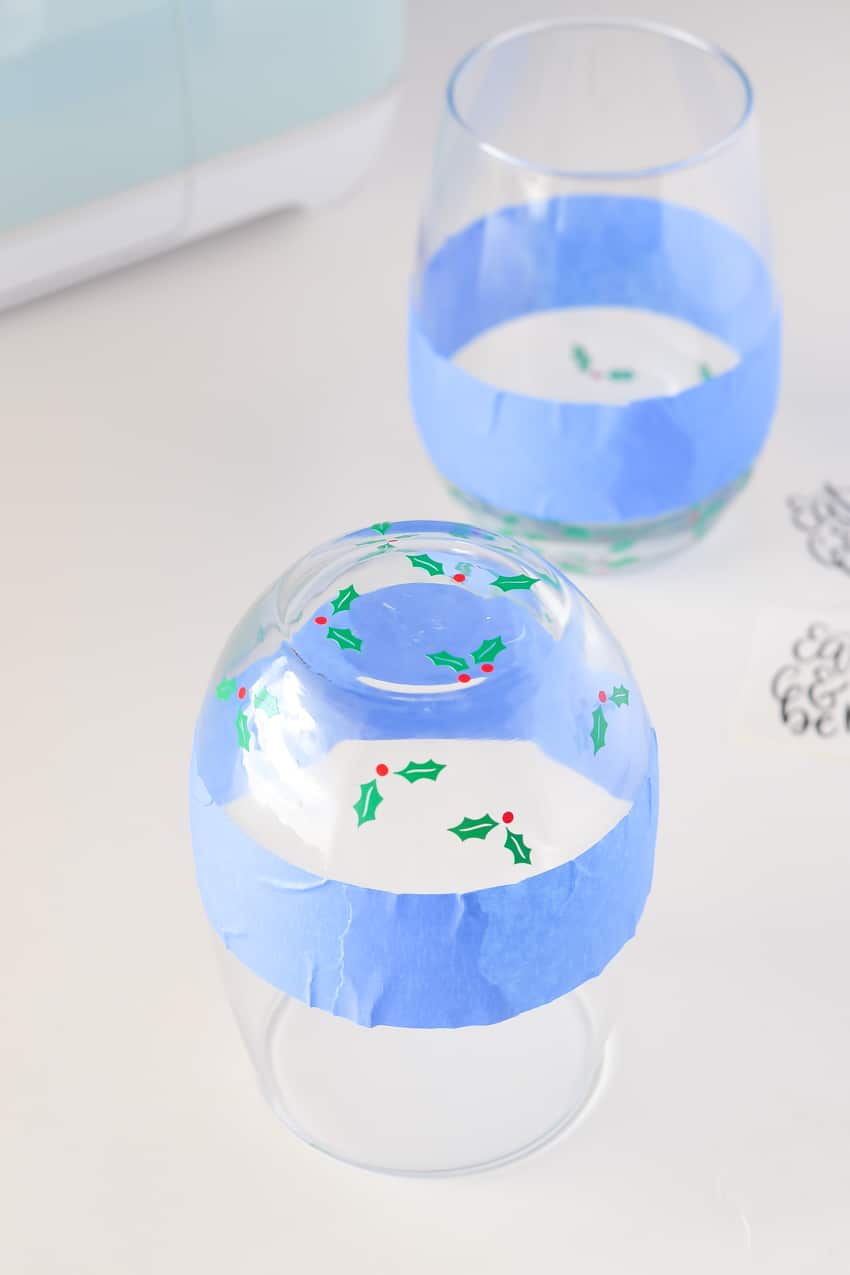
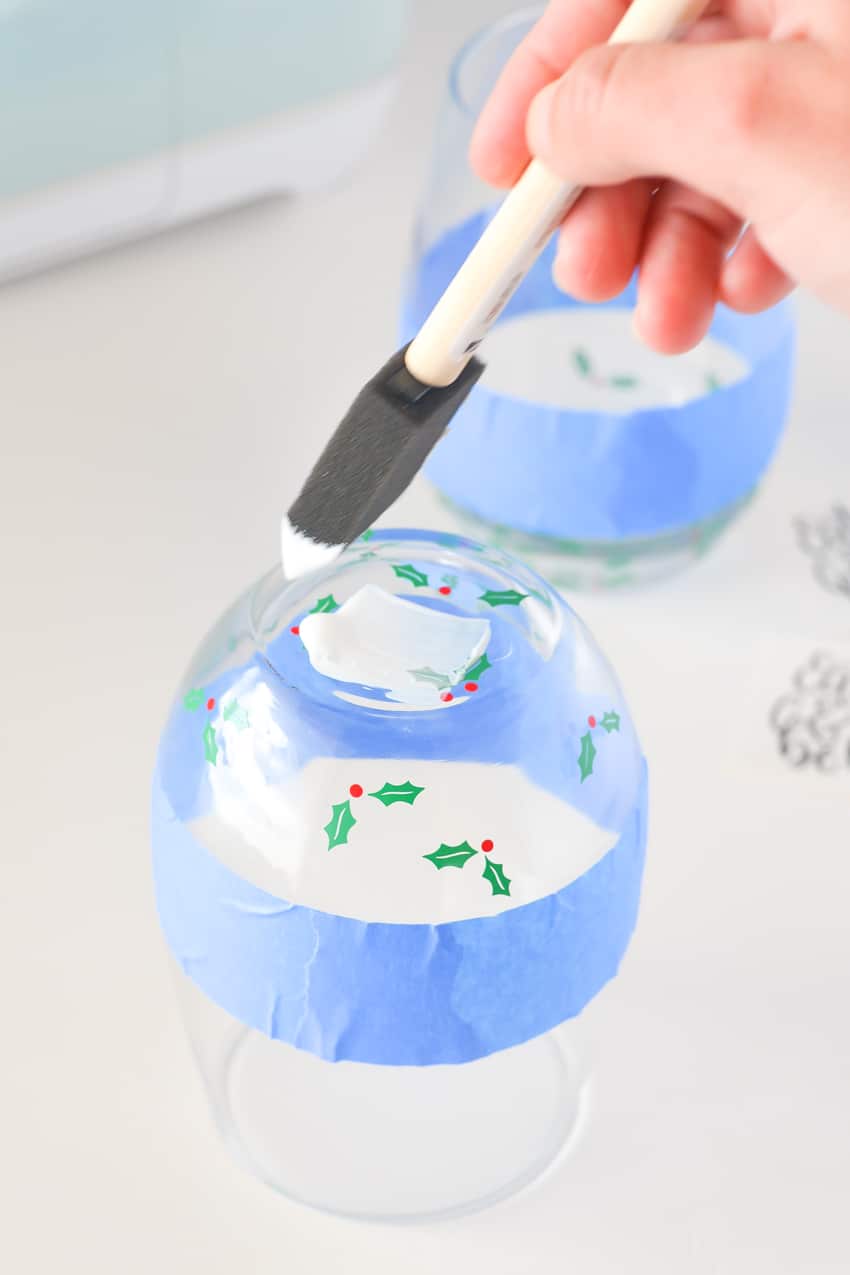
Once you’ve cut and weeded your vinyl pieces, it’s time to apply them! Start by applying only the peek-a-boo pieces to the bottom of the glass. Make sure to look through the top of the glass to make sure you’re filling in all the gaps and empty spaces.
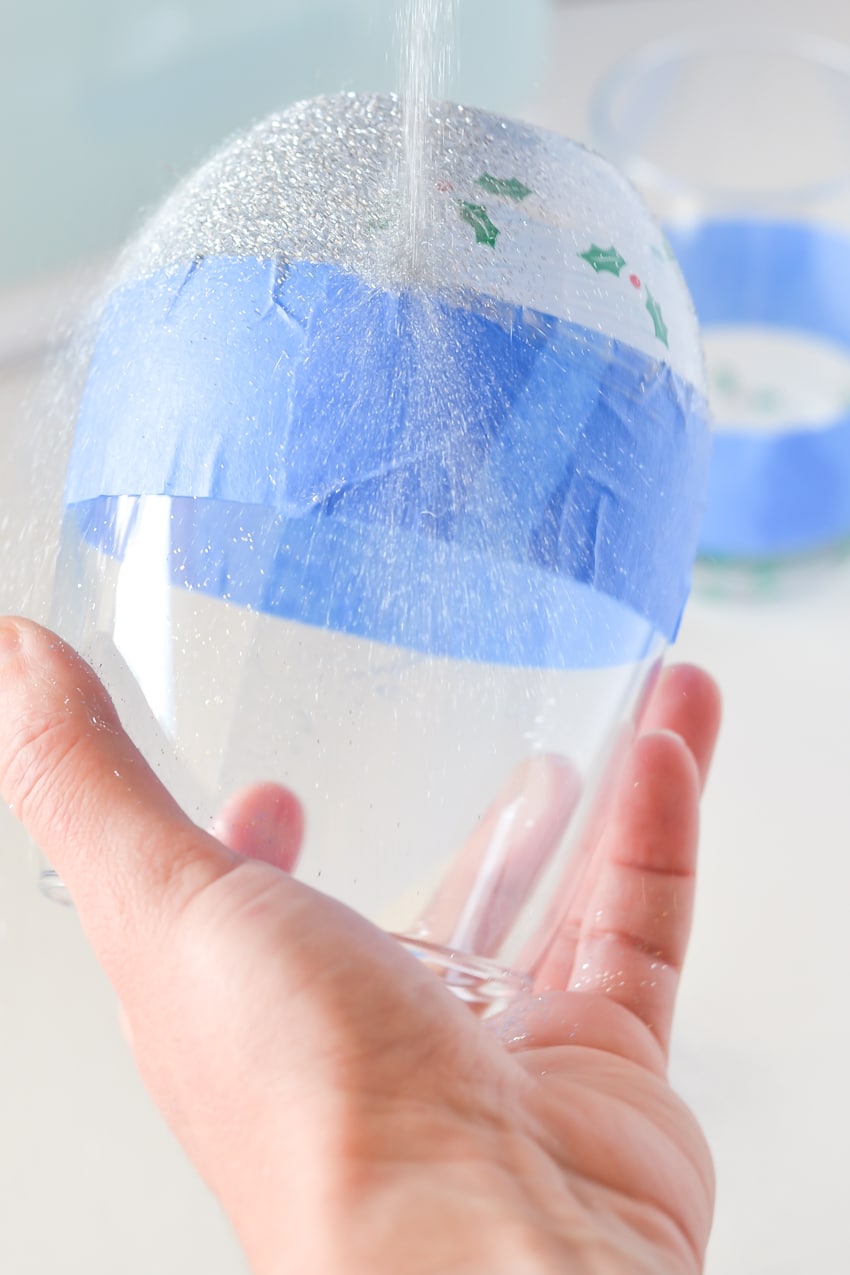
Next comes the fun part! Applying the glitter! Use a brush to apply a thin coat of Dishwasher Safe Mod Podge to the area below the tape. Sprinkle on a layer of glitter over the glue. For crisp lines, carefully remove the tape while the glue is still wet. Invert the wine glass (glitter-side up), and allow it to dry completely.
After the glue has dried completely, carefully apply another layer of Dishwasher Safe Mod Podge to seal in the glitter. If you’re not satisfied with the glitter coverage, apply a second coat of glitter, then seal once dried.
Be sure to follow the directions on the Mod Podge container for best results!
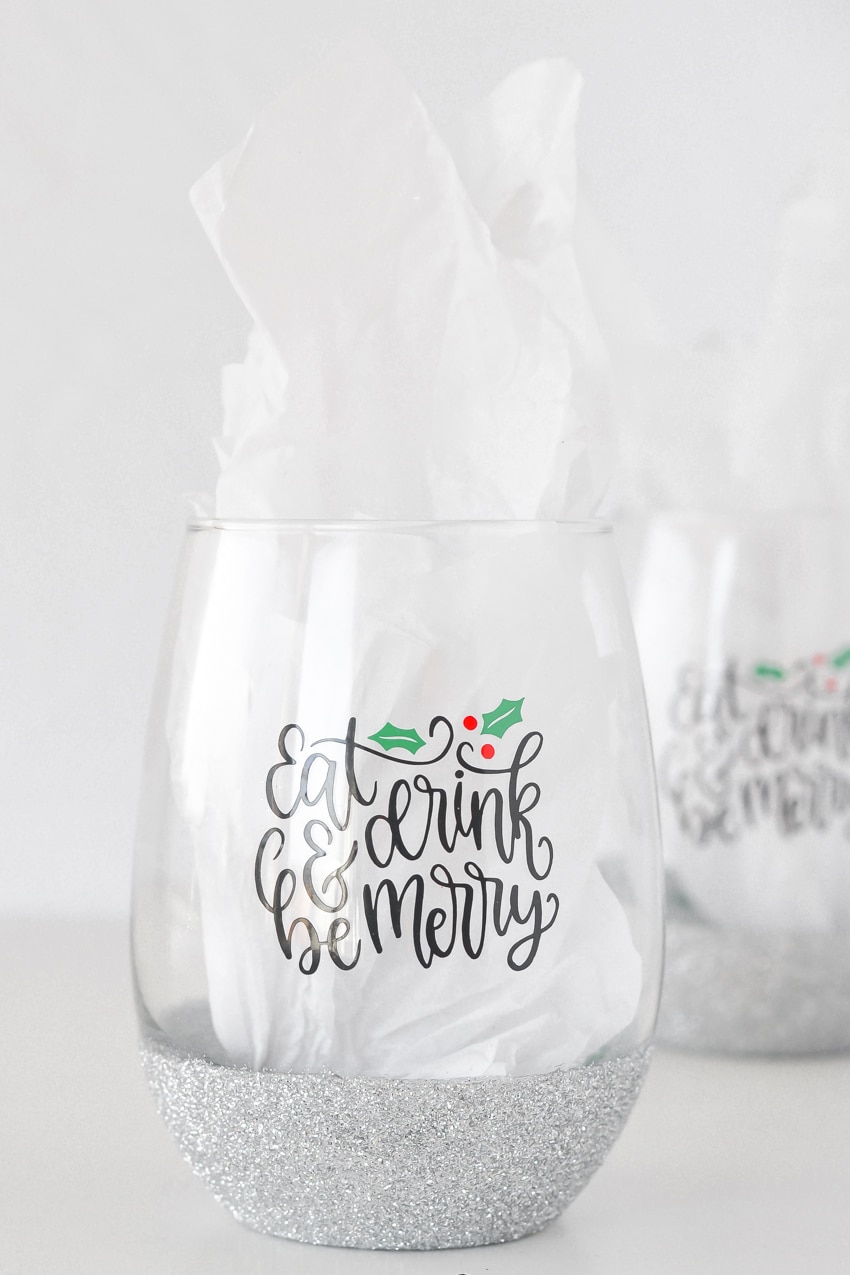
The end product will be beautiful peek-a-boo wine glasses perfect for gifting or your own celebrations!