DIY Christmas Pillows With Cricut EasyPress 2
This is a sponsored conversation written by me on behalf of Cricut. The opinions and text are all mine.
Deck the halls with your very own DIY Christmas pillows. The Cricut EasyPress 2 is the ultimate tool for creating beautiful projects with iron-on vinyl.
If you’ve ever poked around on this blog, chances are, you’ve come across a Cricut related post. I use my Cricut Explore Air™ 2 machine for EVERYTHING. Literally, everything. And I sing its praises to just about anyone who will listen.
I’ve been a loyal Cricut user for over 8 years now. However, with as much as I love my Cricut cutting machines, I was having a hard time accepting the new Cricut EasyPress 2 products. In my mind, my household iron was good enough for iron-on vinyl projects. Boy, was I WRONG about that!
A few weeks back, the wonder folks at Cricut sent me an EasyPress 2 to try out. My first EasyPress project was an important one–I was making t-shirts for my next door neighbors to welcome their daddy home from deployment. What a perfect opportunity to put my new EasyPress 2 to the test!
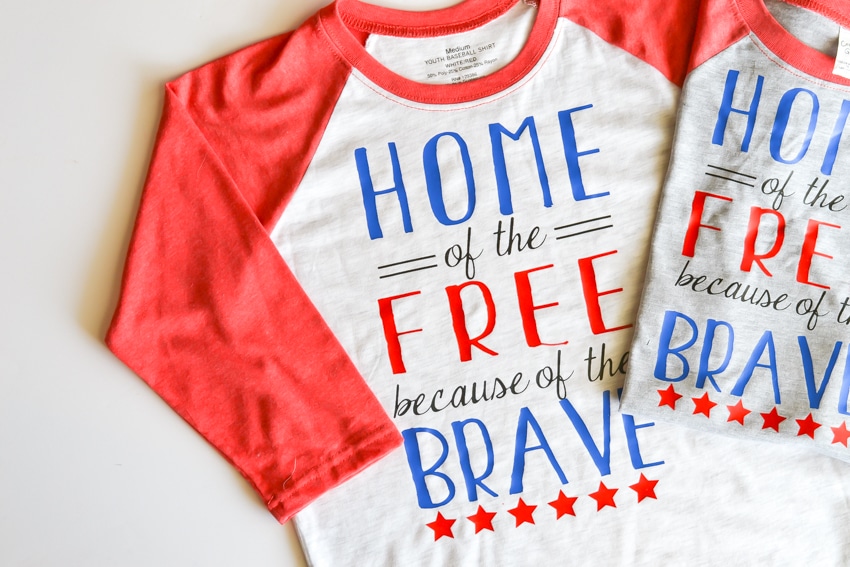
In the past, I’ve always made my iron-on projects with our regular iron. The thing is, when you’re making projects with iron-on vinyl, you need consistent heat and pressure to ensure that your vinyl adheres correctly to your fabric. I’m not exaggerating when I say that I’ve spent upwards of 15 minutes trying to use an iron to make one little shirt.
Each of these homecoming t-shirts took less than 2 minutes to press with my EasyPress 2. Easy peasy! The EasyPress 2 has a large surface that heats up evenly to effortlessly knock out entire t-shirt surfaces in one go. Simply set your temperature, set your time, and press!
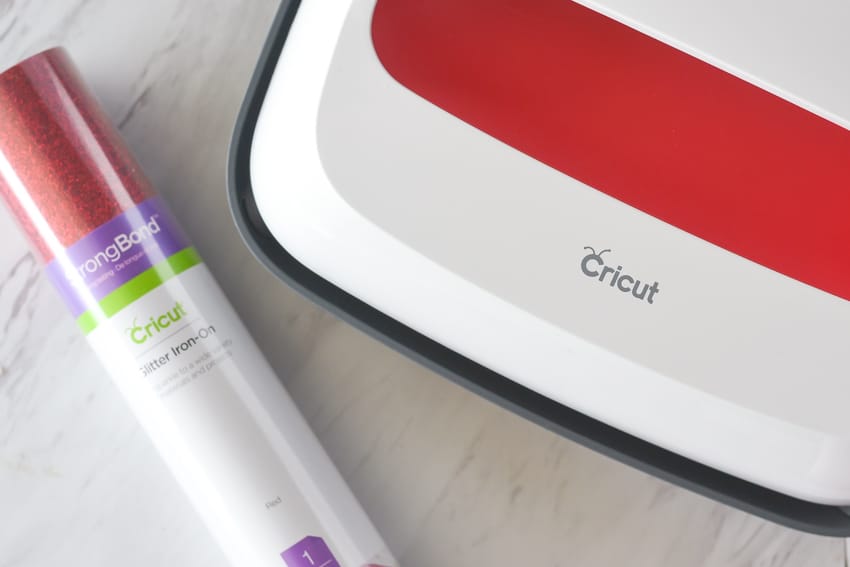
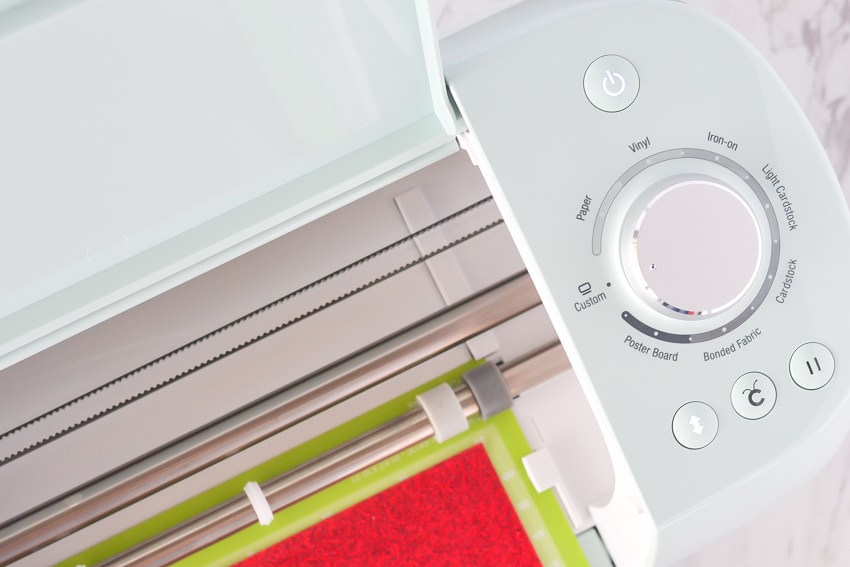
Oh, I haven’t mentioned the time and temp settings..?! The Cricut EasyPress 2 allow the user to set the desired temperature and time for the specific iron-on vinyl being used. Each variety of iron-on vinyl has a recommended pressing time and pressing temperature for ideal results.
How about we get onto the project so that I can show you how fantastic the EasyPress 2 really is?!
Using the Cricut EasyPress 2 to make Christmas pillows
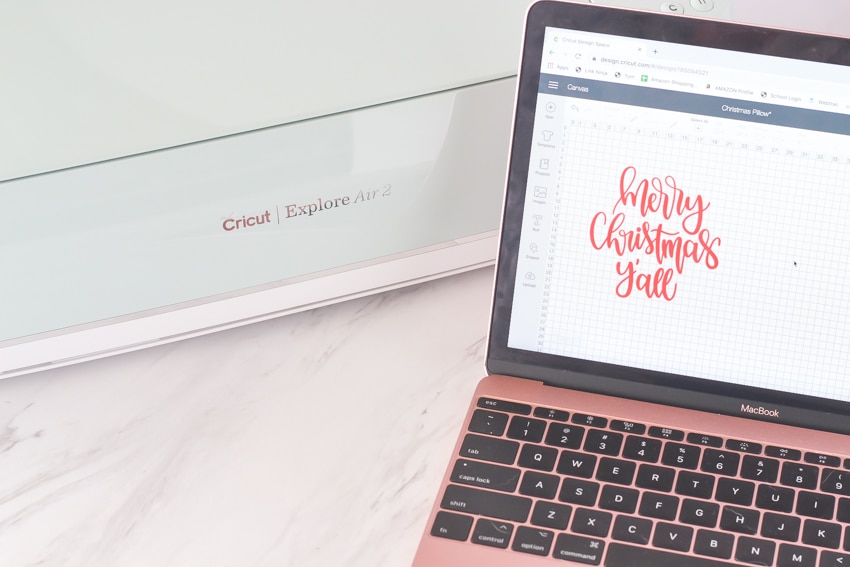
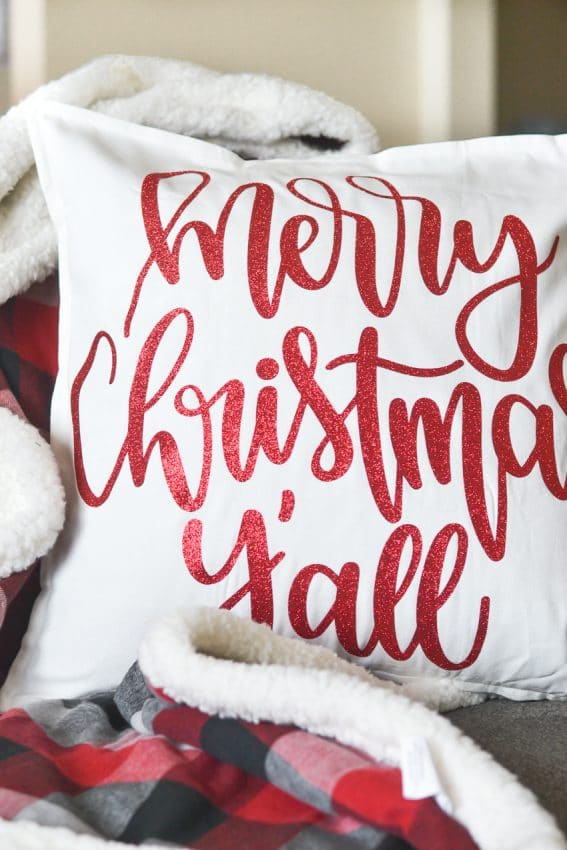
To make these Christmas pillows, I selected a Merry Christmas Y’all image from the Cricut Design Space image gallery. I just love how the words fit together so perfectly with the font used. The pillow I’m using is 20″ x 20″, so I wanted to size the image to fill up most of that space.
Because the Cricut Explore Air 2’s max cutting dimensions are 11.5″ x 23.5″, I had to doctor the image a tiny bit. The original had all three words attached, which in the square shape it came in, meant no bigger than a 11.5″ x 11.5″ design. I duplicated the image 3 times and then contoured out two of the words from each of those images to leave me with a design featuring each of the 3 words separately.
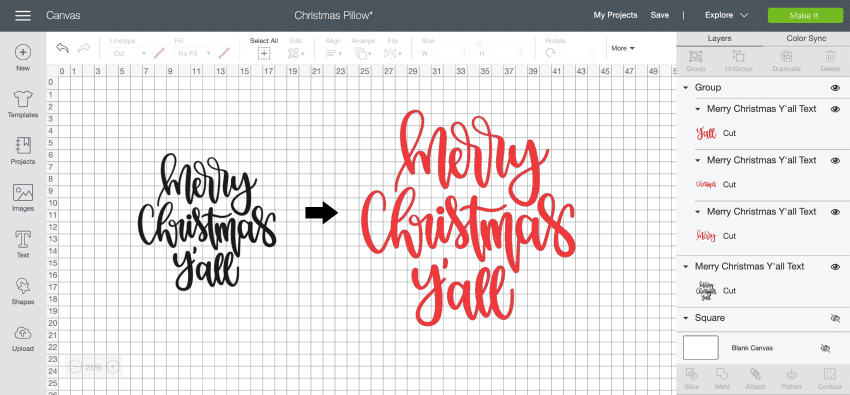
When done this way, I can make the entire design way larger, and the software will sort each of the words into the ideal location on the 11.5″ x 23.5″ cutting mat. Take a look at the red vs the black (original)!
Here’s a short cut: Use my actual design file that is optimized and detached to create your own large Christmas pillow!
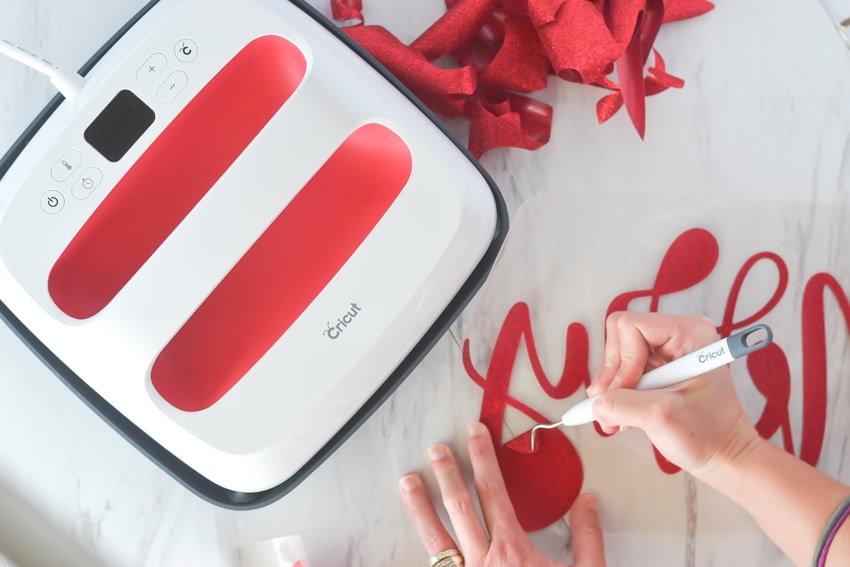
After cutting and weeding out the extra vinyl, it’s time to press it all together! The people at Cricut suggest pressing the material you’ll be ironing on to before applying the vinyl. Trust them! Not only does this remove any moisture from the item, but it gives you a nice smooth work surface.
The next step is to place your iron-on vinyl down where you want it. I really love working with iron-on vinyl because it’s easy to move around and align before pressing. According to Cricut’s super easy to use heat guide, this project is going to require 30 seconds at 330º F.
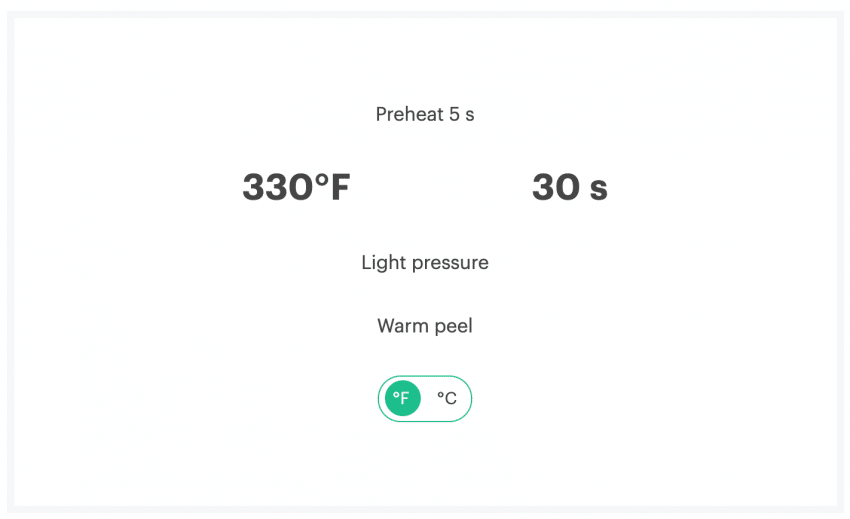
The final step is to flip your project over and press it once more. Allow the transfer sheet to cool slightly, and peel it off while warm. Done and done!
I just can’t even believe how much easier iron-on projects are with the Cricut EasyPress 2! My projects are now done in a faction of the time! And with all the spirit weeks and super hero days, there are plenty of projects!
If you’re a skeptic like myself, (sorry, Cricut! I’ll never doubt you again!) I highly encourage you to give the Cricut EasyPress 2 a try!