Getting Started With Your New Cricut Explore Air 2

This is a sponsored conversation written by me on behalf of Cricut. The opinions and text are all mine.
The holidays are right around the corner, and soon plenty of bright shining faces will be opening up their new Cricut machines! Whether you’ve just received a brand new machine, or maybe you’ve had one for a little while that you’re afraid to use, I wanted to share some Cricut Explore Air 2 basics!
I received my first Cricut for Christmas 8 years ago, and it’s been love ever since! The entire following year, while John was deployed, was spent crafting and learning all about my machine. I made plenty of care package decorations and even my first vinyl project! And let me tell you, Cricut has come a LONG way since then!
Once upon a time, Cricut users were limited to the fonts and images available on Cricut cartridges. That’s not the case anymore! Through Cricut Design Space, users are able to upload any image they could possibly think of! Plus, the Design Space image library has plenty of images to choose from, and even more available if you subscribe to Cricut Access!
Getting Started With Your Cricut Explore Air 2
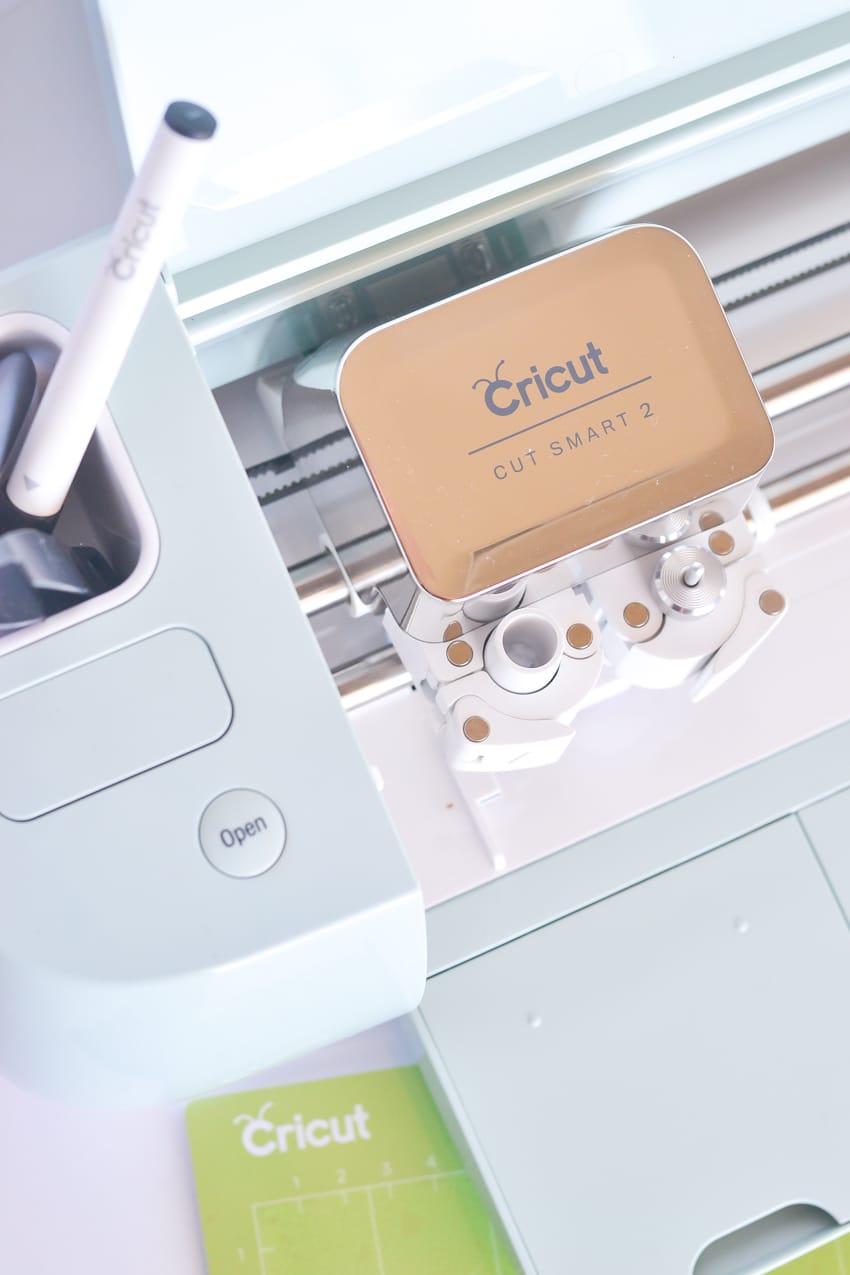
Straight out of the box, your Cricut Explore Air™ 2 machine, will come with everything necessary for your very first Cricut craft project! Seriously! The folks at Cricut are SO smart and have included the cardstock materials for your first project. Plus the blade, power cord, and a mat! Easy peasy!
Don’t forget to stock up on some useful extras: Essential Tool Set and Extra Mats
To get started, head to: Cricut Design Space on your computer or the Cricut Design Space™ app on your phone! You’ll need to login or create a new account. From there, you should be prompted to create your very first project!
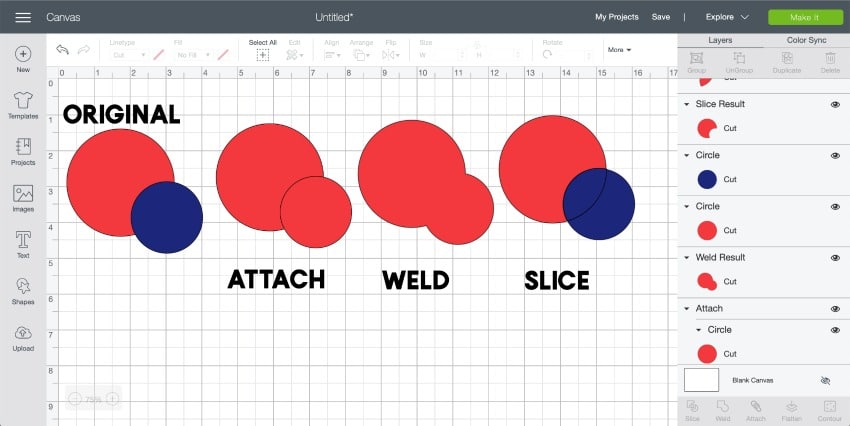
Once the first project is complete, I think it helps to play around with the standard shapes and move and manipulate them using the control panel at the top of the Cricut Design Space screen. Also be sure to checkout the layers panel on the right side of the screen. Take a look below at the difference between: attach, weld, and slice!
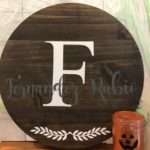
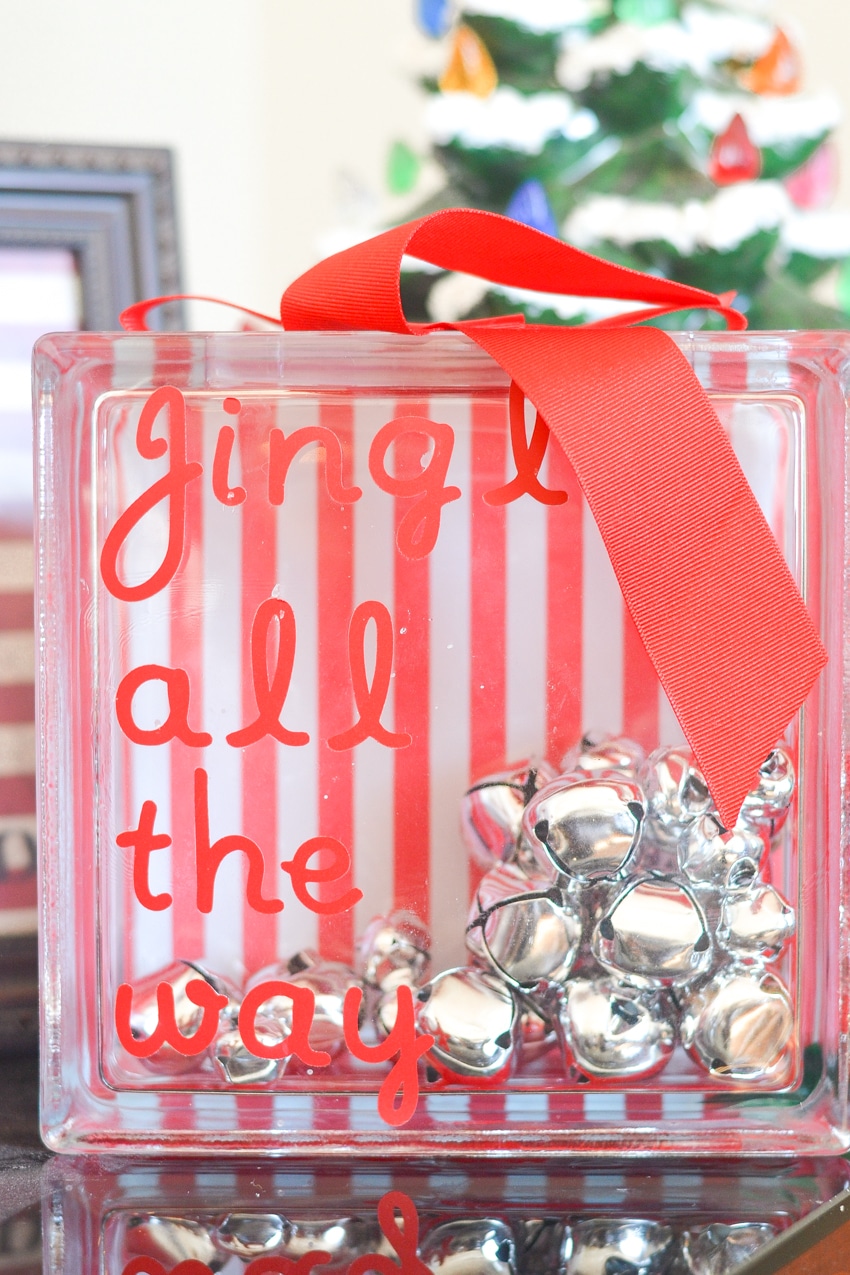
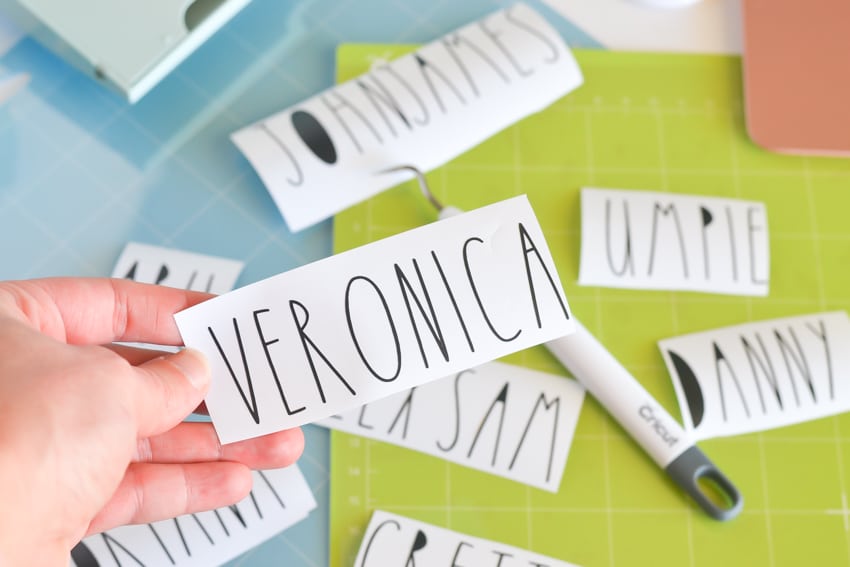
What I love about the Cricut Explore Air™ 2 is that it can cut even the most intricate designs on a variety of materials. For example, this super narrow farmhouse font that my mom has been asking me to use for ornaments for our family Christmas this year. Or the teeny tiny holly and berries that I used for the Peek-a-Boo Wine Glass DIY Craft a few weeks ago!
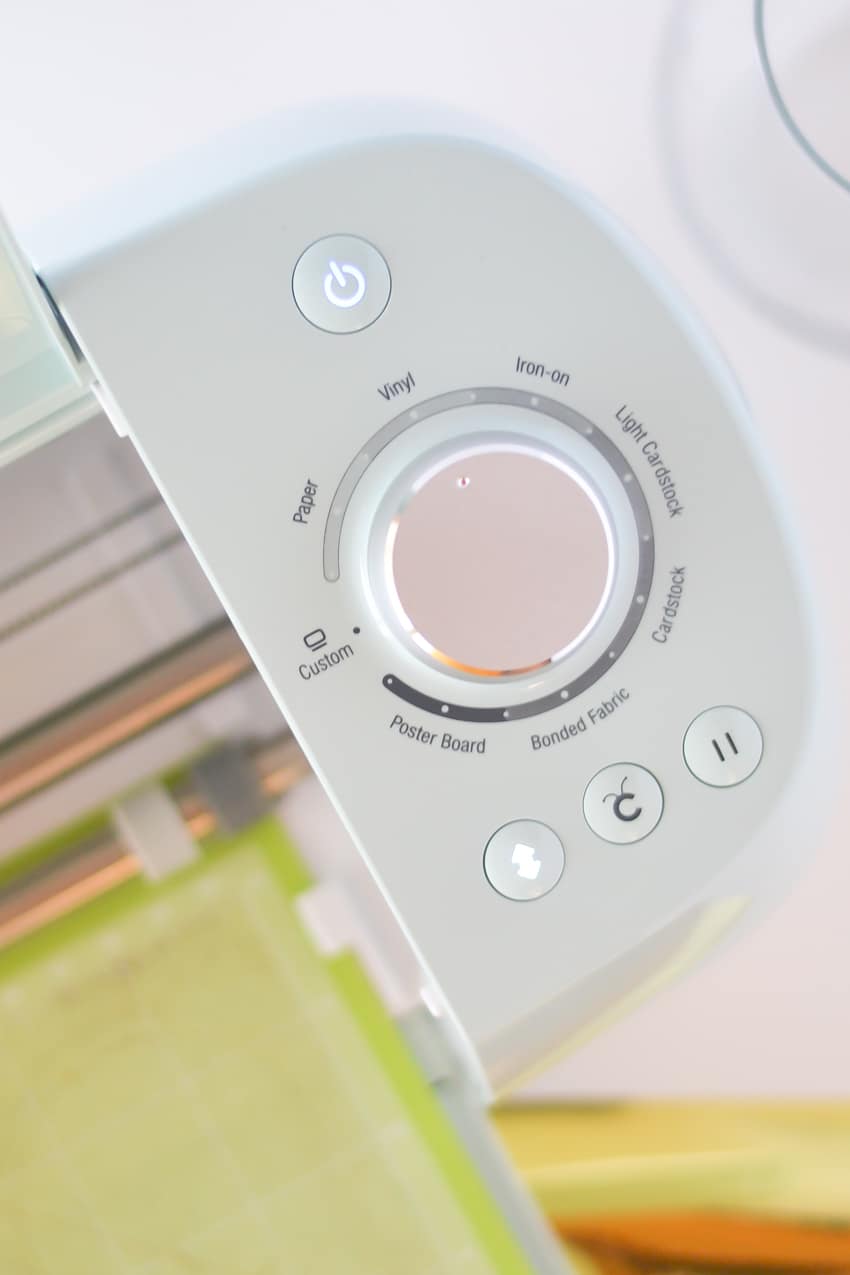
While I tend to stick to vinyl (both adhesive and iron-on) or cardstock projects, the Cricut Explore Air™ 2 comes ready to cut hundreds of different materials. The dial on the machine lets you choose from a few options, but twist over to custom and the options are endless! Unlike my original Cricut Expression machine, these newer machines set the speed, pressure, and blade depth for you!
Another fun upgrade from the old Cricut Expression to the Cricut Explore Air™ 2 is the ability to use Bluetooth to transfer a project from computer to cutting mat wirelessly. I love this feature for when I’m designing via desktop computer, but want my Cricut on the floor so that I can have ALL the workspace to switch between mats and materials.
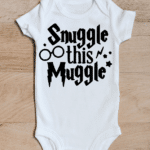
Because crafting a funner with friends, sharing your projects is easy! If you’ve only used Cricut images and fonts, sharing your design is as simple as copy and pasting the URL from your web browser! Take a look at some of my favorite recent Design Space projects:
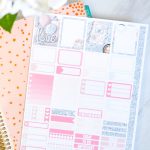
I tell everyone that the Cricut Explore Air™ 2 is the perfect tool for crafters, but really, it’s the perfect tool for EVERYONE! I’ve made labels, planner stickers, wooden signs, car decals, household labels, and thank you cards just to name a few! I’m showing off some of my favorites below!