How to Create a Mockup in Cricut Design Space
Hello, party people! It’s time to get crafty up in here! I must admit, it’s been a while since I’ve shared a craft-related post, so here we are!
Today’s tutorial is for my Cricut friends using Cricut Design Space! This is specifically Cricut, as I have NO idea how Silhouette software works, but Silhouette users may be able to use similar steps to create mockups in their program.
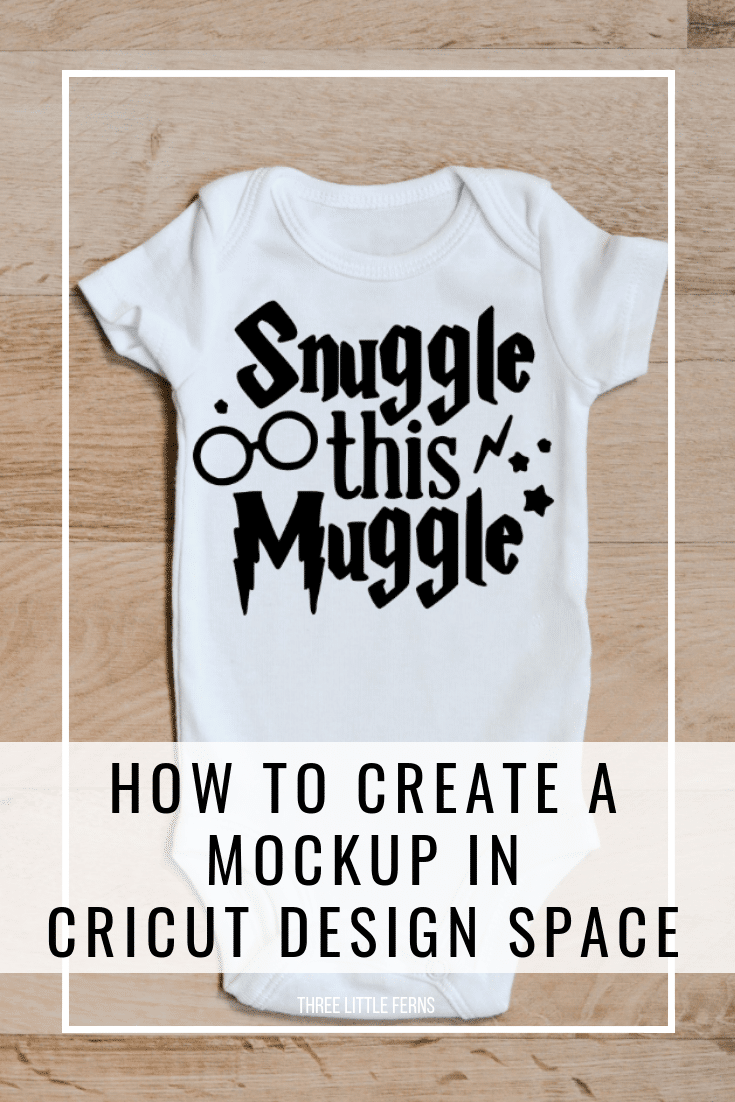
Mockups are ideal for crafters that are looking to sell their products online, but can also be useful for the casual crafter looking to take a realistic look at their project!
Creating a mockup in Cricut Design Space is a fairly simple task. Plus, once you have you mockup image uploaded, you’ll be able to create tons of different projects in NO time!
How to Create a Mockup in Cricut Design Space
- Start by logging in to Cricut Design Space and creating or uploading a design for your project on a blank canvas.
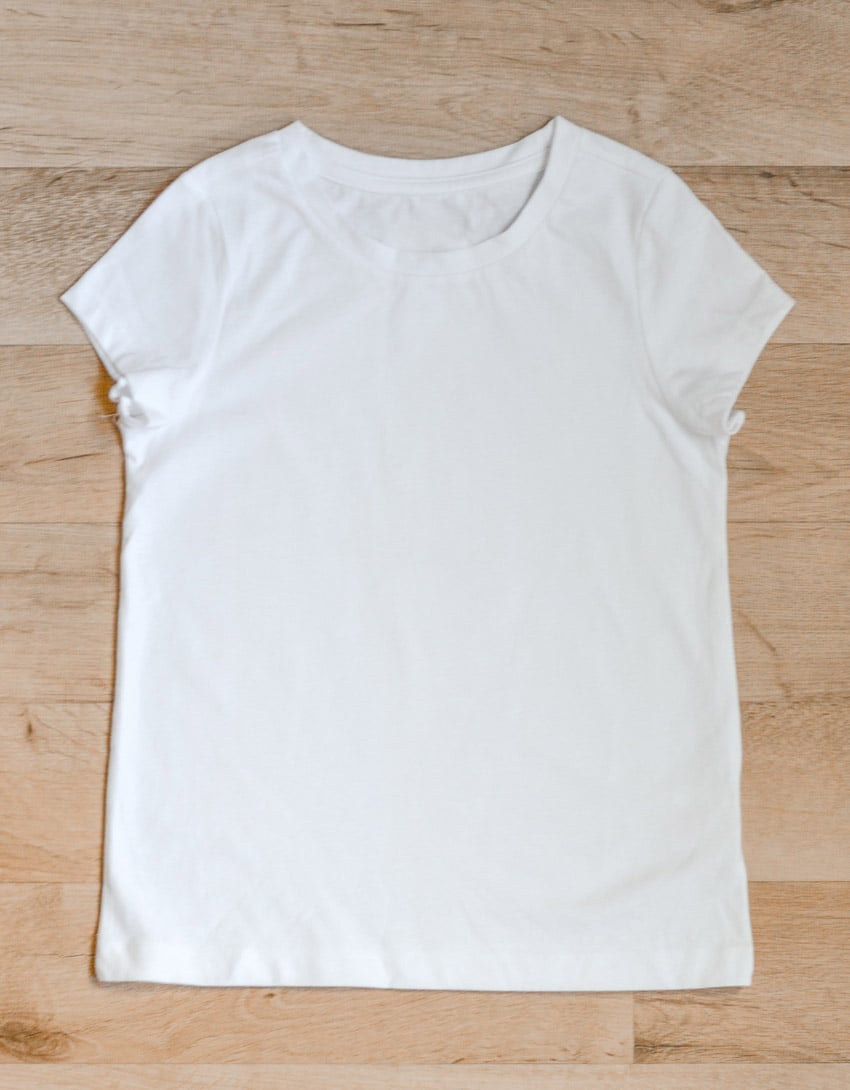
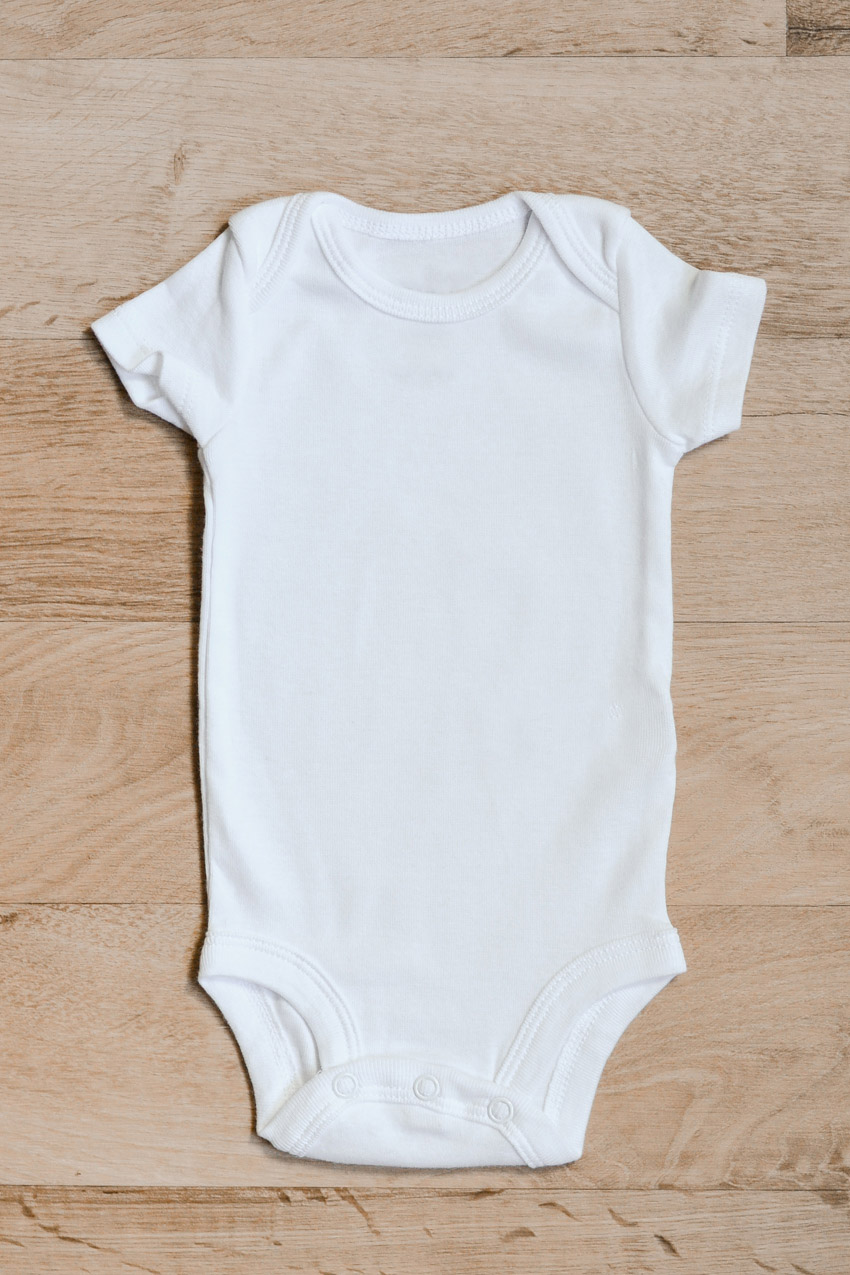
- Upload a blank mockup template for your project. Chose the upload tab in the left column of Design Space, then browse for and select your mockup template. Mockup ideas include: t-shirt, baby onesie, pillow, or a vehicle windshield (Download my free mockup images below!).
- Select “Complex” as the image type, then hot continue. Name and tag the image, then save as a “print then cut” image.
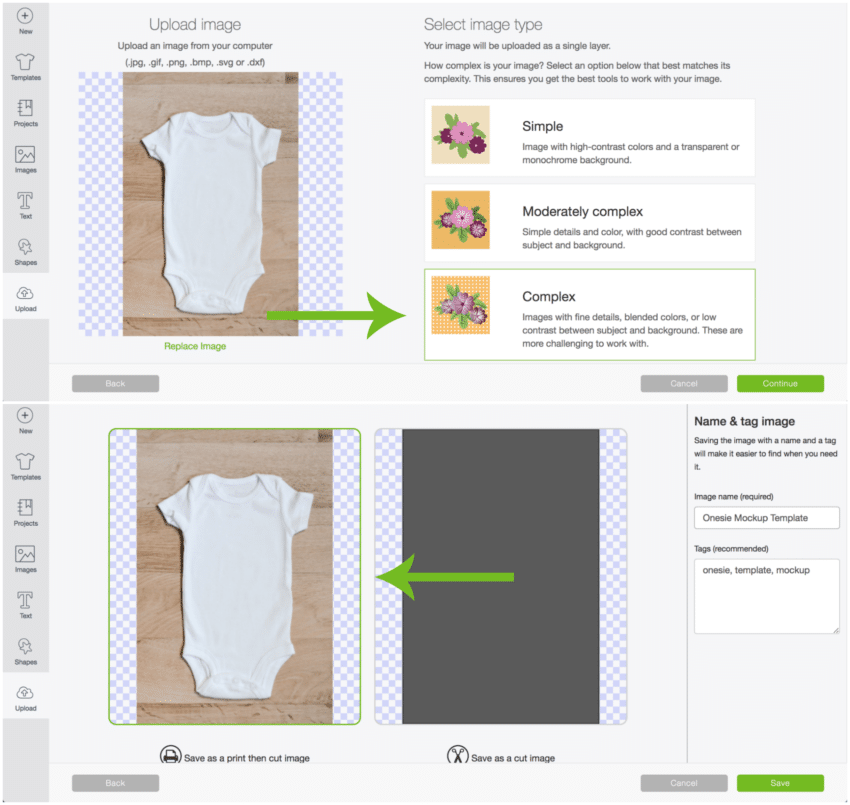
- Insert your mockup template as an image into your project canvas.
- Resize the template to an appropriate size (you can also zoom out in the bottom left corner of your project canvas). Use the arrange tab to move your mockup to the back, behind your design.
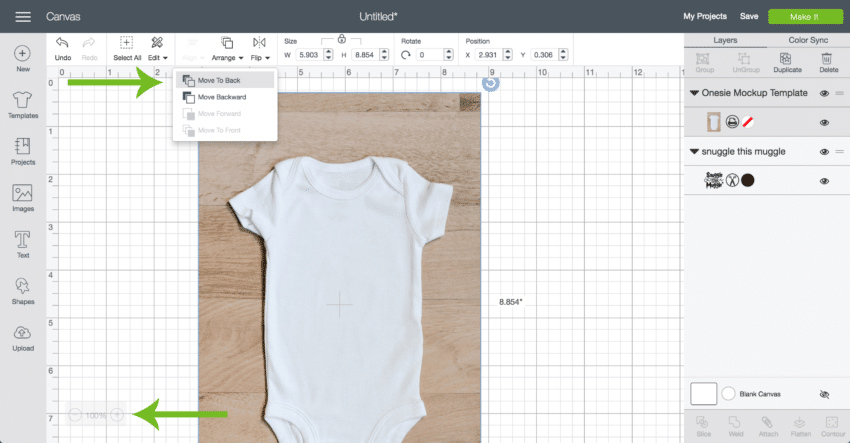
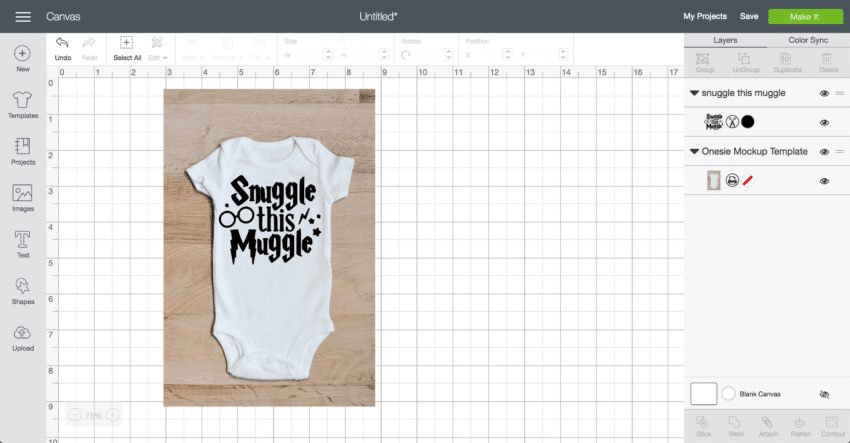
- Resize your project design to fit over the mockup image. Ta-da! Take a screen shot of the images layered together (with a Mac: shift + command + 4) to share!
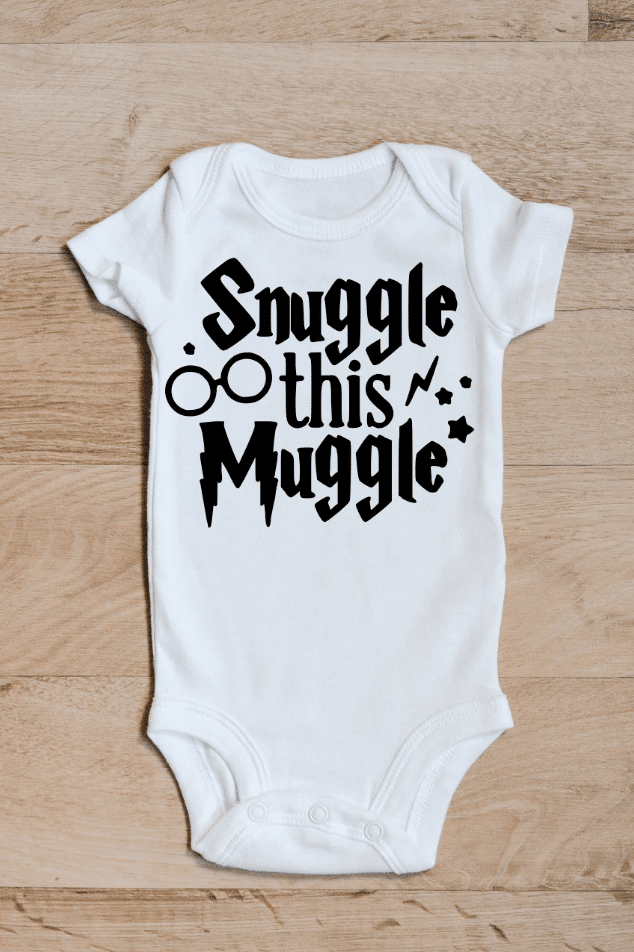
- REMEMBER: You will need to resize your design project to the appropriate size before cutting out with your Cricut!
Right click the images below to save the FREE mock up templates:

