February Printable Life Planner Stickers
It’s official. I have a sticker making addiction. Since figuring out how to make them with all sorts of patterns and designs, I can’t stop (won’t stop)!
After creating the coral colored set last month, I’ve been itching to figure out how to share a version of the file so that both Silhouette and Cricut users could upload it to their machines. As it is, I was restricted to solely Cricut images last time, because the Cricut program only lets you share files with images that they have existing in their program.
This time around, I have a file that anyone can import then use the Print & Cut feature. Although the file isn’t an SVG, it’s a PNG, which makes it just about as simple to upload. When I tried to use the file I made as an SVG, I noticed that because of the patterns and such, it was too complicated to work in Cricut Design Space. I mean, no one want’s to deal with a file that literally had THOUSANDS of layers, right?
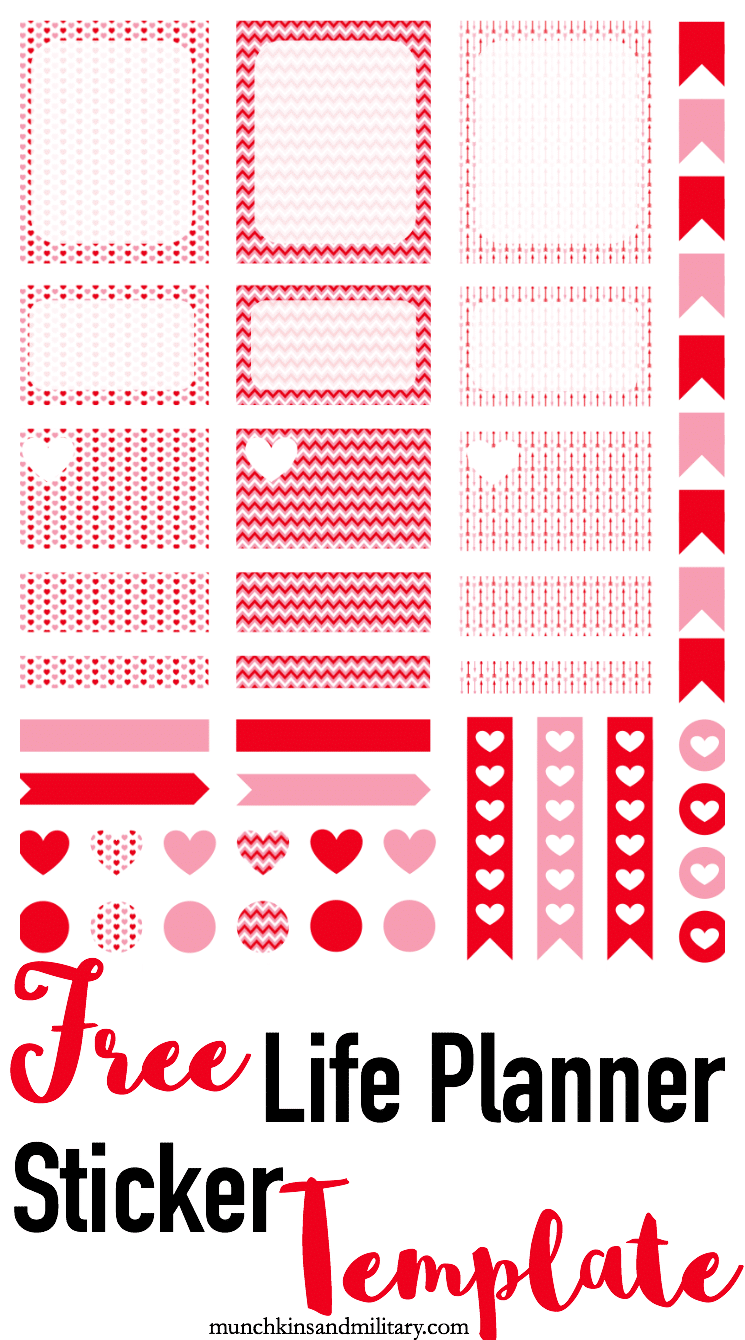
So, without further ado, here is my February sheet of printable stickers for your Erin Condren Life Planner! It’s got a little bit of everything, to get you through a week in February. I’ll be using these next week!
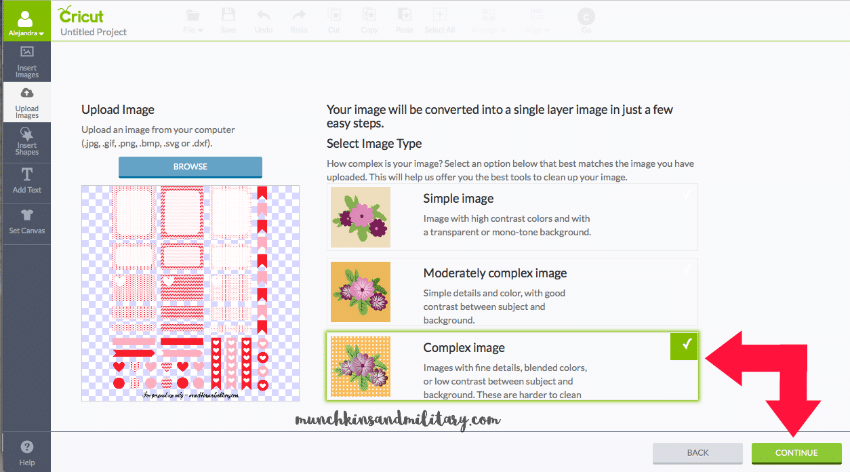
To use this file, simply open the link, then right click the image to save it to your computer. I’m not exactly sure how to work a Silhouette, but these are the Cricut instructions, I’m sure they’re fairly similar! You’ll then need to open Cricut Design Space, and upload it.
Since it is a fairly complex design with patterns and such, your best bet is to select “Complex image” after uploading.
Because of the way that I designed the file, there is no need to clean up the background or anything, so you can just hit continue on that screen. When going to save, make sure you’re saving as a “Print Then Cut Image“. You’ll lose the patterns and designs if you don’t. Name your file, and then add some tags, and click save.
When you go to use the uploaded file, you’ll notice that it shows up itty bity on your screen. To fix this, you’ll have to resize the image. Don’t worry, it’s an easy fix!
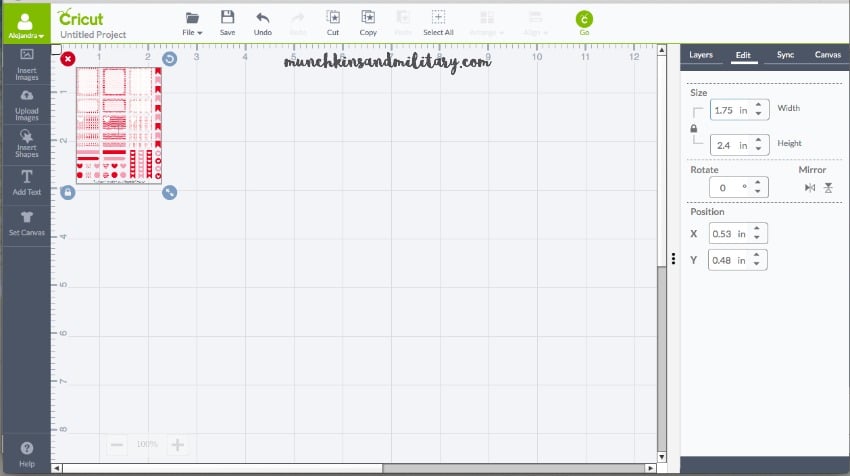 With the sticker image selected, go to edit on the top right area of Design Space. Make sure that the proportions lock is locked, and change the width to 5.52 inches. Don’t worry about the height, as it will automatically adjust itself.
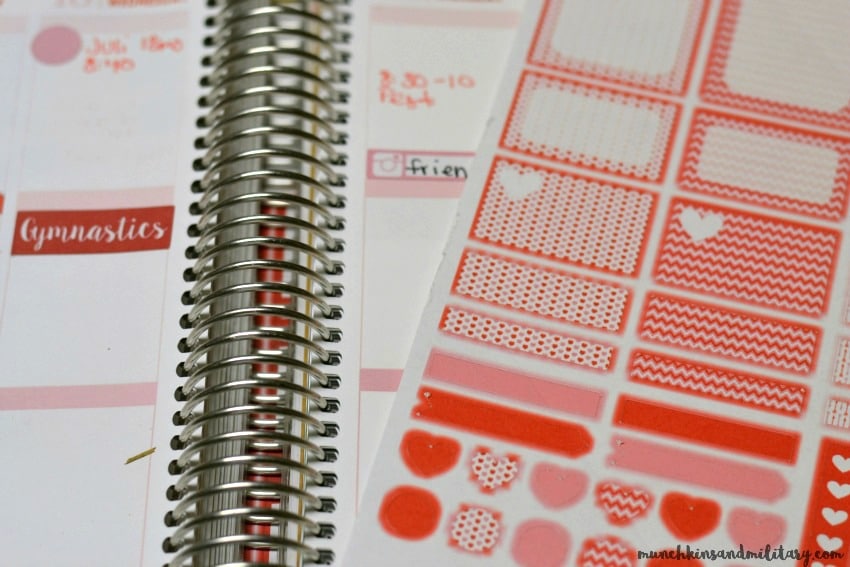
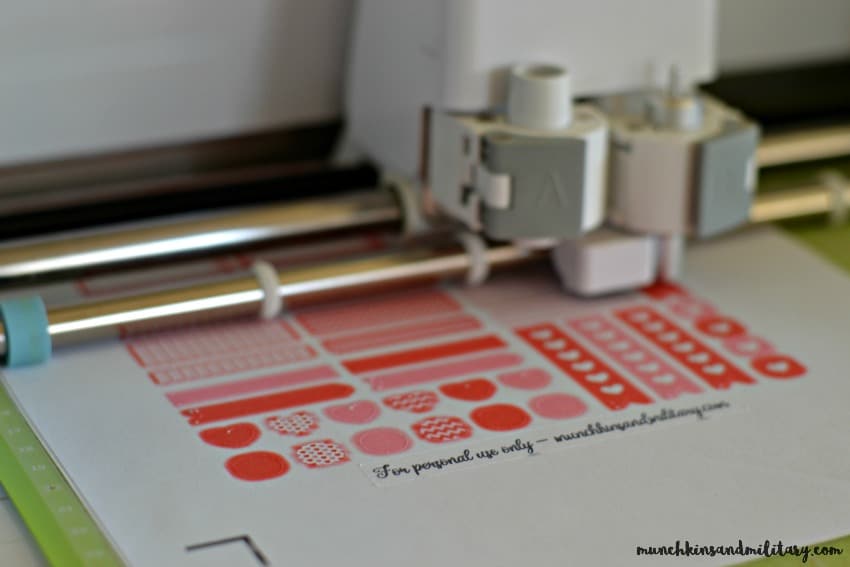
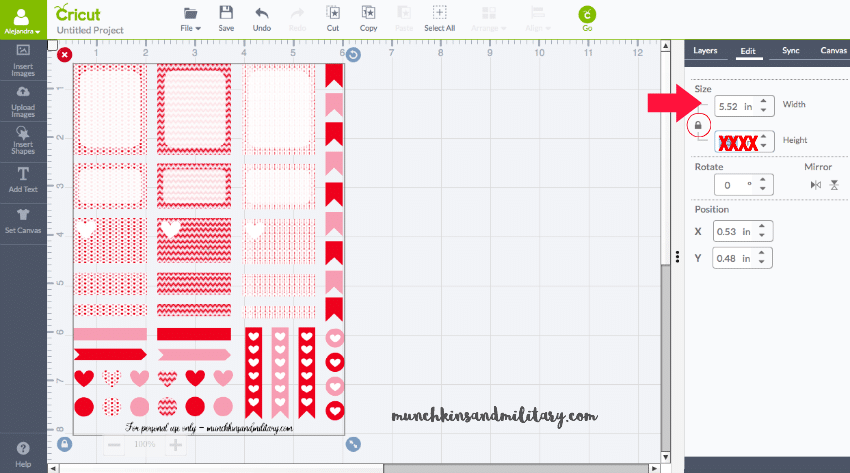 From here, you’re good to go! Click GO at the top to get your cut started. You’ll first need to print out your page on your regular printer, then you can stick it on to your cutting mat and load into the machine. I use the 3M notes custom setting for cutting sticker paper, and it cuts through the sticky portion, without cutting into the backing.
 You may notice that the edges of my images appear a bit blurry. This is because before printing, I select the “bleed” option. I do this to ensure that the edges of my stickers are colorful, and not white, in the event that the machine’s calibration is off.
 Be sure to come back next month for a March themed sheet of stickers!
Be sure to check out all of my free printable planner stickers HERE!

