Let’s Play Ball – Baseball Wreath
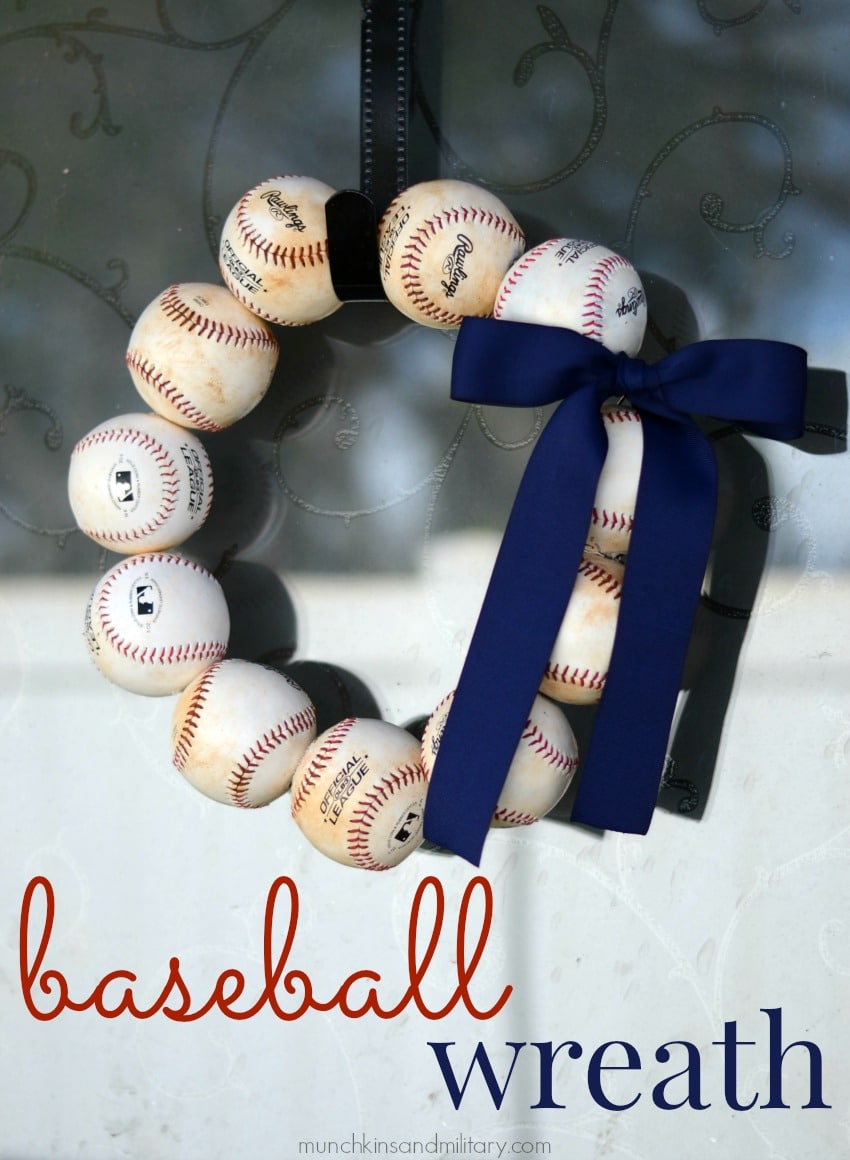
In case you hadn’t noticed, baseball is back and in full swing. Hehe. Now, I’m not much of a baseball fan, but John is. And boy does he love those Yankees. Personally, I don’t have the time to watch a seven hour game, but I thought it would be nice to create a cute baseball wreath to help welcome Johnny’s favorite season. I’ve seen them on Pinterest before and knew that it was a project that I could easily recreate.
Making a baseball wreath
To start out,the girls and I took a trip to buy some baseballs. All of the example wreaths that I looked at had about 11 balls. At the store I found a 12 pack, which was perfect. Eleven for me and one left over for John. He has since discovered his love of children sports and has told Veronica that he’s going to take her to get a bat and mitt.
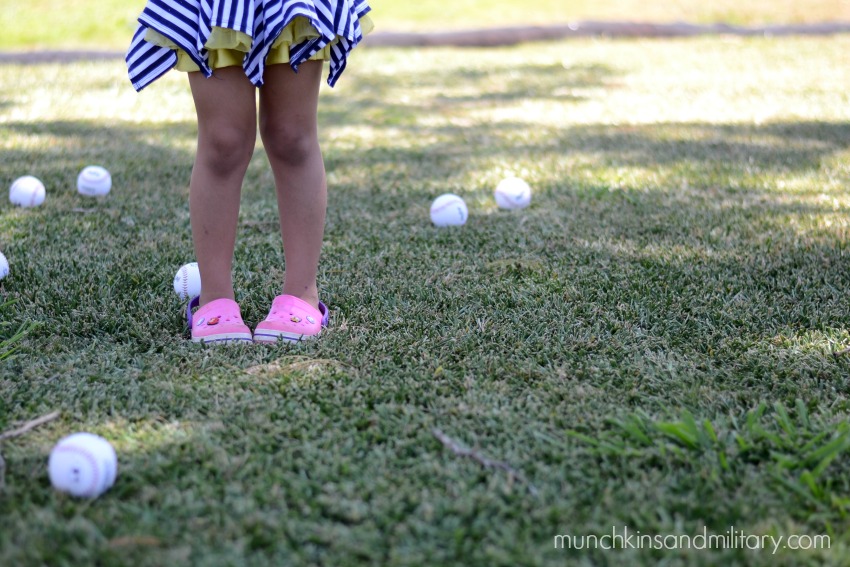
Back at home, the girls and I spent a little time outside tossing the balls to get them dirty. If there’s one thing I know about the red dirt here it’s that once it’s on, it’s not coming off. We have a pretty large side yard, so the girls had a great time tossing the balls and running around. Once each ball had a chance to roll and pick up some color, we were back inside for the next step of our project.
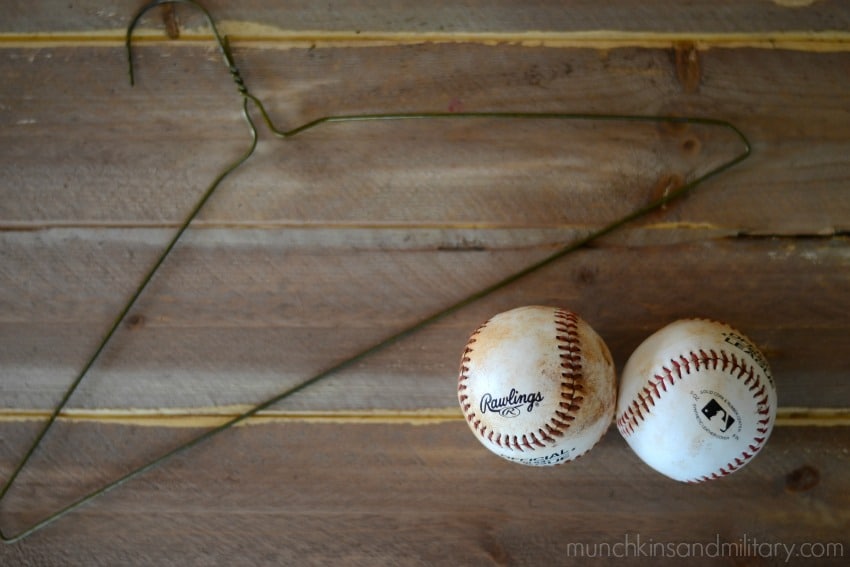
I knew I could find a wire coat hanger in the house since John has his dress uniform dry cleaned pretty regularly. Like I did with my Christmas ornament wreath, I bent the hanger into a round shape then used a pair of pliers to untwist the top. I also used those same pliers to cut off the twisty part of the hanger to make it easier to string the balls on.
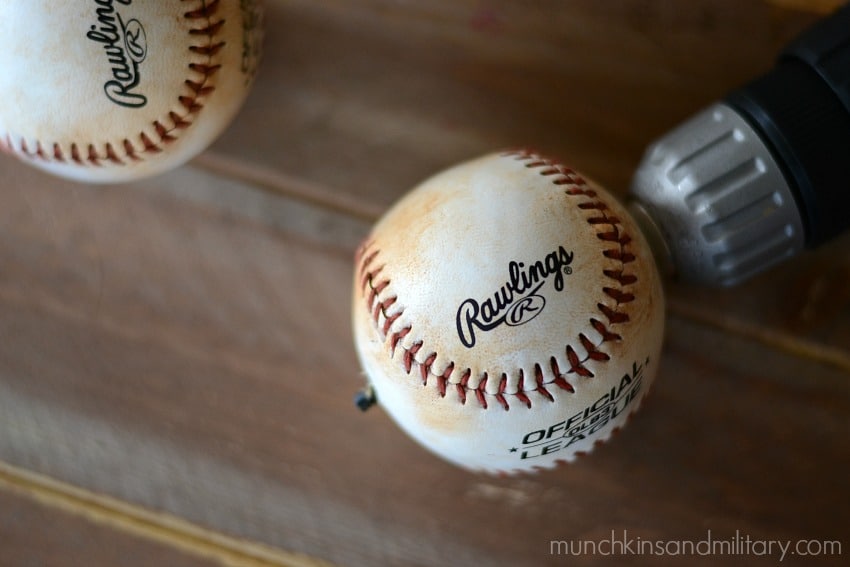
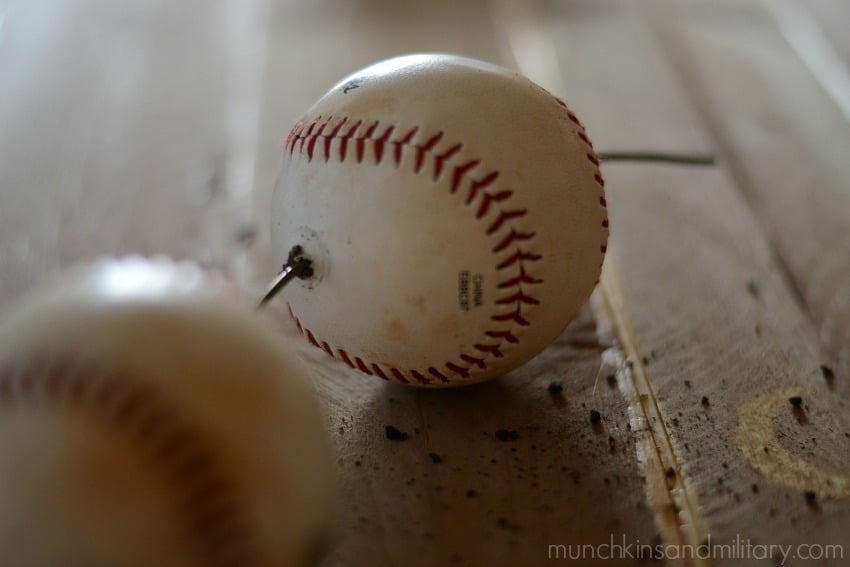
Using a 1/4″ drill bit, I made a hole through each of the 11 balls. Since the insides are made of cork and rubber, it was pretty easy to hold each ball in the grass with one hand and push the drill through with the other. Not sure if it was the safest method, but I didn’t lose any appendages and the balls turned out pretty decently. I definitely recommend doing this step outside since there was lots of cork/rubber that came out of the balls. I aimed for the center, but I wasn’t too concerned with the holes being straight through the middle of the ball since it would add a little charm to the wreath.
With the holes drilled through all of the balls, I started putting them on the hanger. I’m glad I went with the 1/4″ drill bit, because even with that, there were a few balls and spots on the hanger that wanted to give me a hard time. Once all the balls were on, I twisted the wire back up with my pliers. I used some ribbon that I already had to cover up the ugly twisty wire and make a pretty bow.
I may not love baseball, but I sure do love how this baseball wreath turned out!

