DIY Ornament Wreath
My absolute favorite way to decorate for any holiday is by hanging a wreath out on the door. Halloween, Easter, Christmas, they all get wreaths. And the rest of the year, well, there’s a generic wreath for that. Since Christmas is approaching, I thought I’d share how I made my DIY ornament wreath. It’s so simple and probably took half an hour to make, but looks great!
I first made this wreath back when John came home from Afghanistan. He ended up missing Christmas that year, and since we didn’t have our household goods last Christmas, this will be the first year that my beloved wreath will be put to good use. It also happens to match my indoor decor, since I went a tad crazy buying all the red and silver in preparation for the homecoming.
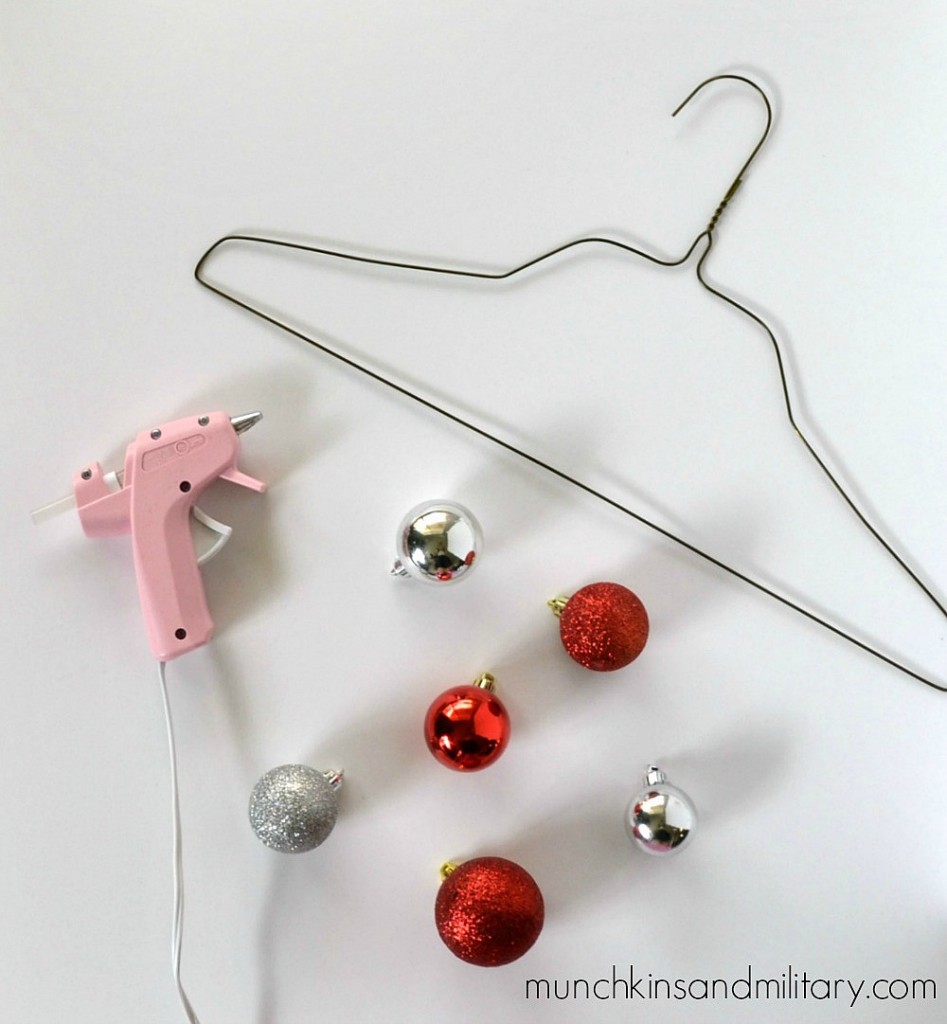
Materials
- Ornaments (approximately 90 of varying sizes)
- Hot glue gun + glue
- Wire hanger
- Pliers
Instructions
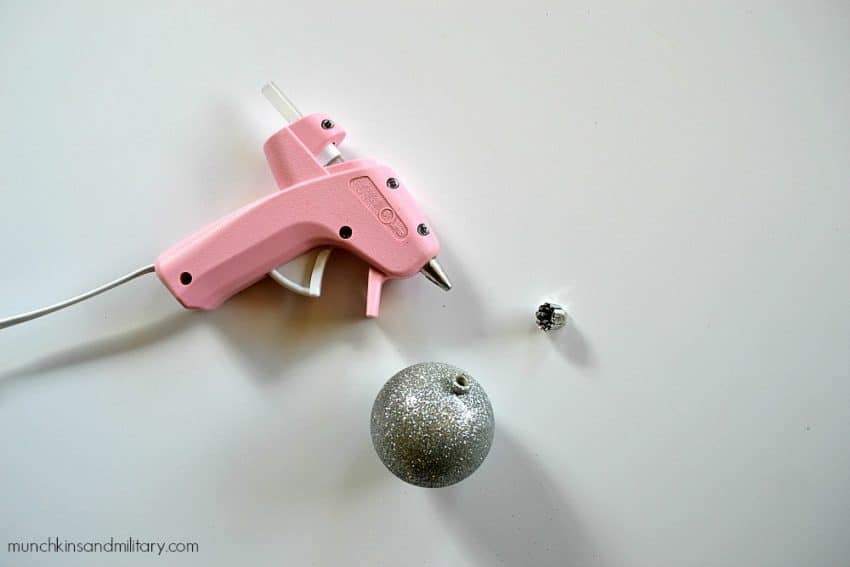
- You’re going to want to start by removing the cap from each ornament and using hot glue to stick it back on. You can skip this step, however it’s likely that you’ll have ornaments pop off.
- Bend the wire hanger into a circular shape (it doesn’t have to be remotely close to perfect!) then untwist the top part to open up the loop.
- Start stringing the ornaments on to the wire hanger until it is almost completely filled. Make sure you’re able to bring both loose ends together. Alternate between sizes to get the closest fit.
- Use the pliers (or your hands, if you’re cool like that) to twist the top of the hanger back closed. Then bend the hanger down to hide it, or simply cut it off. You may need to reshape the wreath, but it will bend rather easily.
- Hang and enjoy!
I even added a bow at the end just for a cute little touch.


