Easy Wood Weathering Technique
I’ve been doing a lot of DIYing around the house lately. Mostly finishing projects that were started ages ago, but I’ve been working on some new projects too. One of my most recent projects was a weathered wood backdrop for blog photos.
I’ve been trying to up my photo game for this blog and in my opinion, one of the aspects that will make or break your photo is the background. If I lived in my dream house, I could easily take pictures on my granite counter top with a glass tiled back splash. Until then, I’m in military housing and have to do some faking for my photos.
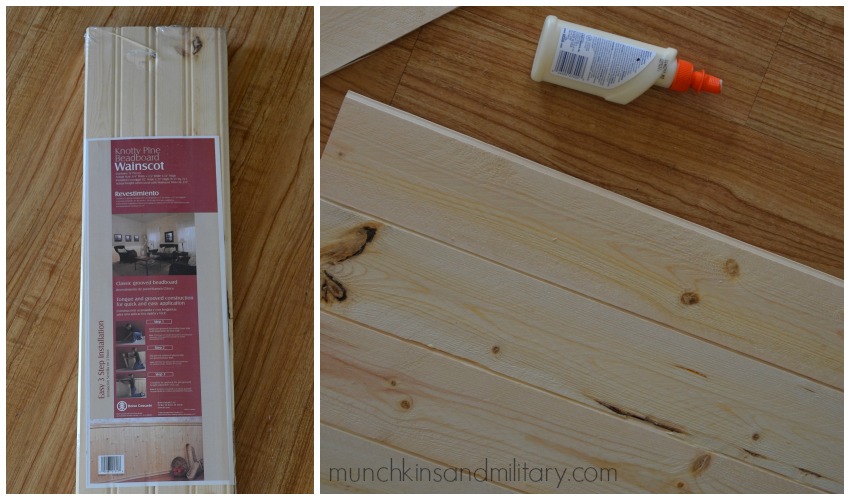
For a while, I’ve been using a wood board that I made by gluing together planks of wainscot that I bought at Home Depot. I got the pack of 12 planks for around $15 and used six planks and some wood glue to make each board. I contemplated painting or staining them, but honestly didn’t want to spend the money on additional materials. So, I left the wood naked. You can see it here, here, and here.
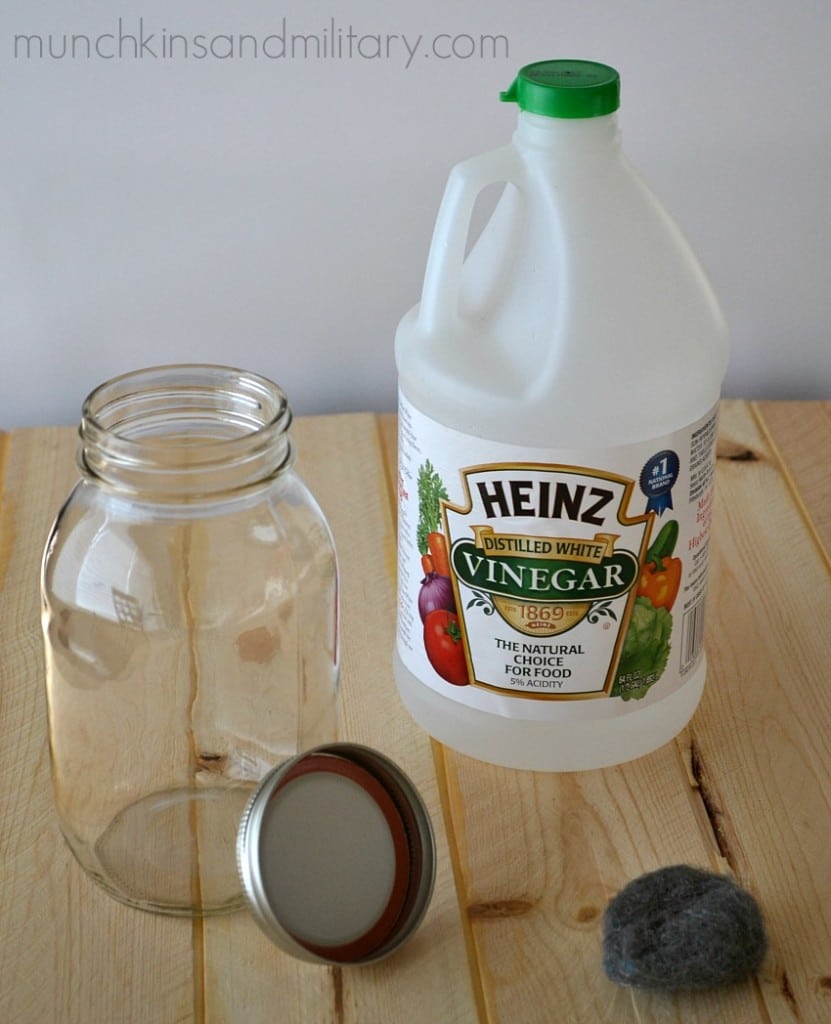
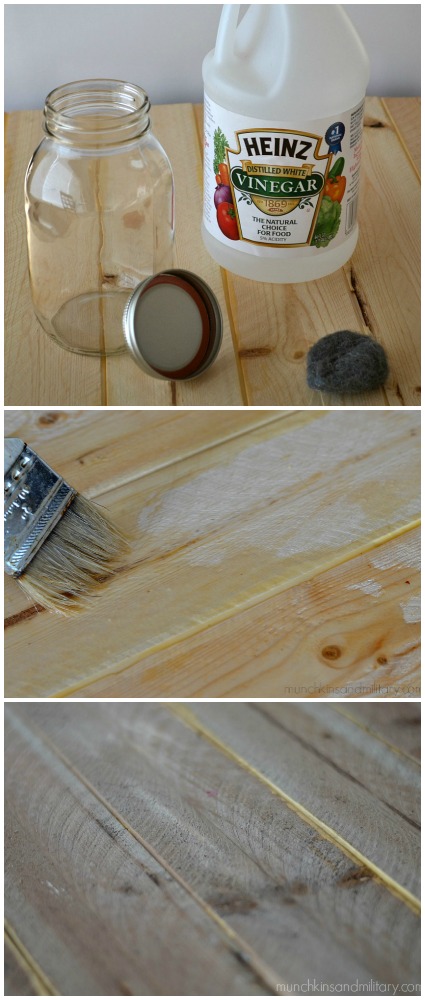
Well, after using the same background for my photos, I figured it was time to switch things up a bit. And that’s when I discovered this really cool technique on Facebook for weathering wood. All you need is a jar, vinegar, and steel wool. These were all items that I had in my kitchen, so why not give it a shot. After all, if it didn’t work, I’d only be losing a few cents worth of items.
I started off by pouring about two cups of vinegar into my jar. I then dropped the steel wool pad into the vinegar, replaced the jar lid, and gave it a shake. I wanted to be sure that the steel wool was good and in there getting saturated.
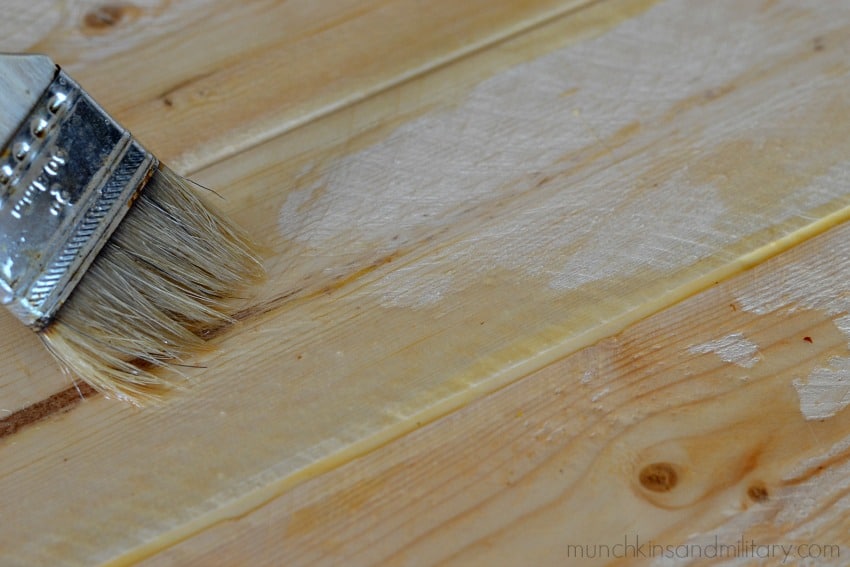
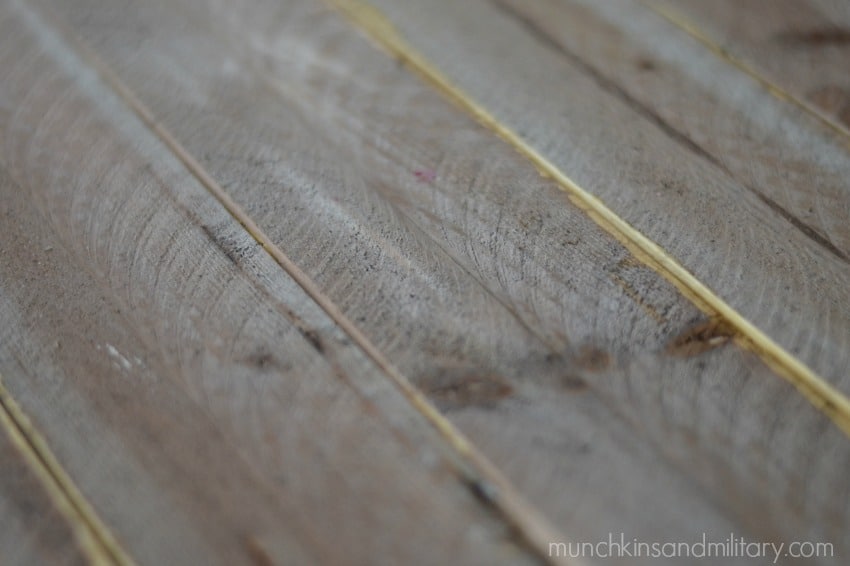
After a week, I strained what was left in the jar and returned the liquid back to the jar. I used a paint brush to apply the vinegar to my wood. As a result of the tannins in the wood reacting with the vinegar mix, there was almost an instant change to the color of the wood. I added a drop of tea, which wasn’t necessary, but it gave the stain a nice brown color. Seriously, just a drop.
I absolutely love how my new board looks. There are spots where the stain didn’t pick up because of the wood glue, so I need to sand off the glue and restain. If you’re careful when gluing the planks together, it shouldn’t be an issue. Only the side that was painted is stained, so the back side is still naked wood. I’m contemplating weathering that side also, but giving it a coat of white wash as well. We’ll see.
For now, I’ve got my jar of magic wood stain and I am looking for more wood projects to weather!
If you’re a military spouse, be sure to join White Walls on Facebook. This idea came from there and there are tons of other great ideas for sprucing up your house.

