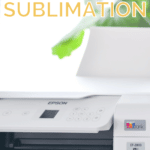
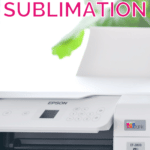
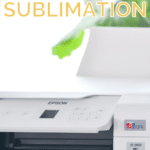
Using an Epson EcoTank Printer for Sublimation
Get ready to revolutionize your crafting experience and start creating stunning designs with the Epson EcoTank and sublimation printing! If you’re looking for a cost-effective and efficient solution for your sublimation printing needs, look no further than the Epson EcoTank. In this blog post, we’ll take a closer look at how to use the Epson EcoTank for sublimation printing, including tips on setting up your printer, choosing the right sublimation ink and paper, and transferring your designs to your desired material.
Hello crafty friends! Over the holidays, I decided I wanted to upgrade my hand-made holiday gifting with some sublimation items. Sublimation a fantastic way to print high-quality designs on various materials like fabric, ceramic, metal, and plastic. And, the good news is that you can convert an Epson EcoTank printer into a sublimation printer with a few simple steps.
Sublimation printing uses heat to transfer dye onto materials, creating vibrant and long-lasting designs. Unlike regular printing, the dye becomes a part of the material, instead of just sitting on top. This makes it ideal for items that will be used frequently or exposed to the elements, as the design won’t fade or peel.
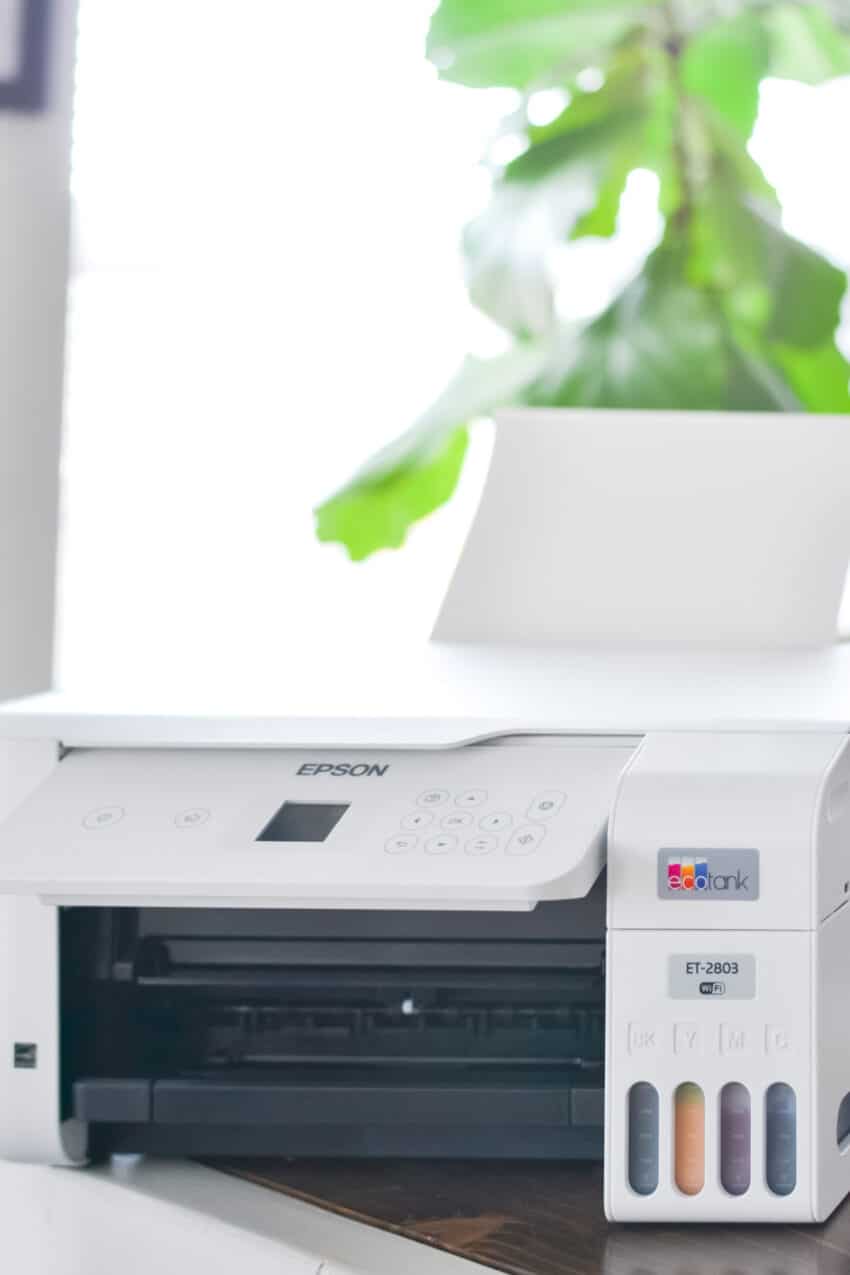
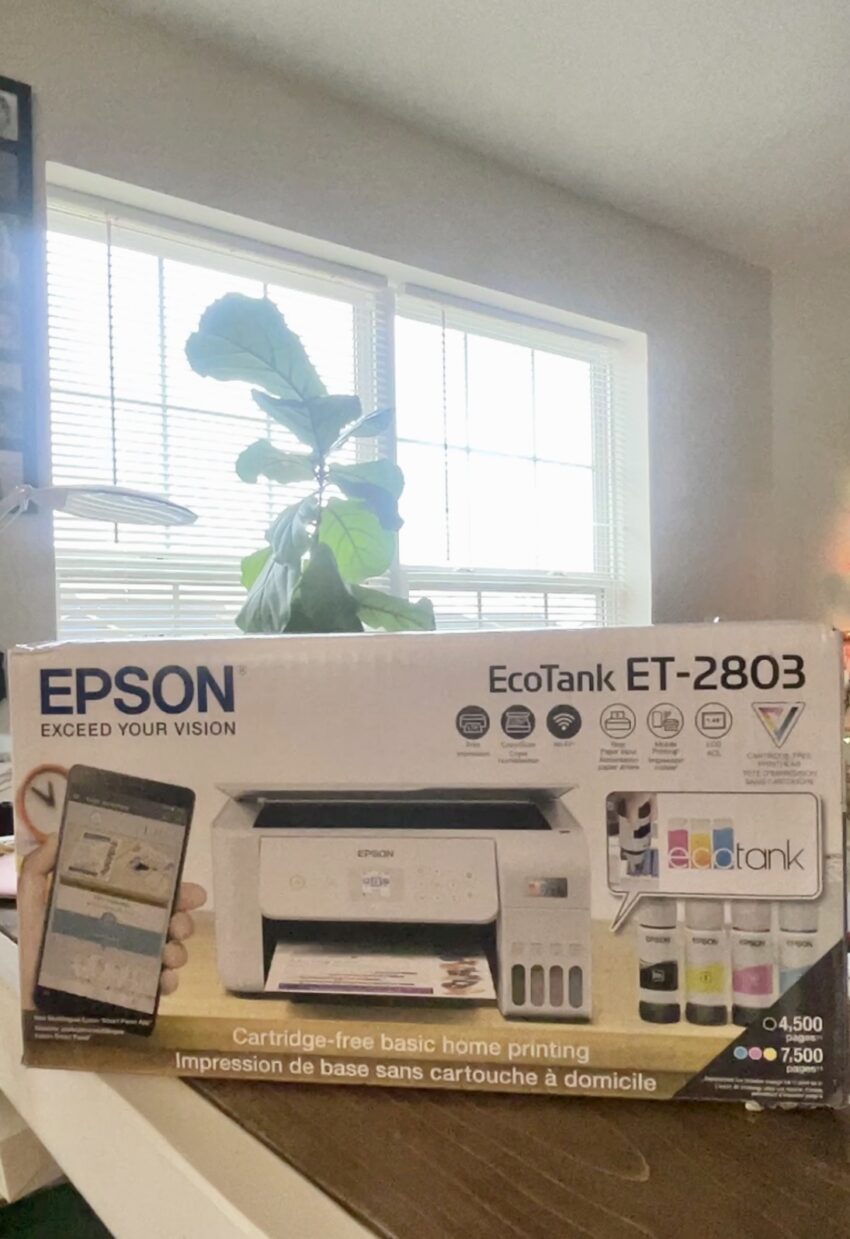
So, let’s get started on converting your Epson EcoTank printer into a sublimation printer! First, you’ll need to start out with the right printer! After LOTS of comparison and price shopping, I ended up with the Epson EcoTank ET-2803, for less than $200 (before taxes). The most important thing to keep in mind when purchasing a inkjet printer to convert to a sublimation printer, is that you’re going to want to purchase a printer that has refillable ink tanks.
DO NOT USE THE INK THAT CAME WITH YOUR PRINTER!
You’ll need to purchase sublimation ink cartridges, which can be easily found online. I made sure to order sublimation ink that came in bottles that would clip right into my printer for a less stress and mess free printer-filling experience. You’ll want to install the sublimation ink into your printer, following the setup instructions that come with your printer. REMEMBER: we’re using the sublimation ink, NOT the ink that came in the box with the EcoTank printer.

Once you’ve successfully installed the sublimation ink, you’re ready to start printing. You’ll need to use special sublimation paper, which can also be easily found online. The sublimation paper is critical for the transfer process, as it helps to distribute the heat evenly and prevent any damage to your design.
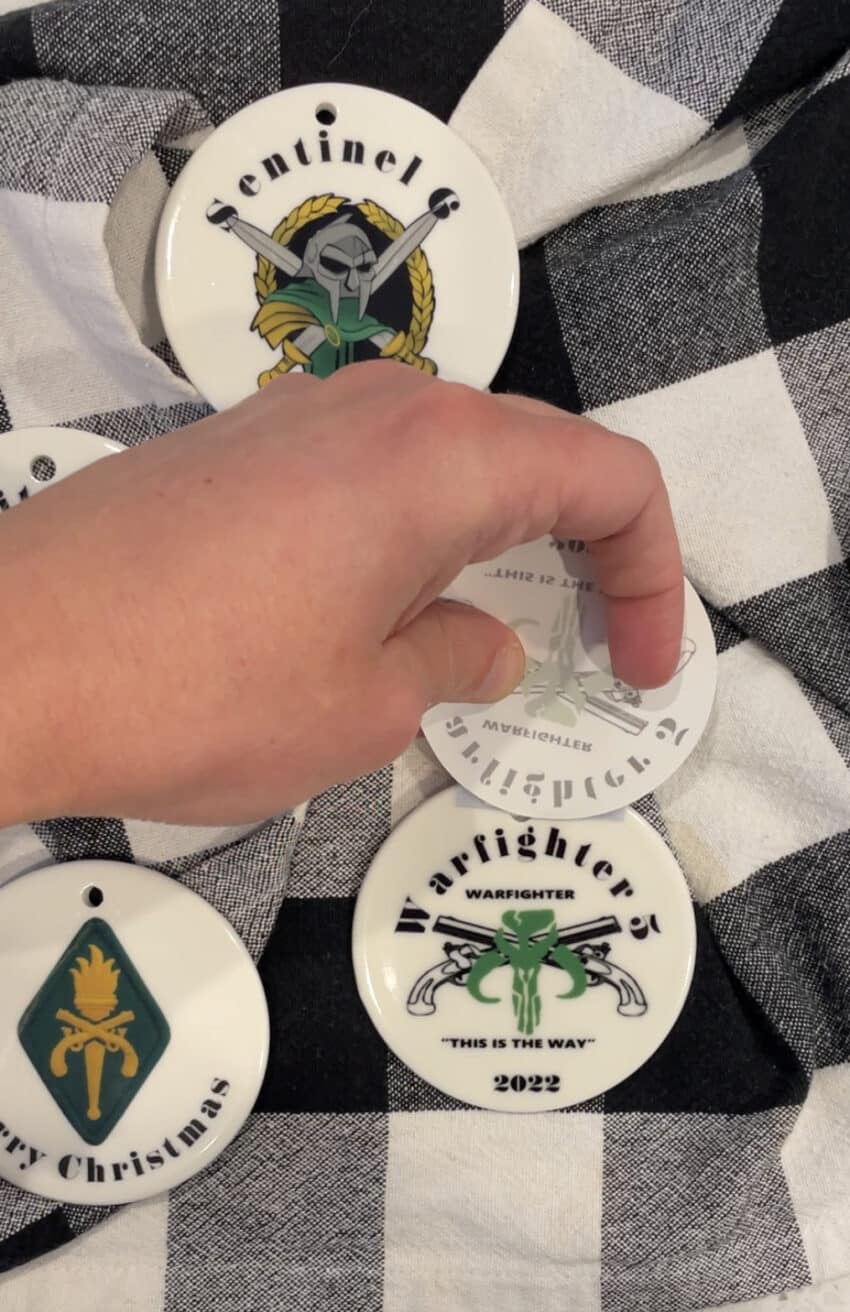
Now, it’s time to get creative! You can design your own designs using any graphic design software, like Adobe Illustrator or Canva. Make sure that your design is the right size for your item and is “mirrored”, so that the design will be printed in reverse. When you’re ready to print, I recommend using the “best” quality setting in your printer options.
Finally, it’s time to transfer your design onto your item. A heat press is recommended for this step, as the heat and pressure are critical for a successful transfer. Place your sublimation paper on the item you wish to transfer the design to. I like to use heat-safe tape, to avoid having the design move. Close the heat press and apply the necessary heat and pressure for the specified time, which will vary depending on the type of item you’re using.
And, that’s it! You’ve now successfully converted your Epson printer into a sublimation printer and created a beautiful, one-of-a-kind item. Sublimation printing is a fun and easy way to bring your crafting ideas to life, and the possibilities are endless. So, what are you waiting for? Get started today and see what you can create!
In conclusion, converting your Epson EcoTank printer into a sublimation printer is a simple and cost-effective solution for all your crafting needs. With a few simple steps and the right equipment, you can create beautiful and long-lasting designs on a variety of materials. So, don’t hesitate, get started on your sublimation printing journey today!