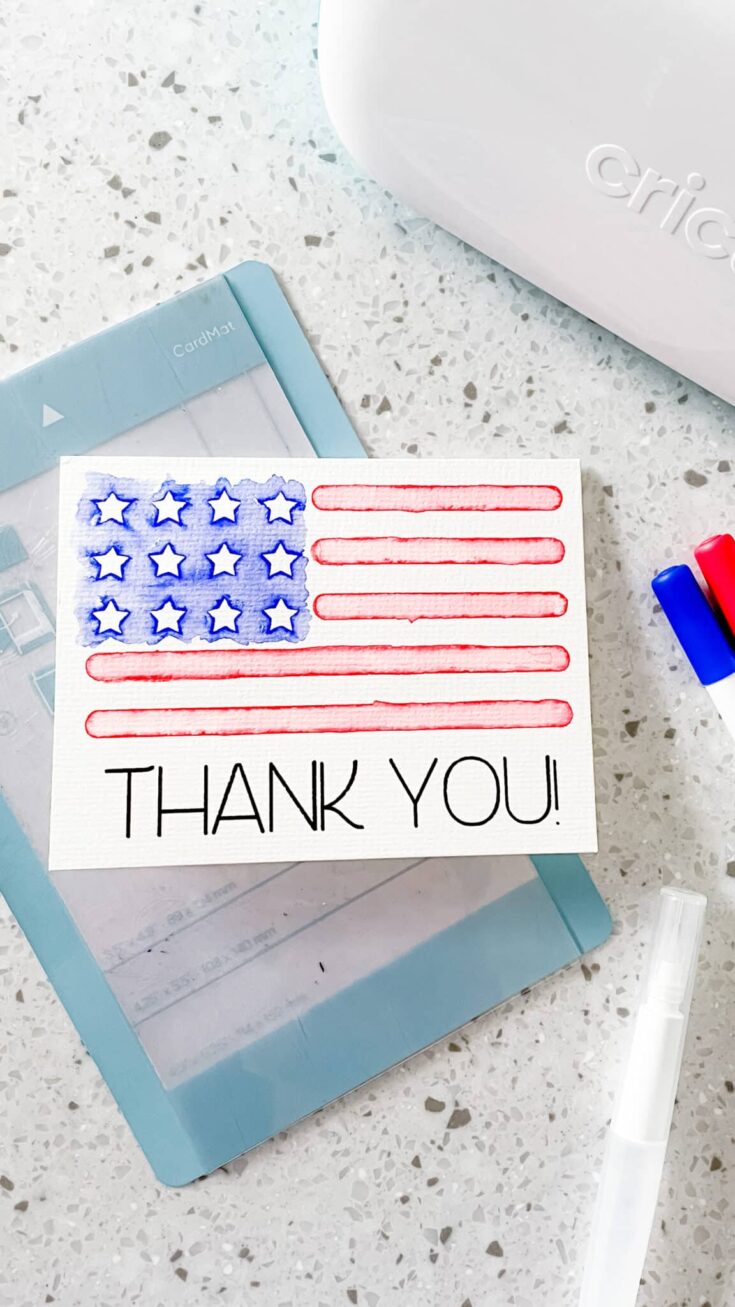
Veterans Day Watercolor Card
Allow me to introduce you to one of Cricut’s newest crafting materials: the Watercolor Card! I recently picked up a pack of cards, along with the watercolor markers from the store, and knew that these would be perfect for creating beautiful Veterans Day cards!
After creating a variety of watercolor cards, I’ve honed my skills to be able to offer some tips for creating your own lovely watercolor cards. I’ll also share my patriotic design in Cricut Design Space, so that everyone can create their own cards to thank our military veterans this year!
Crafting with Cricut Watercolor Cards seemed intimidating at first, but it doesn’t have to be! After all, there is no pressure to be perfect! In fact, I made a few mistakes on the “vote” card that I made yesterday, but I still think it turned out pretty darn nice.

Tips for using Cricut Watercolor Cards
- Choose an image that has a moderate amount of space between lines of different colors, to avoid the colors running and mixing (if that’s not your desired outcome). Cricut has designed images specifically for watercolor markers under the “Project Type” filter.
- Remove excess water from water brush bristles by dabbing the brush on a paper towel. You can always lightly squeeze for more water if necessary, but you won’t be able to stop runaway water droplets.
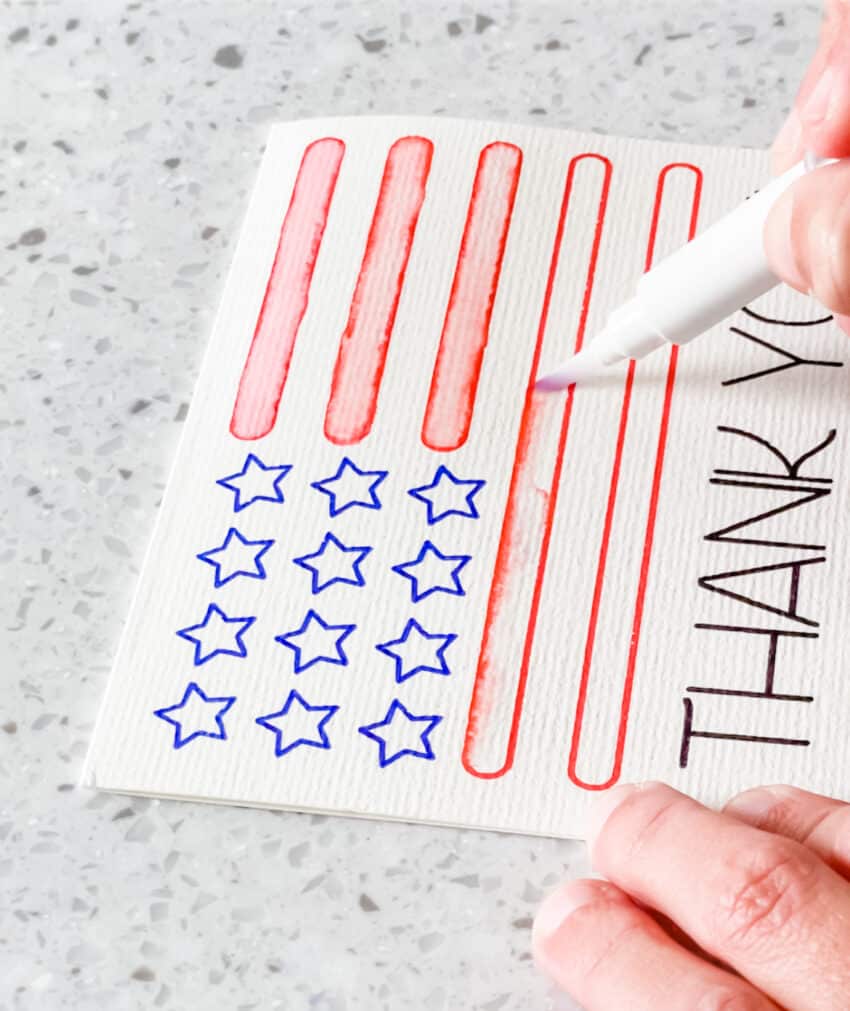
- Remove the card from the mat, open and lay it flat on the work surface when blending with the water brush, to avoid water seeping onto the back side of the card.
- If you’ll be using the same water brush, start with lighter colors first. I have not had any issues with color mixing accidentally, but since color could get stuck in the brush when switching colors, I always start with lighter colors before moving to darker ones.

Veterans Day Watercolor Card

Use Cricut watercolor cards to create a beautiful and unique Veterans Day card.
Materials
- Cricut Watercolor Cards
- Cricut Watercolor Markers + Water Brush
Tools
- Cricut Card Mat
- Cricut Joy
Instructions
- Use Cricut Design Space to create a design for the front of the card. Use images that are designed for Watercolor Markers or change the cut operation to draw for other images.
- Click "Make It" to send the project to your Cricut Joy.
- Load the Watercolor Card into the card mat. Follow instructions and prompts on your device's screen to insert the card mat as well as each color of Watercolor Marker.
- Remove the card from the Cricut Joy and Cricut Card mat. Lay the card flatly on a clean surface.
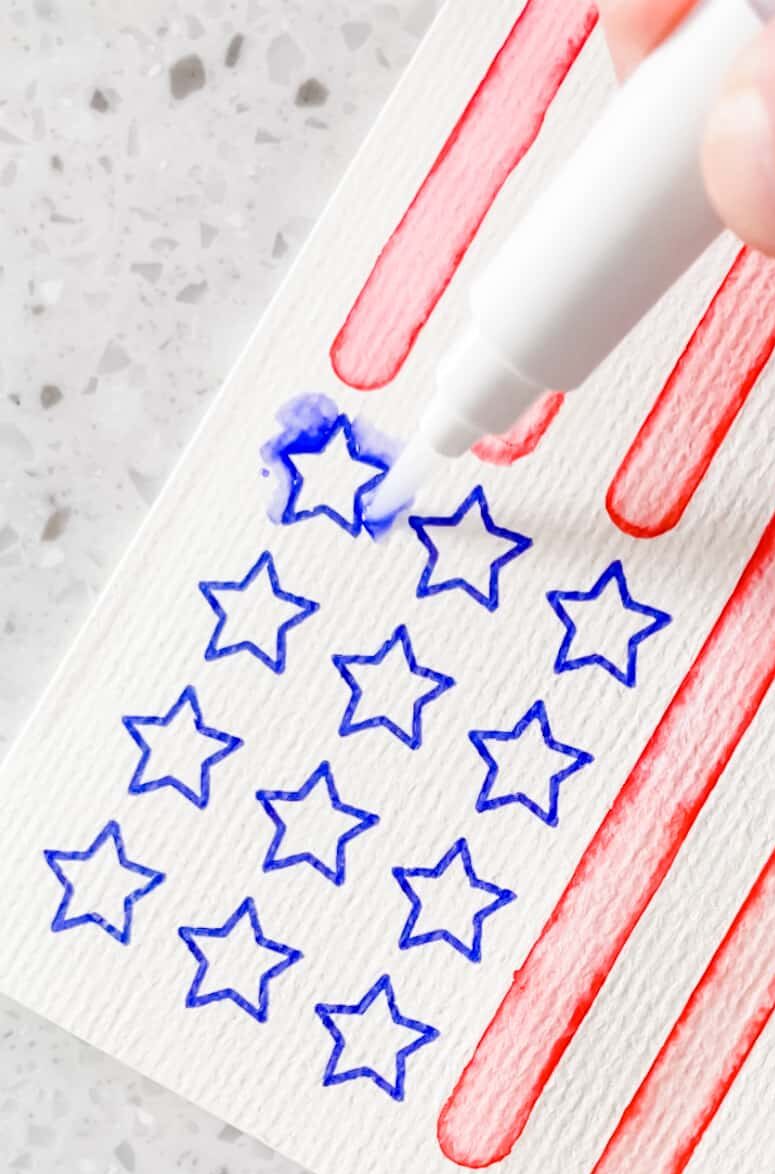
- Fill the Water Brush with water, then lightly squeeze to wet the bristles. Gently dab off any excess water on a clean paper towel.
- Use the damp tip of the Water Brush to gently trace along Watercolor Marker lines and pull the color into the desired area using small strokes. To switch colors, gently squeeze the brush, and wipe off any color on a clean paper towel.
- Allow card to dry completely.
Recommended Products
As an Amazon Associate and member of other affiliate programs, I earn from qualifying purchases.

