Cricut Mug Press Mermaid Mug Project
Thank you to Cricut for sponsoring this post! The links in this post may be affiliate links, which earn me a small commission at no additional cost to you!
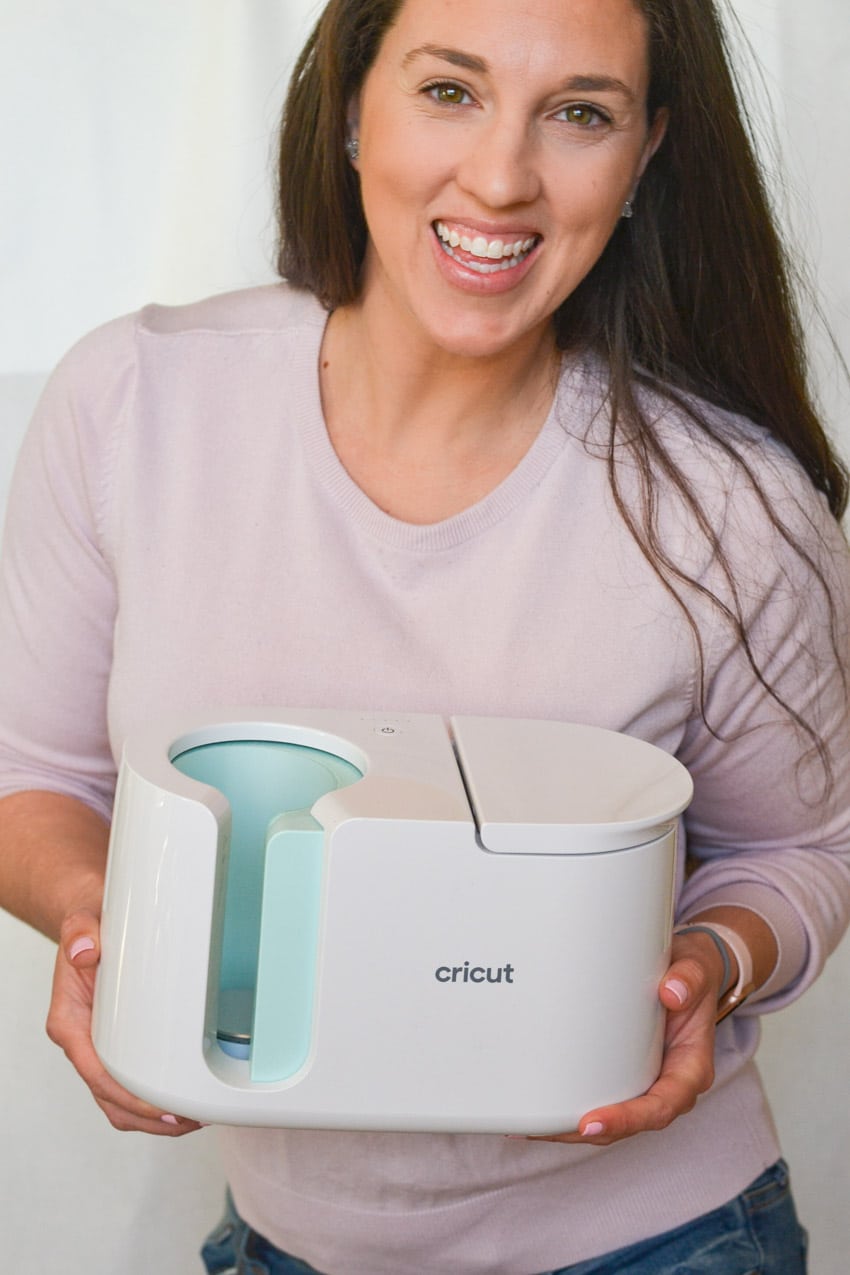
I’m so excited that the Cricut Mug Press is now available on Cricut.com! To share my excitement, I wanted to show you how easy it is to make amazing customized mugs! The new Cricut Mug Press is a cute and compact mug press designed to easily create personalized mugs that will last a lifetime!
These mugs are the perfect gift for every occasion! Plus, you can create and give custom gifts with confidence. No more worrying about vinyl peeling off or whether or not your design is dishwasher or microwave safe. Your design is staying put for ever and ever!
The Cricut Mug Press is so simple to use with one-touch settings, just-right temperature controls built in, and an auto-off feature for safety. Simply cut your design, attach it to the mug, insert the mug into the Cricut Mug Press, and push down the lever. The Mug Press takes care of time and temperature all on its own!
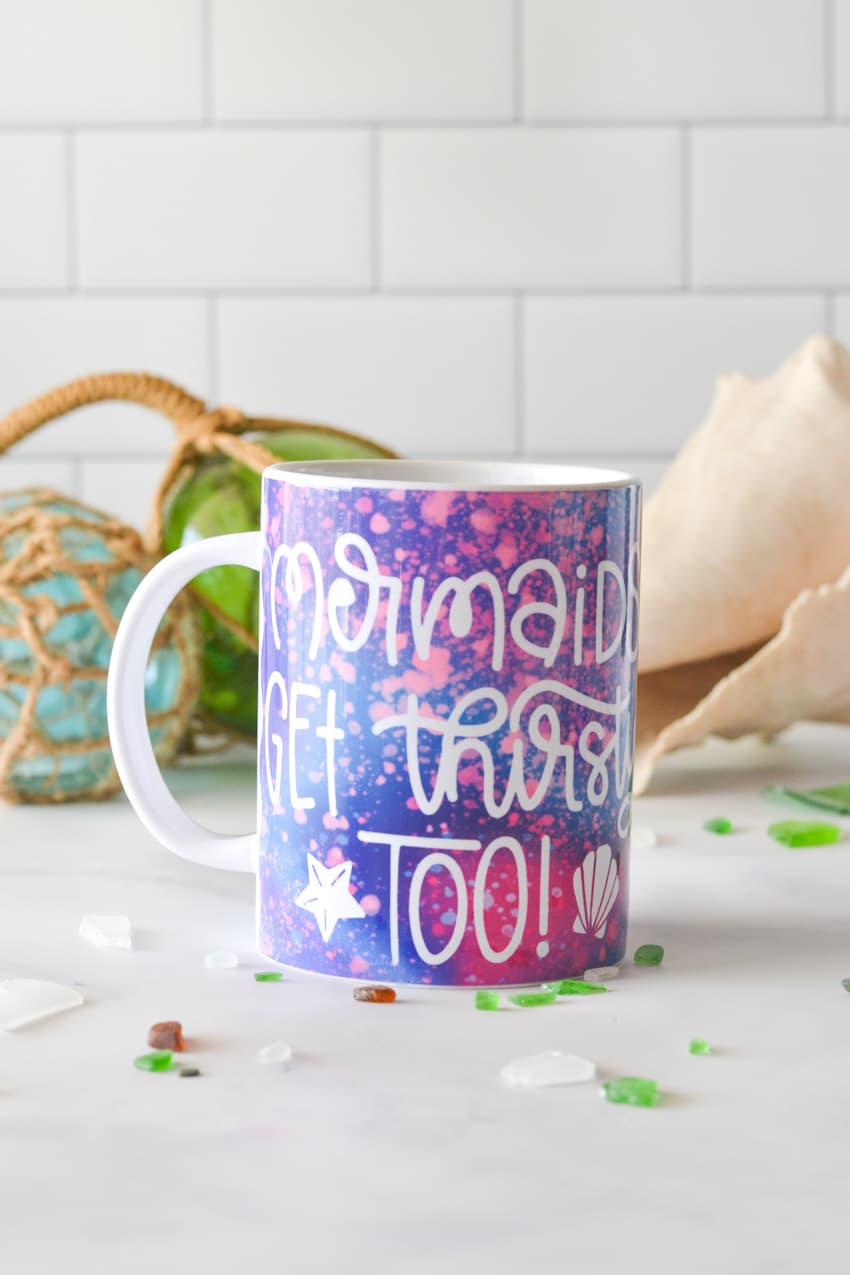
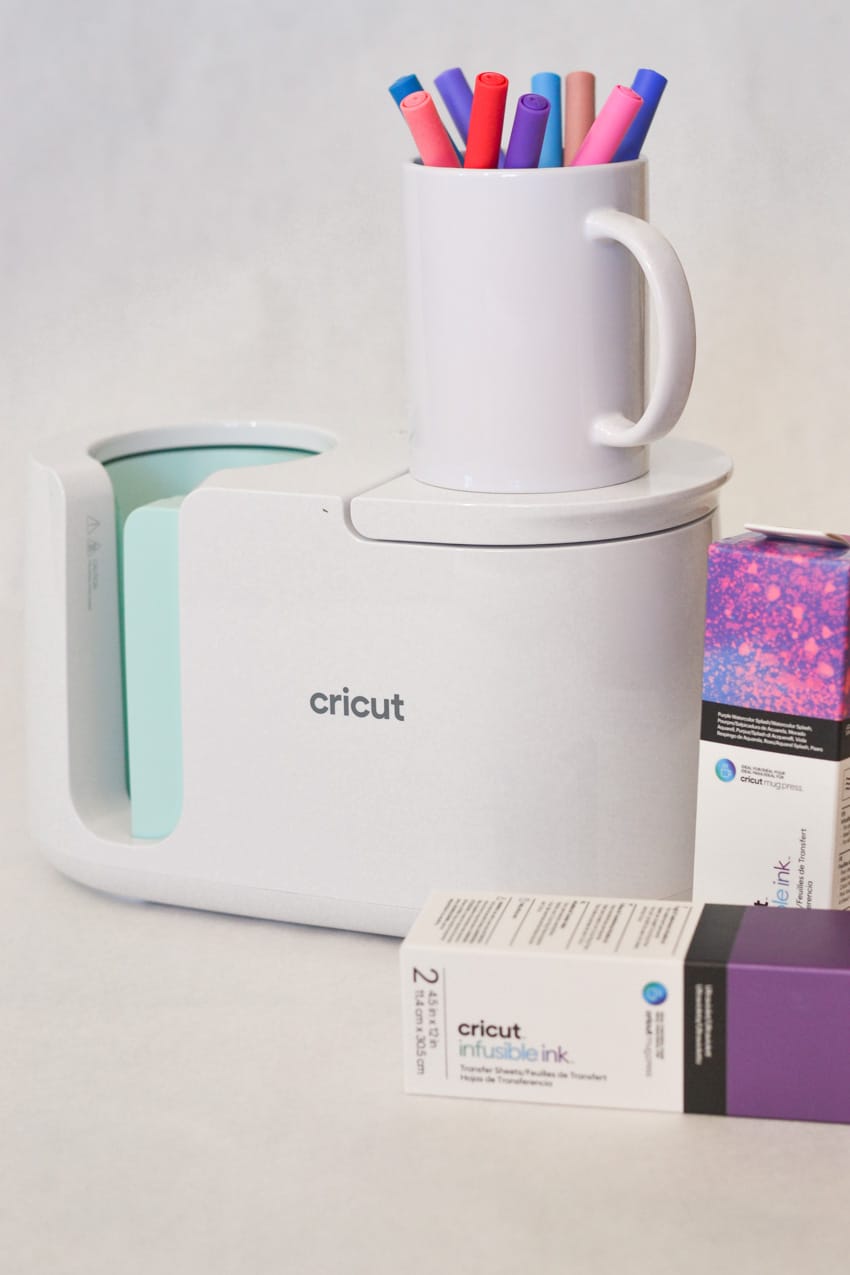
Take a look at the mermaid mug that I created with my Cricut Explore Air 2 and an Infusible Ink Transfer Sheet. The sheets come specifically sized for the Cricut Mug Blanks to reduce waste. Isn’t that fantastic?! The colors also turn out SO vibrantly with the Infusible Ink Transfer Sheets

Cricut Mug Press Mermaid Mug Project

Tools
- Cricut Mug Press
- Cricut
- Lint roller
- EasyPress Mat
Instructions
- Plug in the Cricut Mug Press and turn it on to preheat.
- Open Cricut Design Space and choose the Mug Design Template. Choose your desired size and edge. I chose a wavy edge for a large (16 oz mug).
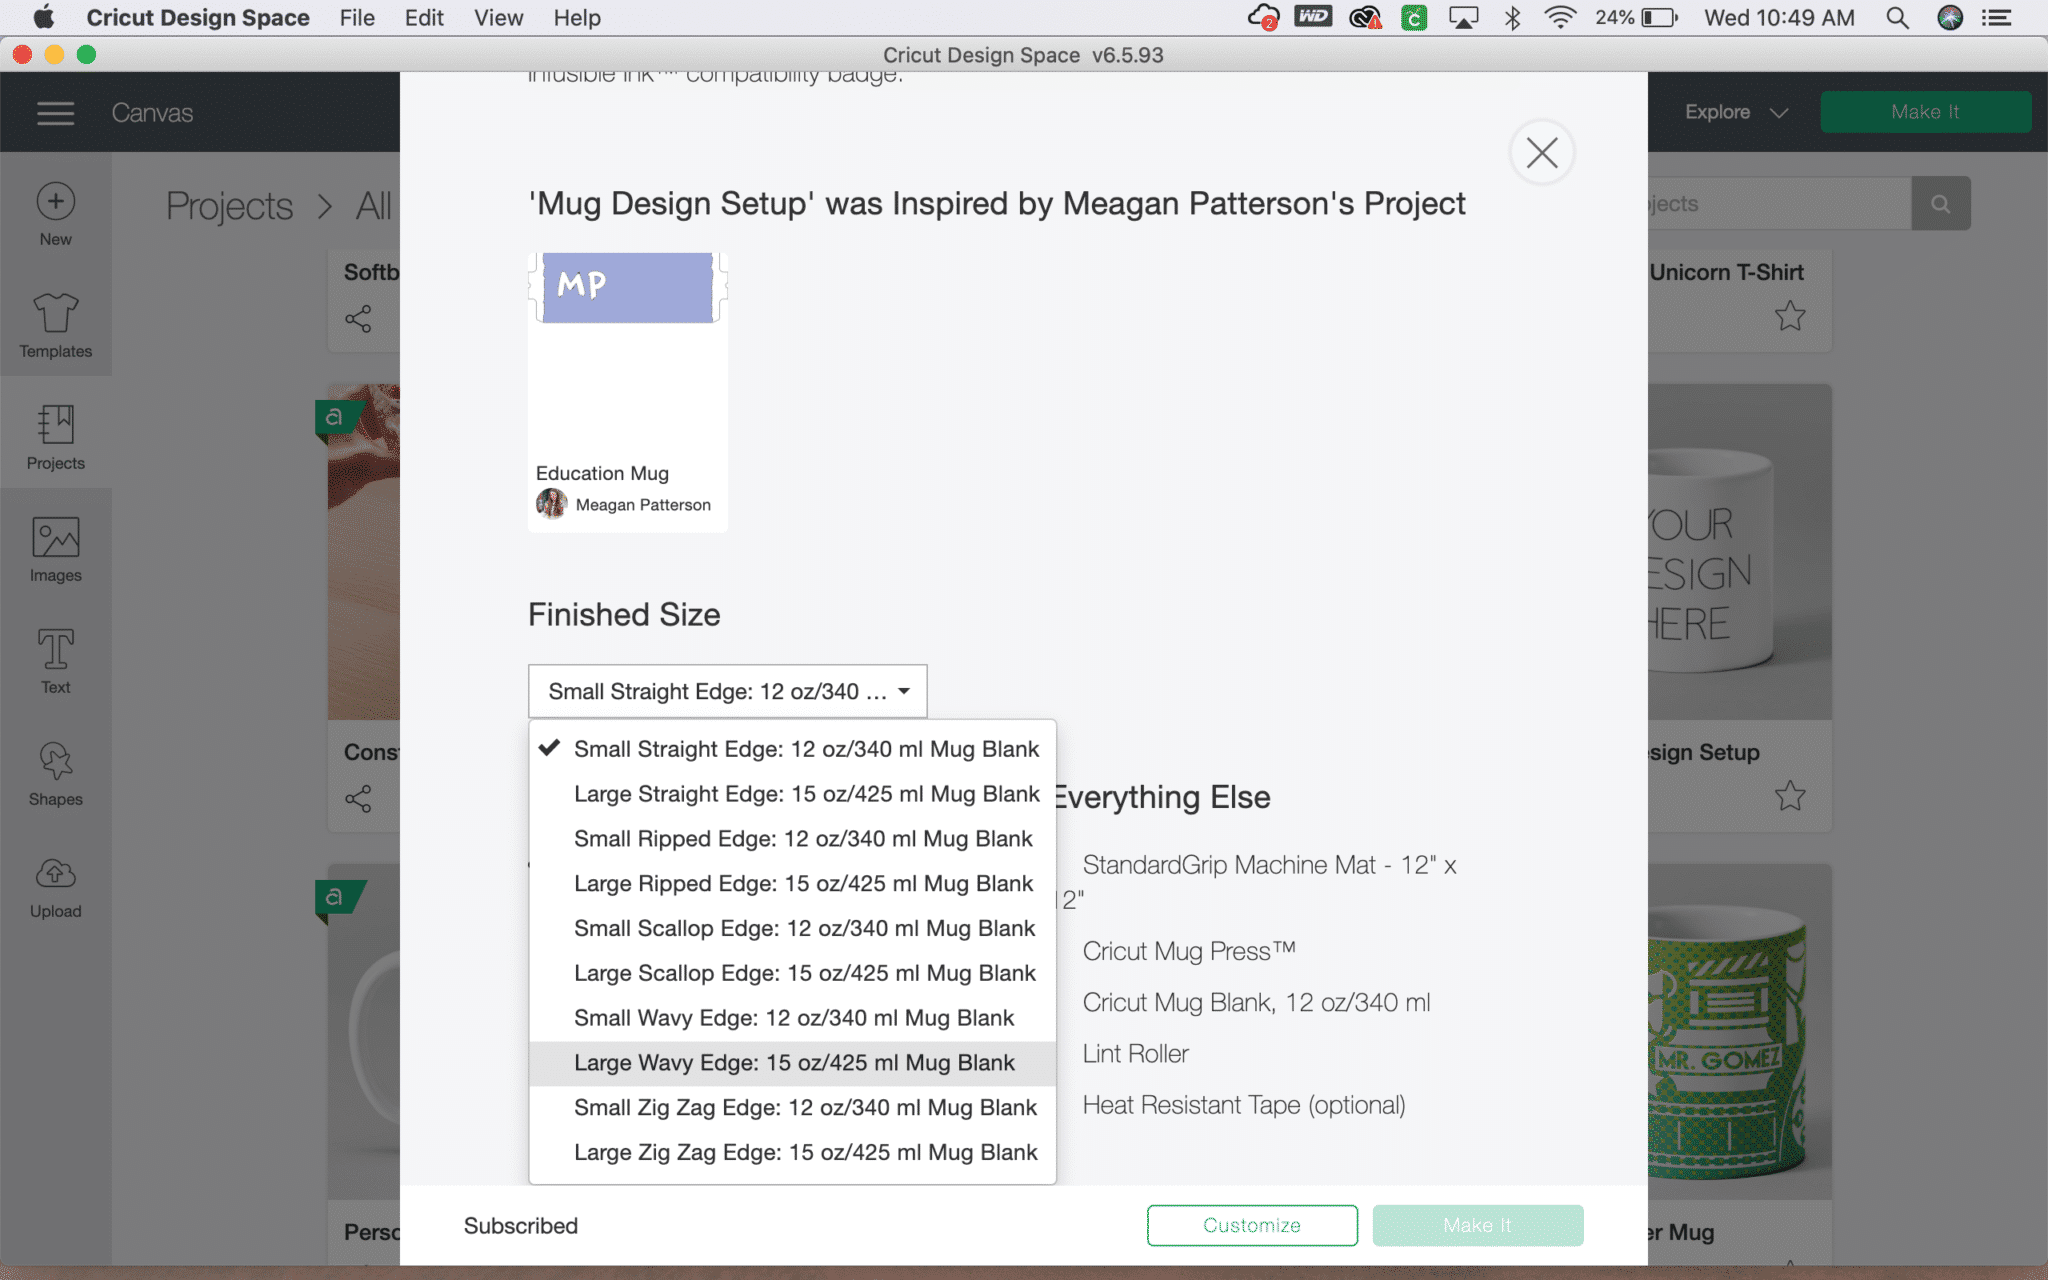
- Add your desired image(s) to the mug template. For this project I used the "Mermaids Get Thirsty Too" image in design space. (#MBE66B97). Resize and adjust the placement of your text/images. The red template guide at the top of the mug template shows what part of the mug your image will appear on. For an image that shows to others when holding the mug in your right hand, slide your project to the left edge of the template.
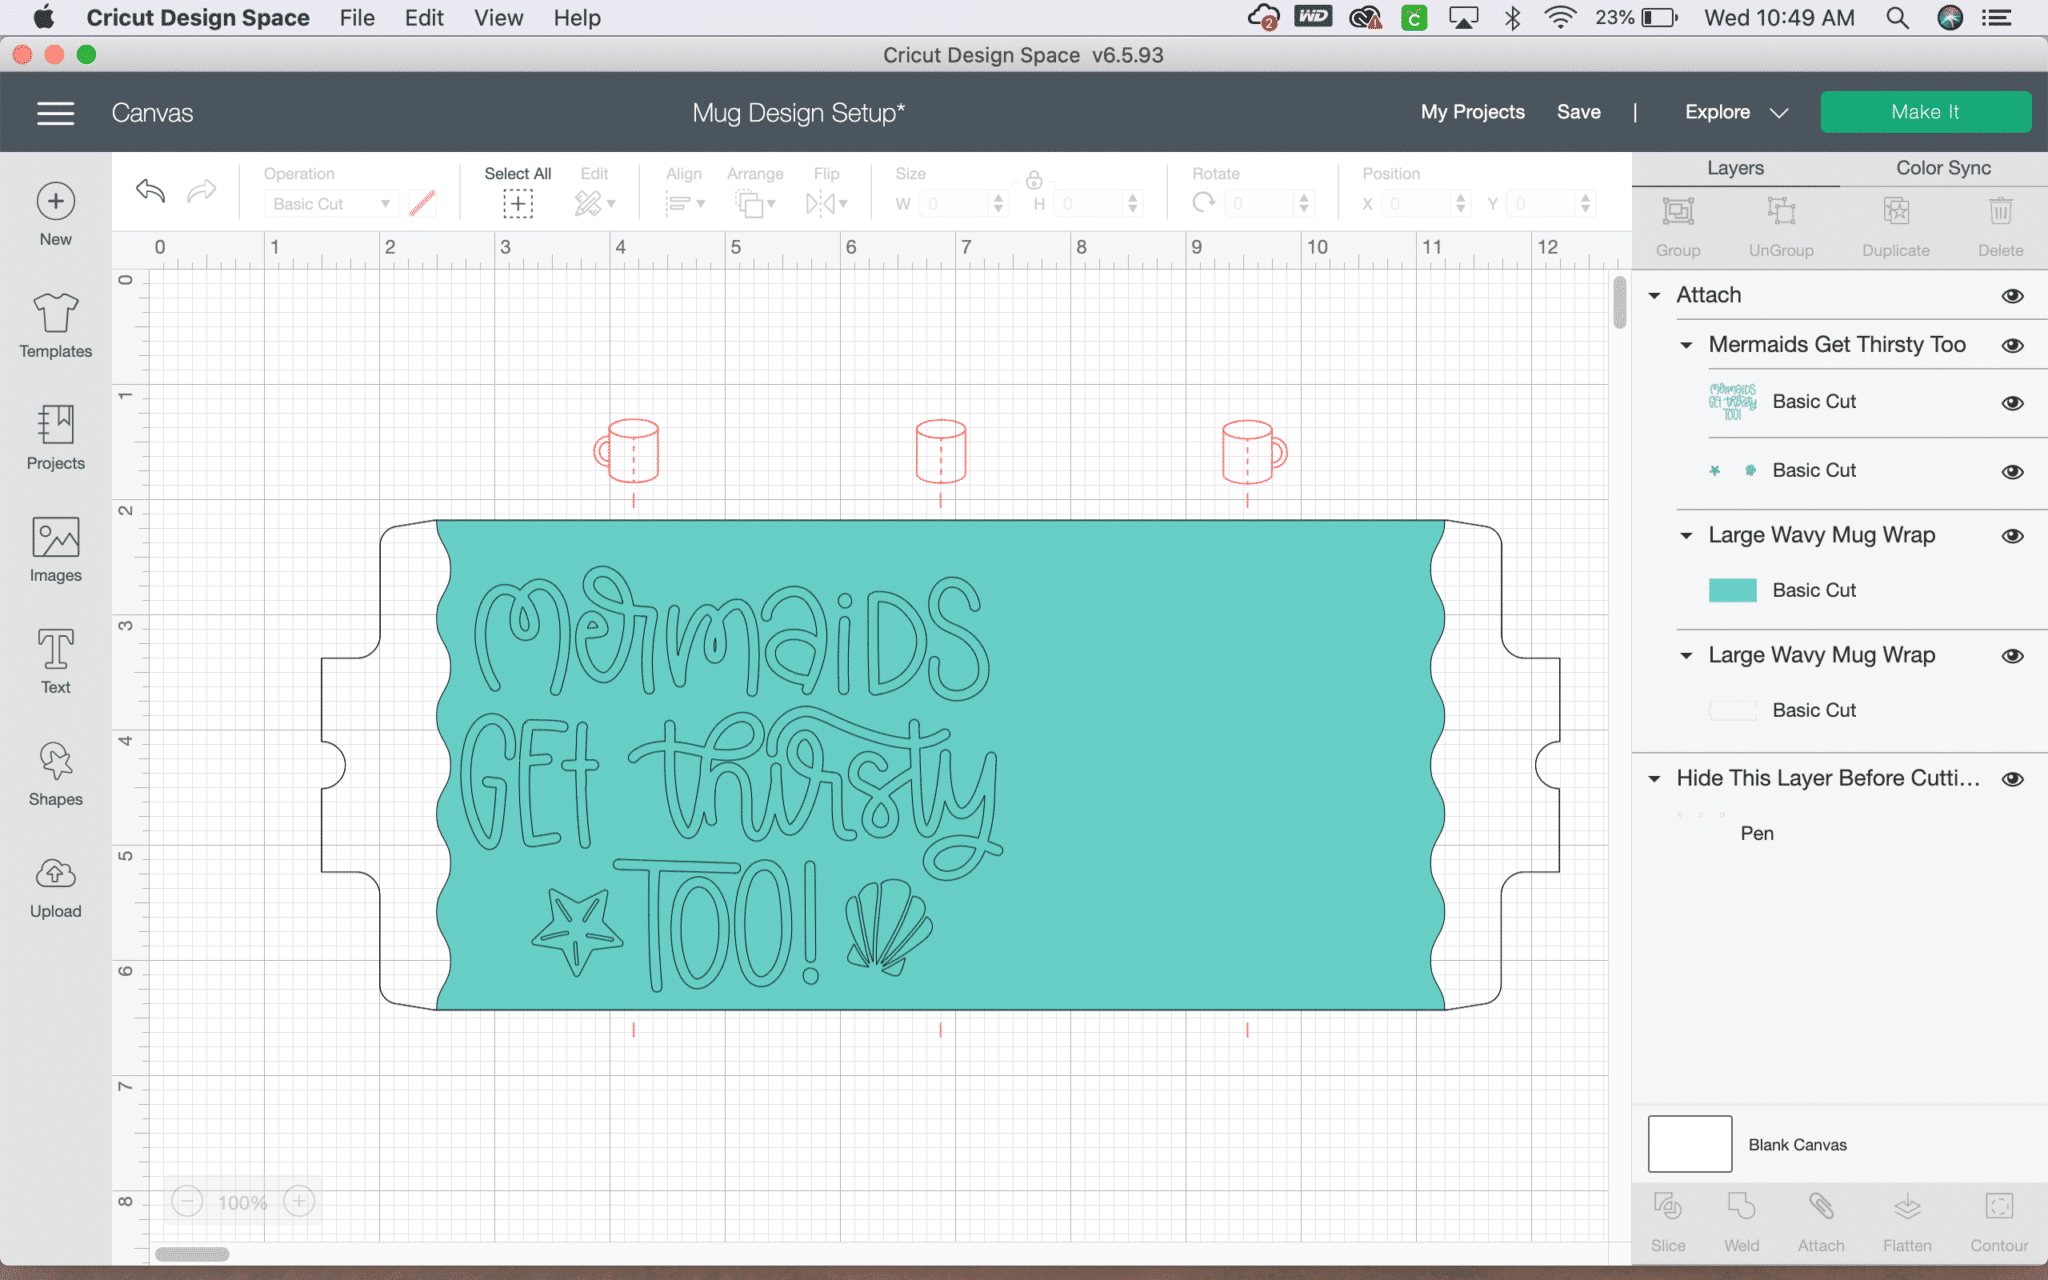
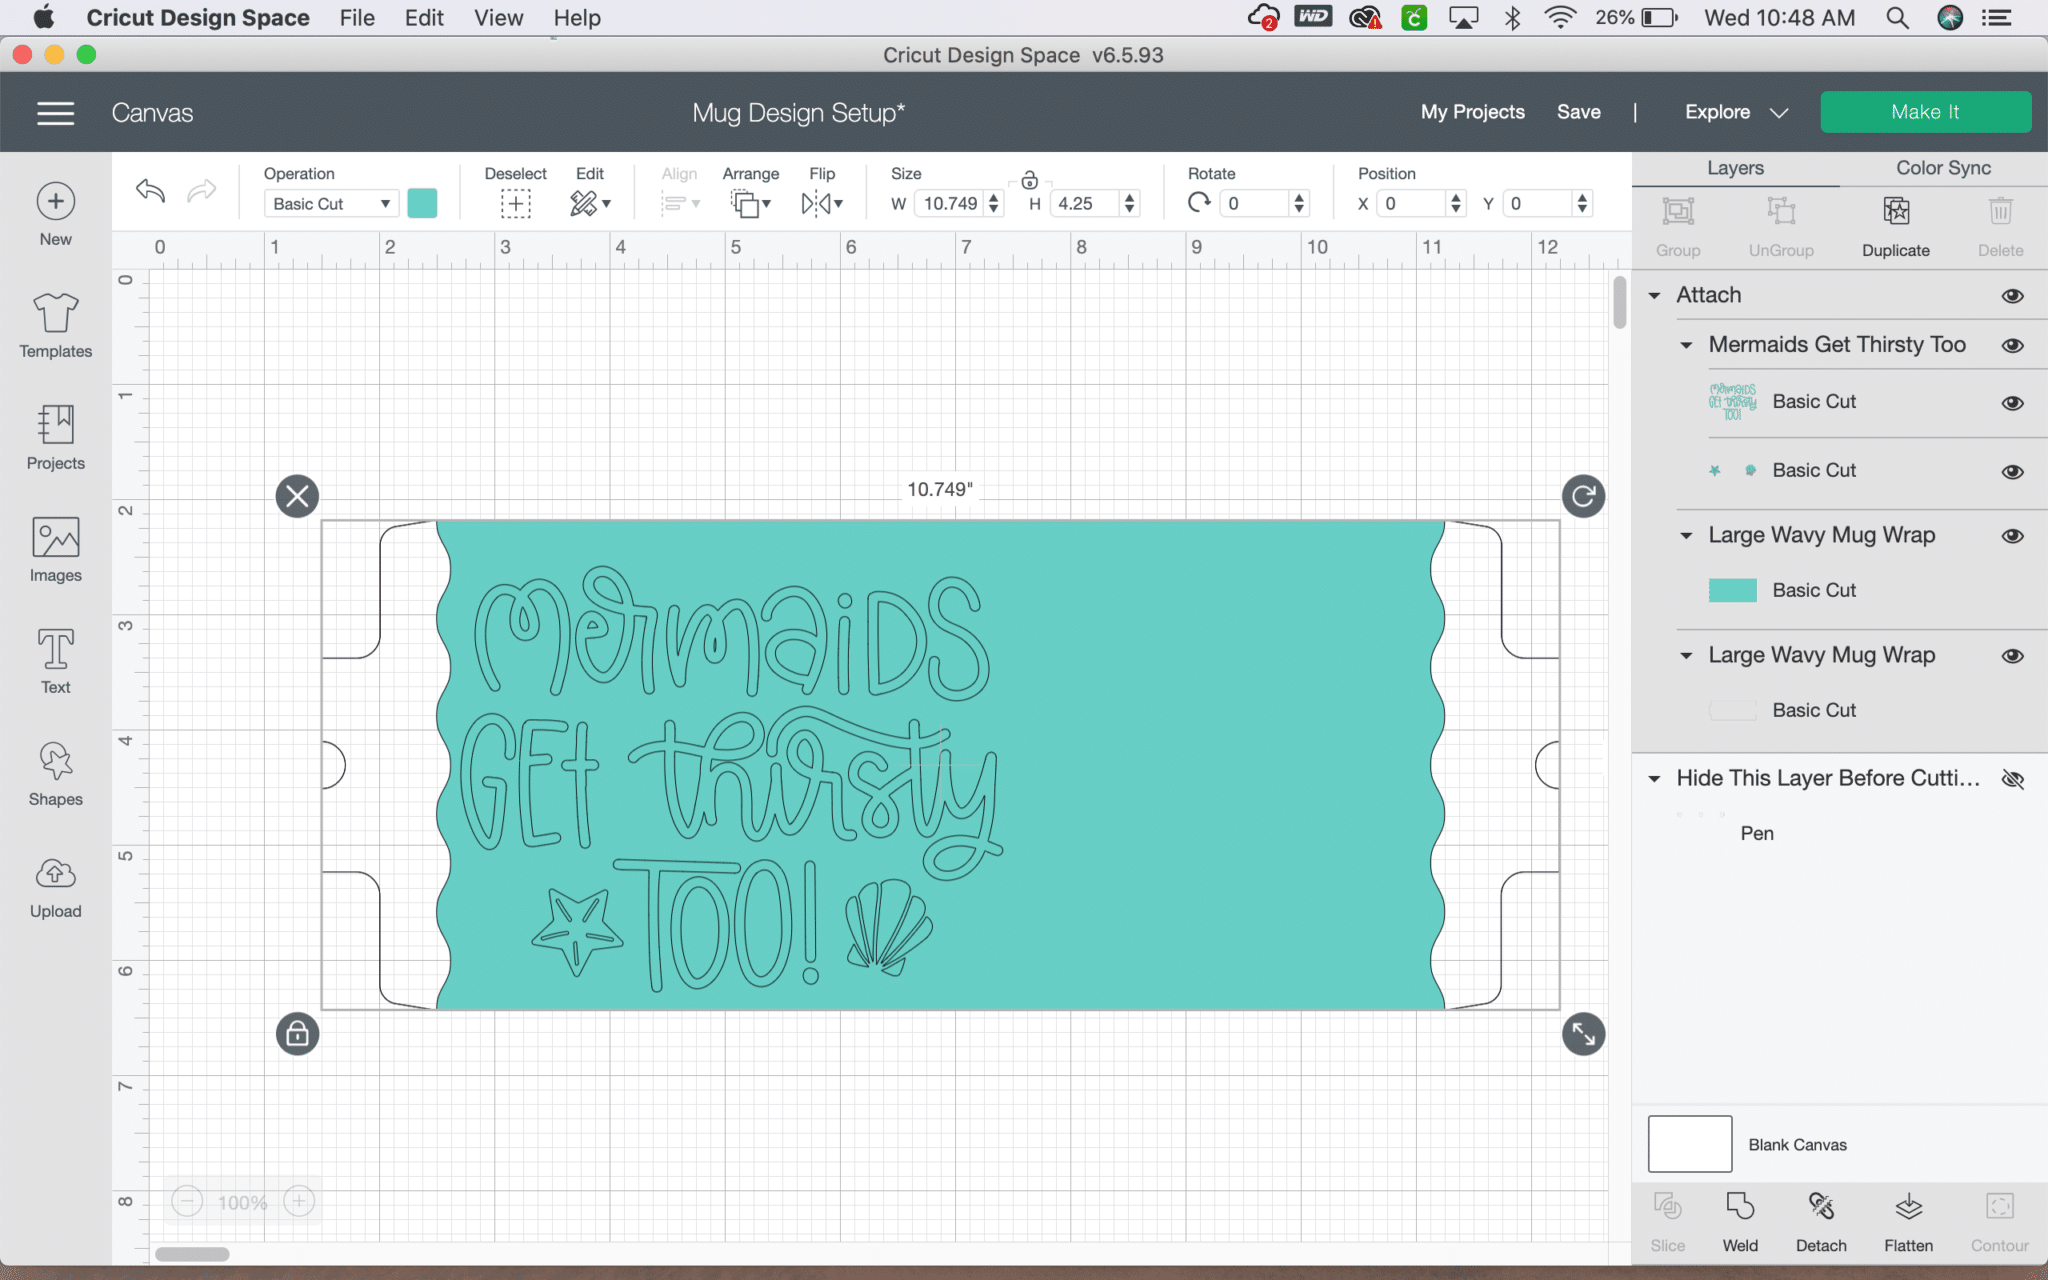
- Hide the layer of the template that says "Hide This Layer Before Cutting" by clicking the eye next to it. Next, "select all" and click attach to attach all the pieces of the project together. Click "Make It" to send your design to cut on your Cricut machine. *Don't forget to click "mirror" to mirror the project image.
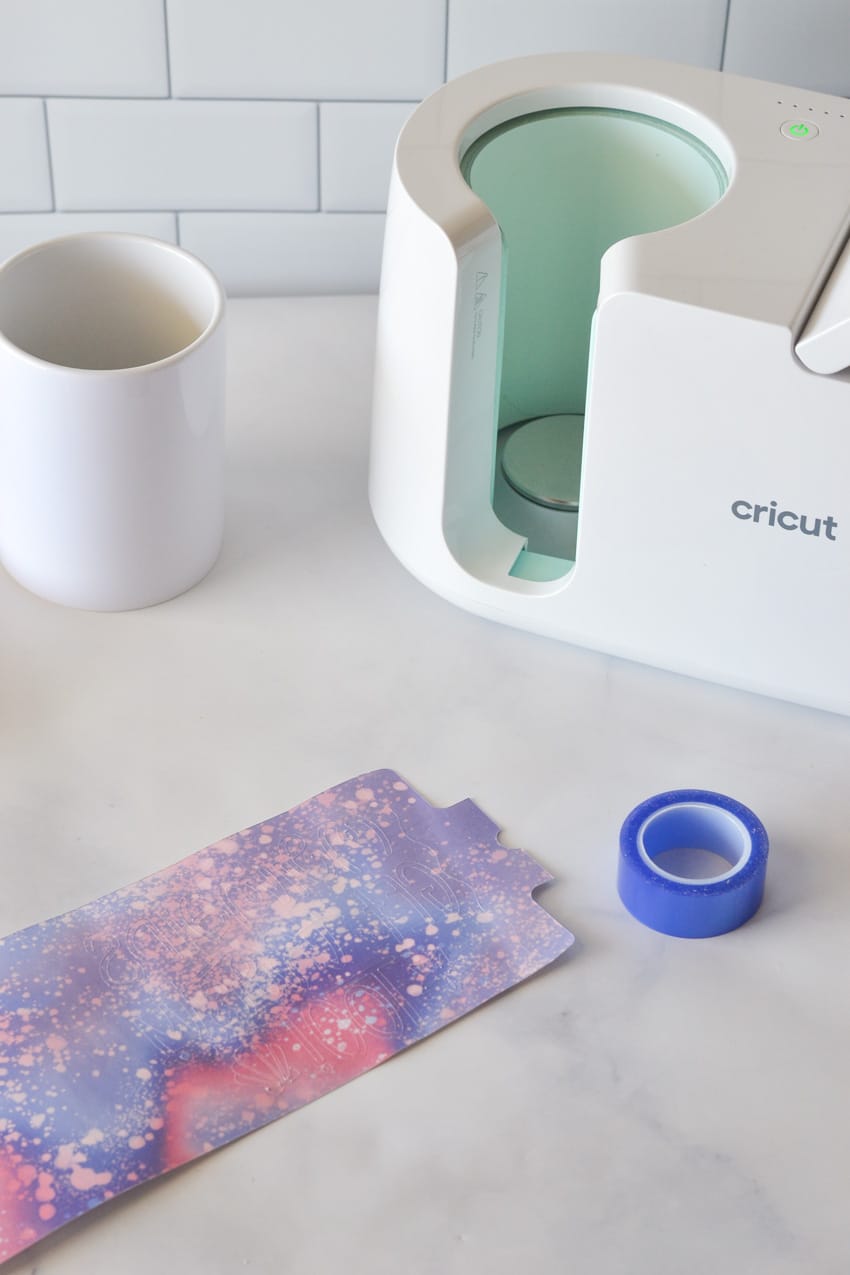
- Load the Infusible Ink Transfer Sheet into your Cricut on a standard mat, select "Custom" for the cutting material, and choose Infusible Ink Transfer Sheet. Press the blinking Cricut button to begin cutting.
- Once the design has cut completely, remove it from the Cricut. Weed out the excess Infusible Ink material, and remove the excess material on the out border of the sheet. You should have just a wrap that will fit the mug with your design.
- Lint roll the mug to ensure no particles are stuck to it, then apply the Infusible Ink Transfer Sheet, with the small edges meeting under the handle of the mug. Use heat resistant tape to secure.
- Use the mug handle to safely lower the Cricut Mug blank into the Cricut Mug Press. Press down the Mug Press lever, to secure the mug in place and start the timer. The Cricut Mug Press automatically senses the appropriate time and temperature for each project. The five progress lights on top will let you know the progress of your project.
- Once the Cricut Mug Press indicates that your project is done, carely lift the lever and lift the mug out of the mug press using the handle. Rest the mug on a heat resistant surface such as an EasyPress Mat for 15-30 minutes, until the project is completely cooled.
- Gently peel off any tape and the Infusible Ink Transfer Sheet to reveal your project.