DIY Holiday Card Holder Gift with Cricut Joy
Are you looking to DIY a thoughtful gift this holiday season?! Take a look at my Holiday Card Holder project and use these tips to create all sorts of other wood signs!
This post contains affiliate links, which earn me a small commission at absolutely no cost to you!
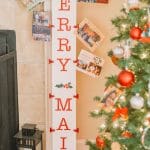
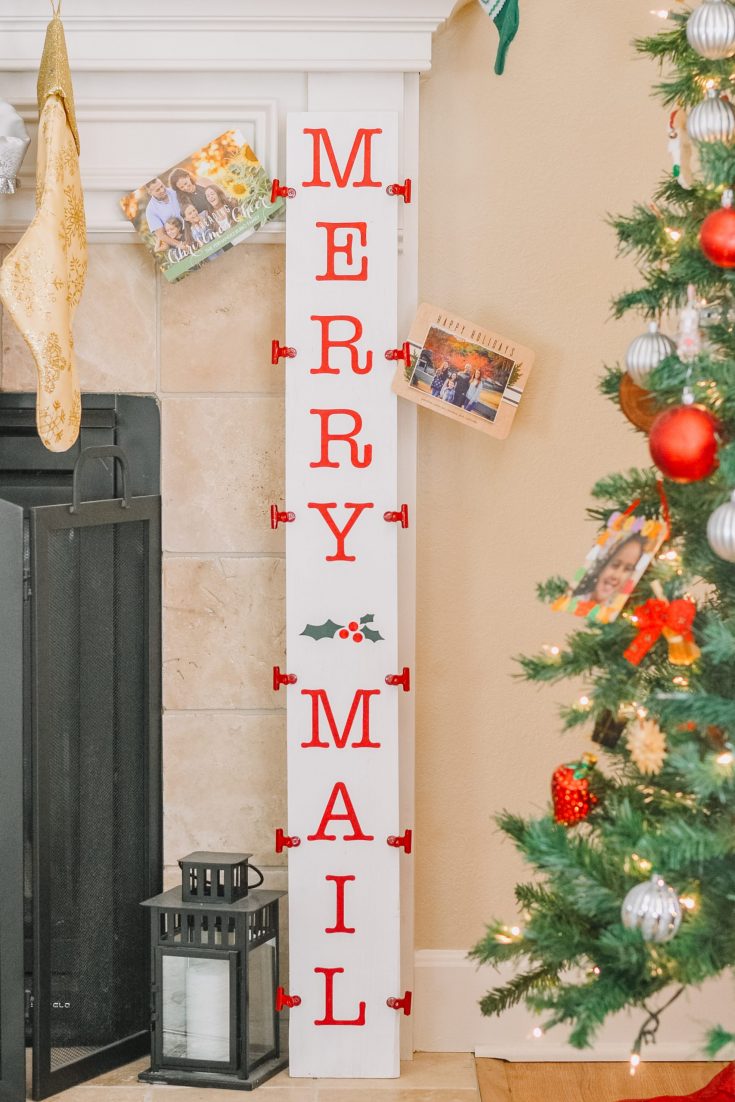
This year especially, getting Christmas cards sent out was a priority. We’ve had little more than virtual contact with most of our friends and family, so a little physical snail mail is sure to brighten spirits. And, if you’re in the DIY/homemade gift mood, this holiday card holder is the perfect accompaniment to those cards you’re sending out!
This card holder sign is a recreation of a similar project that I made with a friend back in Hawaii. Only now, I’ve learned a whole bunch of tricks and got some new tools that I’ll share with you, to ensure perfect results. You could even use this same concept to create a hand painted children’s artwork holder as a gift for grandparents.
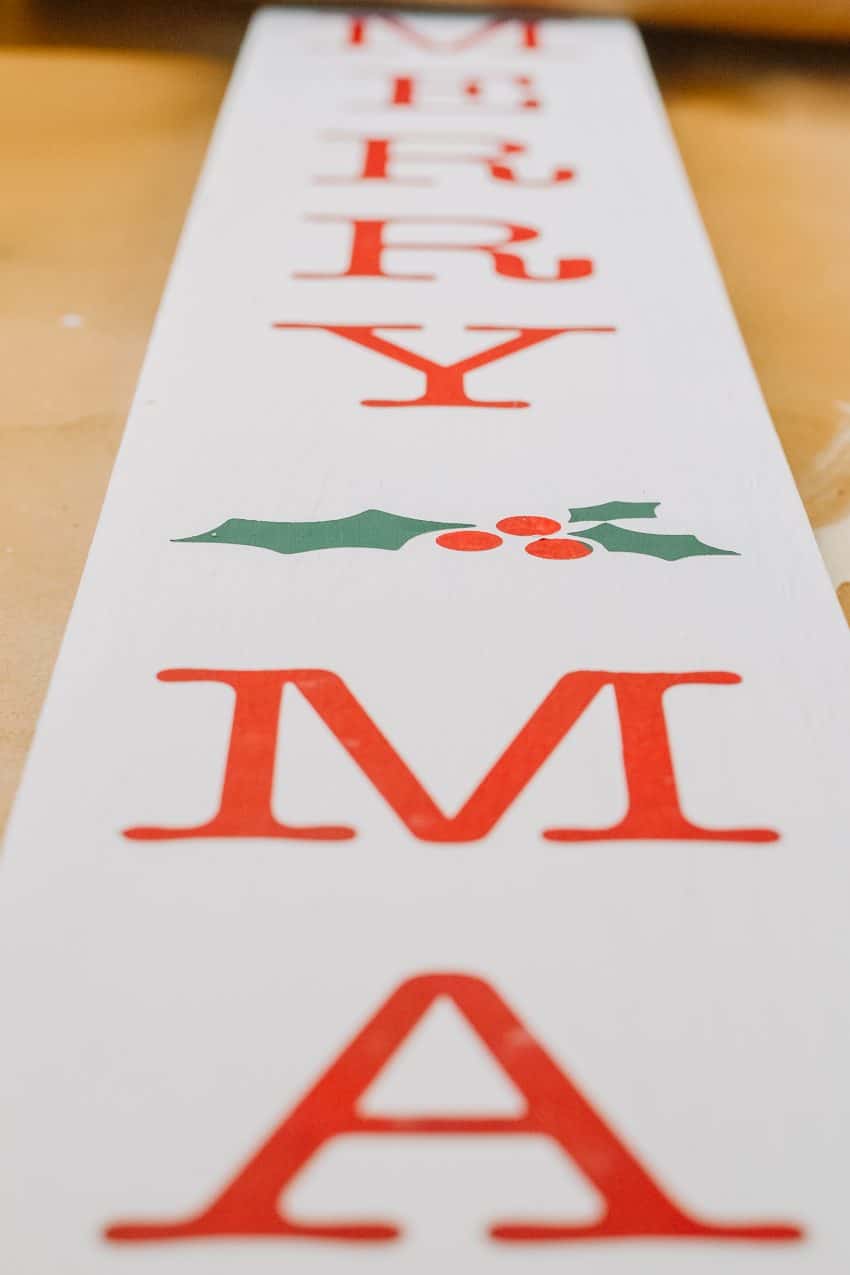
Because this is a 4-foot-tall sign, the first time I made it, I had to piece together several 12-inch sheets of vinyl to create my stencil. This time around, I used my Cricut Joy and Cricut Smart Vinyl to quickly and easily create the 48-inch stencil for the project all in one cut.
How to keep paint from bleeding under stencils
One of the main complaints when making painted signs, is that the paint tends to bleed under the stencil, ruining the nice crisp lines that the stencil should help make. I use several different methods to stop the bleed, but this one is by far the easiest and fastest.
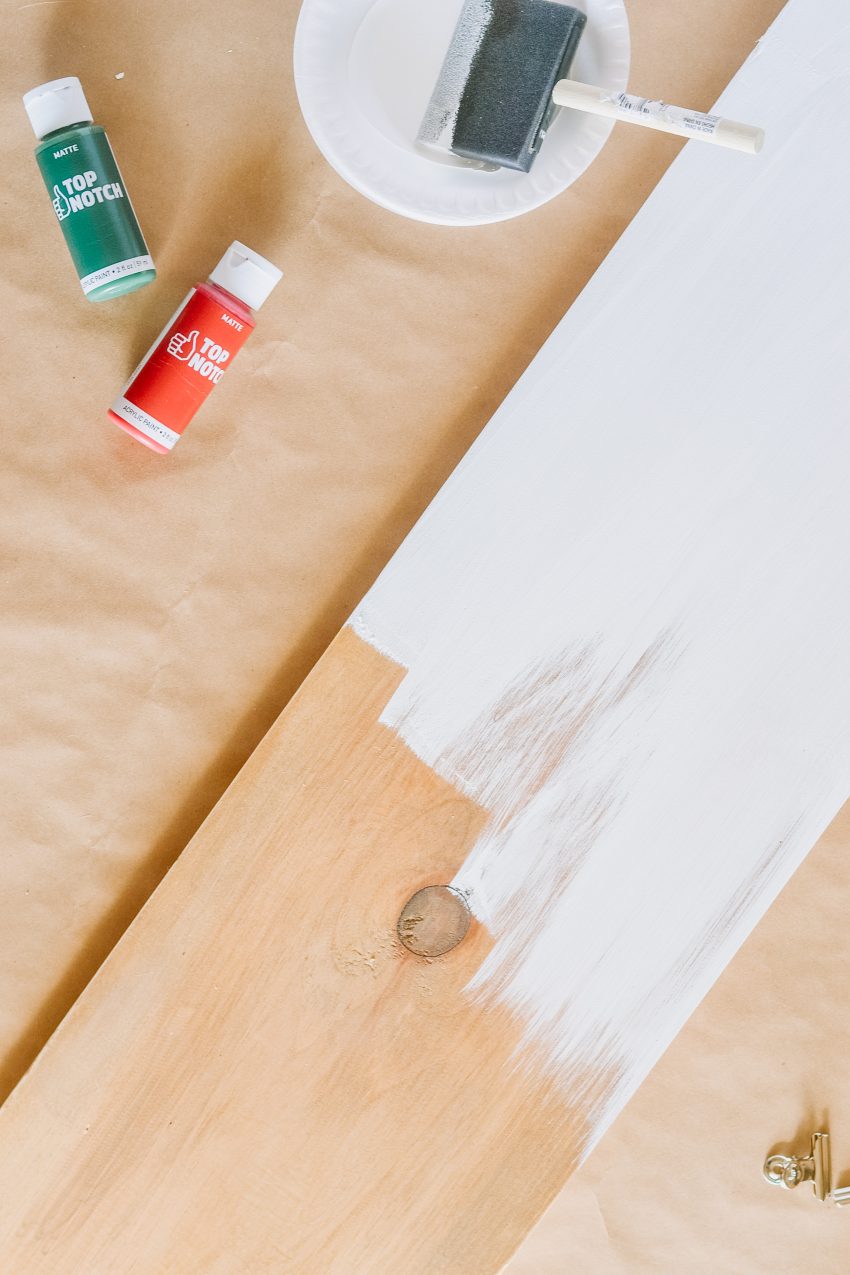
It’s always important to start with a smooth, clean piece of wood. Use a fine sand paper to lightly smooth the surface, then wipe away any wood dust. Apply, your base coat of paint in the desired color and let it dry completely. Cheap matte craft paint works perfectly!
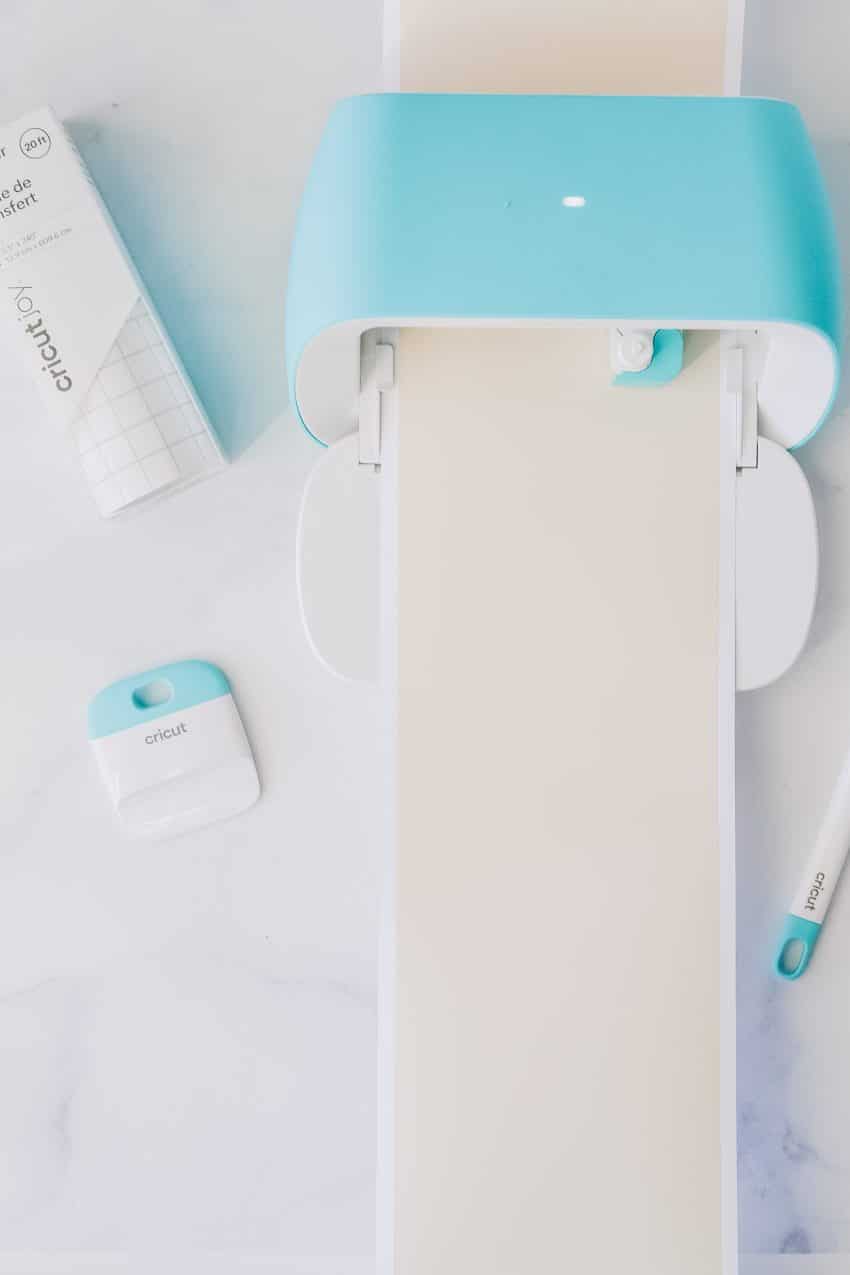
The next step is to apply your vinyl. My go-to product is removable vinyl, as it sticks really well to the base of the project, but also peels away easily with no damage. Cricut Joy Smart Vinyl is PERFECT for this! Be sure to also have Cricut Joy Transfer Tape on hand to be able to move and apply your vinyl effortlessly.
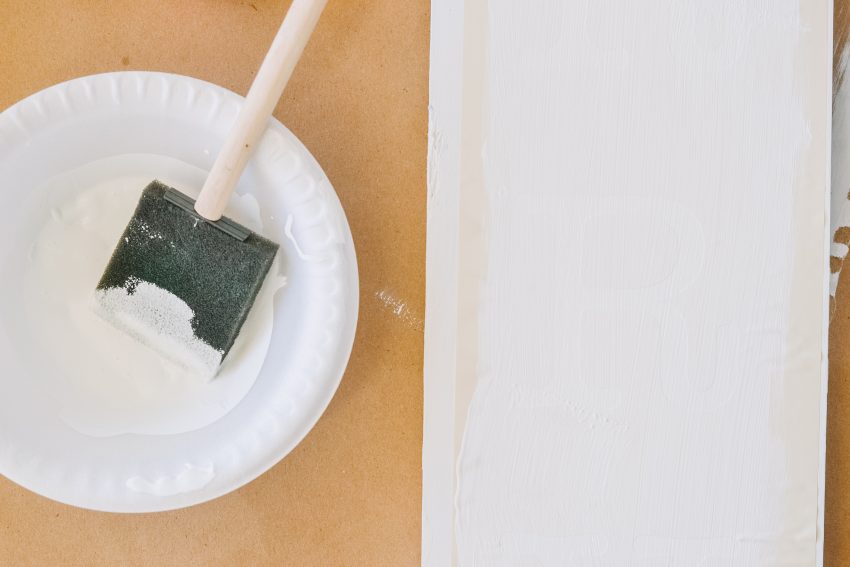
The secret step to avoiding bleed, is to paint another coat of your base layer paint over the stencil. As you can tell, the background of my project is white, so I applied the stencil to my white board, then paint with white paint over the stencil. The paint will act as a “seal” between the board and the vinyl, preventing bleed under the stencil.
Full disclosure: I love Mod Podge for many projects. This is not one of them. When using the Mod Podge method to “seal” stencils, a lot of the time, you’ll get the Mod Podge bleeding under the stencil, which causes a noticeable glare on finished projects.
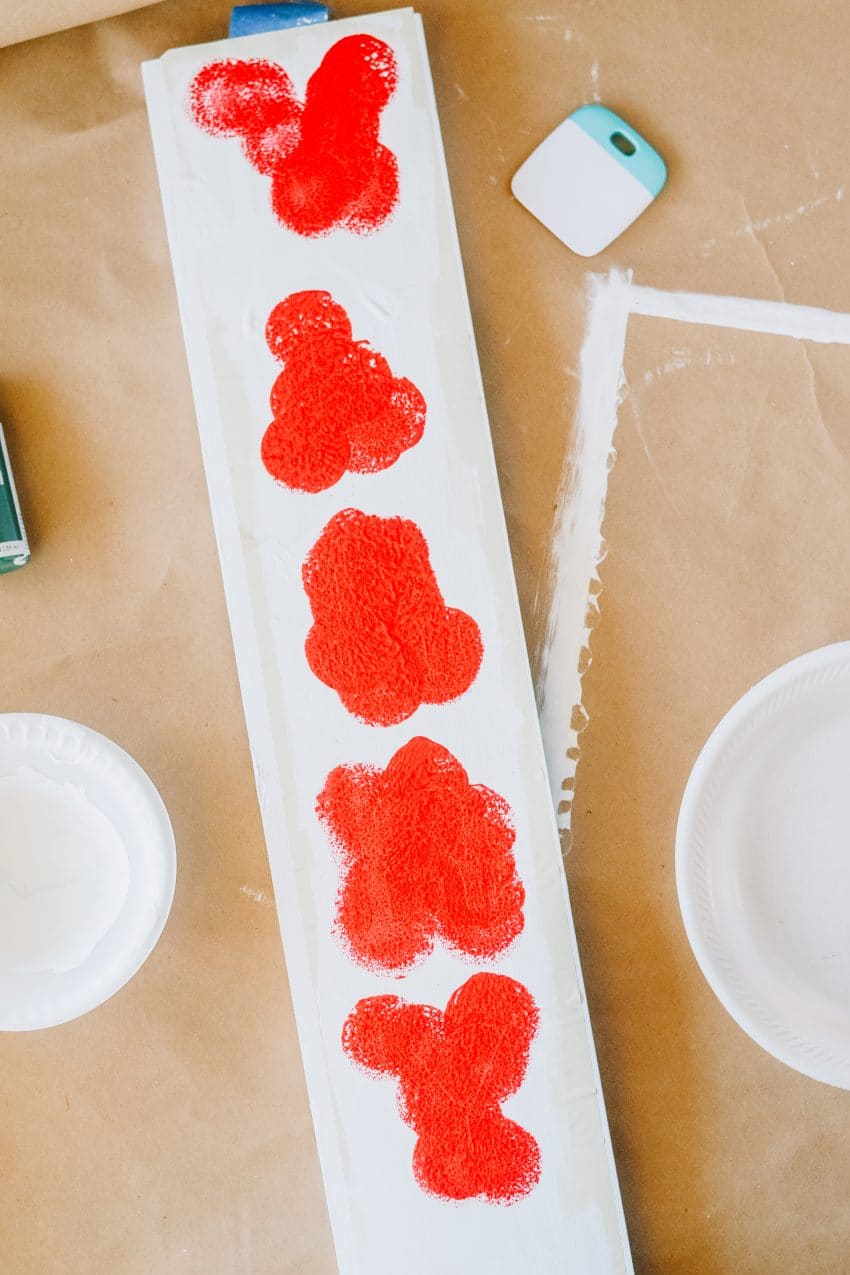
Once the “seal” layer of paint is dried, go ahead and paint your sign in the desired colors. It may take multiple coats of paint to get the desired look.
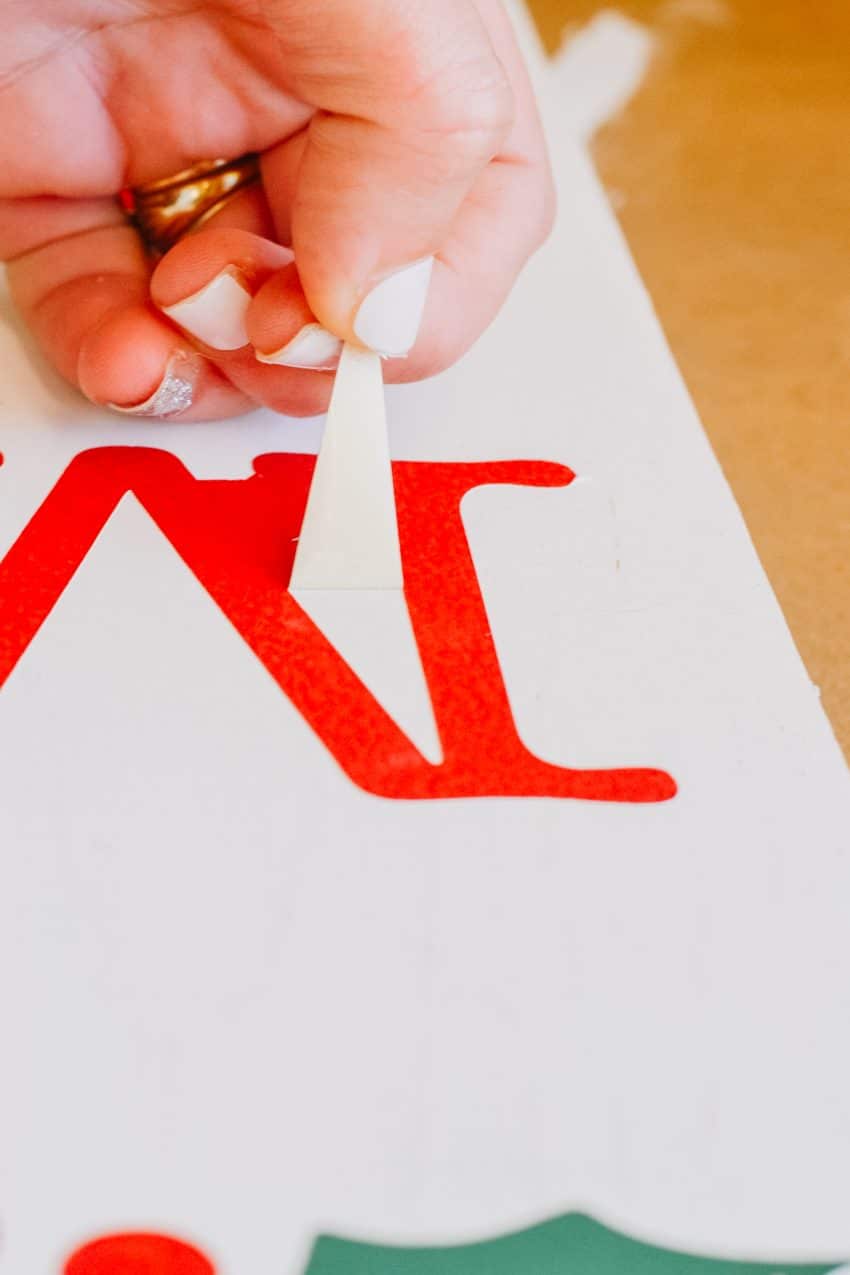
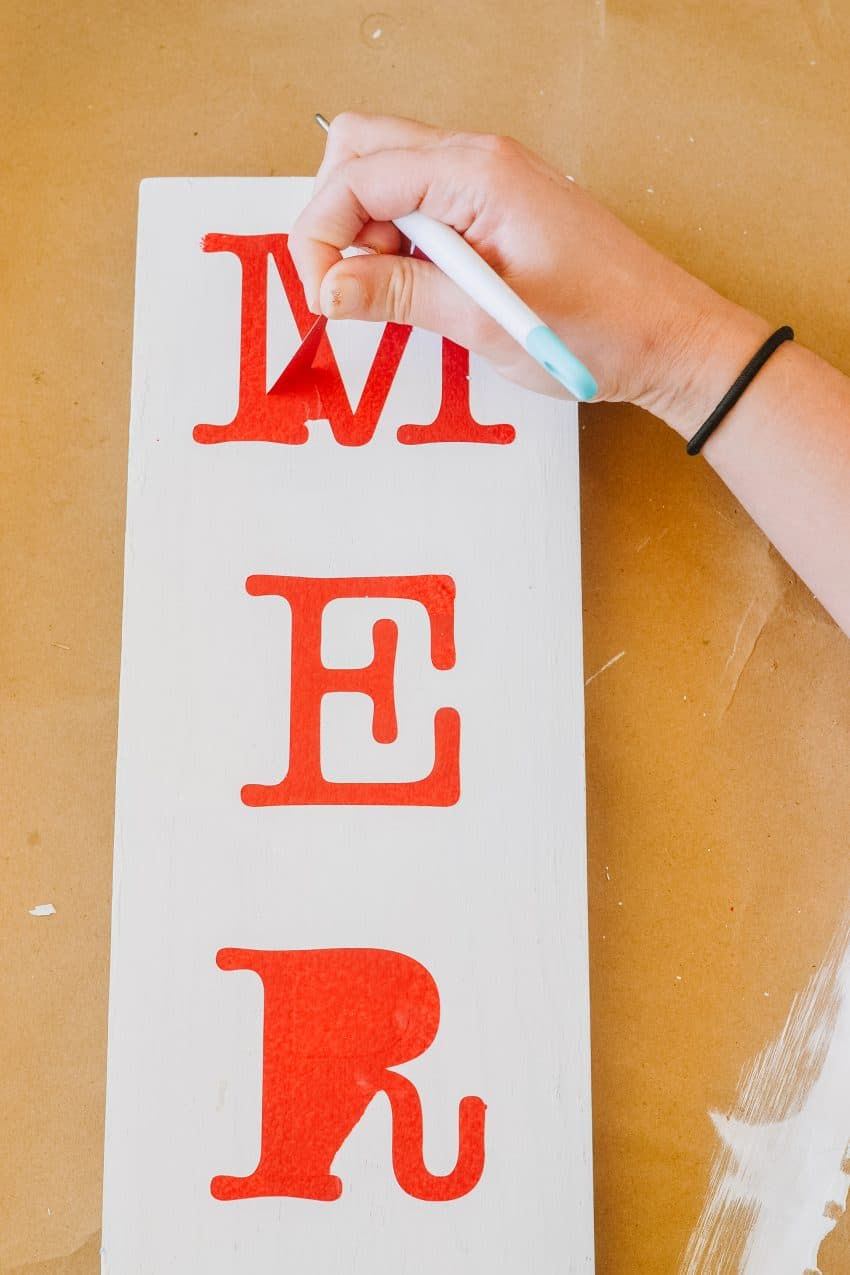
I have dropped stencils on wet paint more times than I’d like to admit, so I wait until my paint has dried to peel off my stencil. The Weeding Tool Set has a variety of little picks that are perfect for weeding vinyl out of the stencil, and then helping lift up the stencil from your project once it’s complete.
For this particular sign, I predrilled holes and spray painted clips that will hold onto the Christmas cards. I’ve detailed measurements and exact directions below!
DIY Card Holder Gift with Cricut Joy
Are you looking to DIY a thoughtful gift this holiday season?! Take a look at my Holiday Card Holder project and use these tips to create all sorts of other wood signs!
Materials
- 48 inch 1x6 pine board
- White acrylic craft paint (matte)
- Cricut Joy™ Smart Vinyl™ – Removable
- Cricut Joy Smart Transfer Tape
- Red acrylic craft paint (matte)
- Green acrylic craft paint (matte)
- 12 bulldog/binder clips (spray painted red)
- 12 3/4 inch screws (spray painted red)
Tools
- Foam paint brushes (3)
- Cricut Joy
- Sand paper (fine)
- Cricut Weeding Tools
- Scraper tool
- Measuring tape or ruler
- Drill
Instructions
- Use a foam brush to paint the front and sides of the 1x6" wood board.
- Open Cricut Design Space, and start by inserting a basic square shape. Unlock the size dimensions, and change the size of the square to 5 x 48" to use as a guide for your board. Zoom out on the bottom left of the screen to get a better view.
- Click "text" to insert a text box, and enter "MERRY MAIL", pressing the return/enter key after each letter. Choose the "Typewriter" font, then click "align" and center the letters.
- Stretch the text box, using the arrows on the bottom right of the text selection to fit inside of the rectangle shape guide.
- If adding holly leaf image, insert the image, then select the image and the text and click "attach." Before clicking "Make It," be sure to hide the rectangle layer, by clicking the eye in the layers panel on the right. Click "Make It," then follow the Design Space prompts to insert and cut Cricut Joy Removable Smart Vinyl.
- While the vinyl stencil cuts, sand down the dried board using a fine sand paper. Wipe board down to remove any excess dust.
- When vinyl has finished cutting, remove from the Cricut Joy, and use weeding tools, to remove the parts of the vinyl that you plan to paint (the letters and image), leaving the rest on the backing paper.

- Use Cricut Joy Smart Transfer Tape and scraper tool to apply the transfer tape to the vinyl, and transfer it to the wood board. Use the scraper tool, so ensure that the removable vinyl is firmly attached to the board, before removing transfer tape. Use the scraper to smooth out any bumps and/or bubbles.
- Use a foam brush to apply a layer of the same white paint over the open parts of the stencil. Allow to dry completely.
- Once the base coat of paint has dried over the stencil, use a foam brush to paint the letters and holly berries red and a separate brush to paint the holly leaves green. If desired, allow to partially dry before applying a second or third coat of paint. Remove the vinyl.
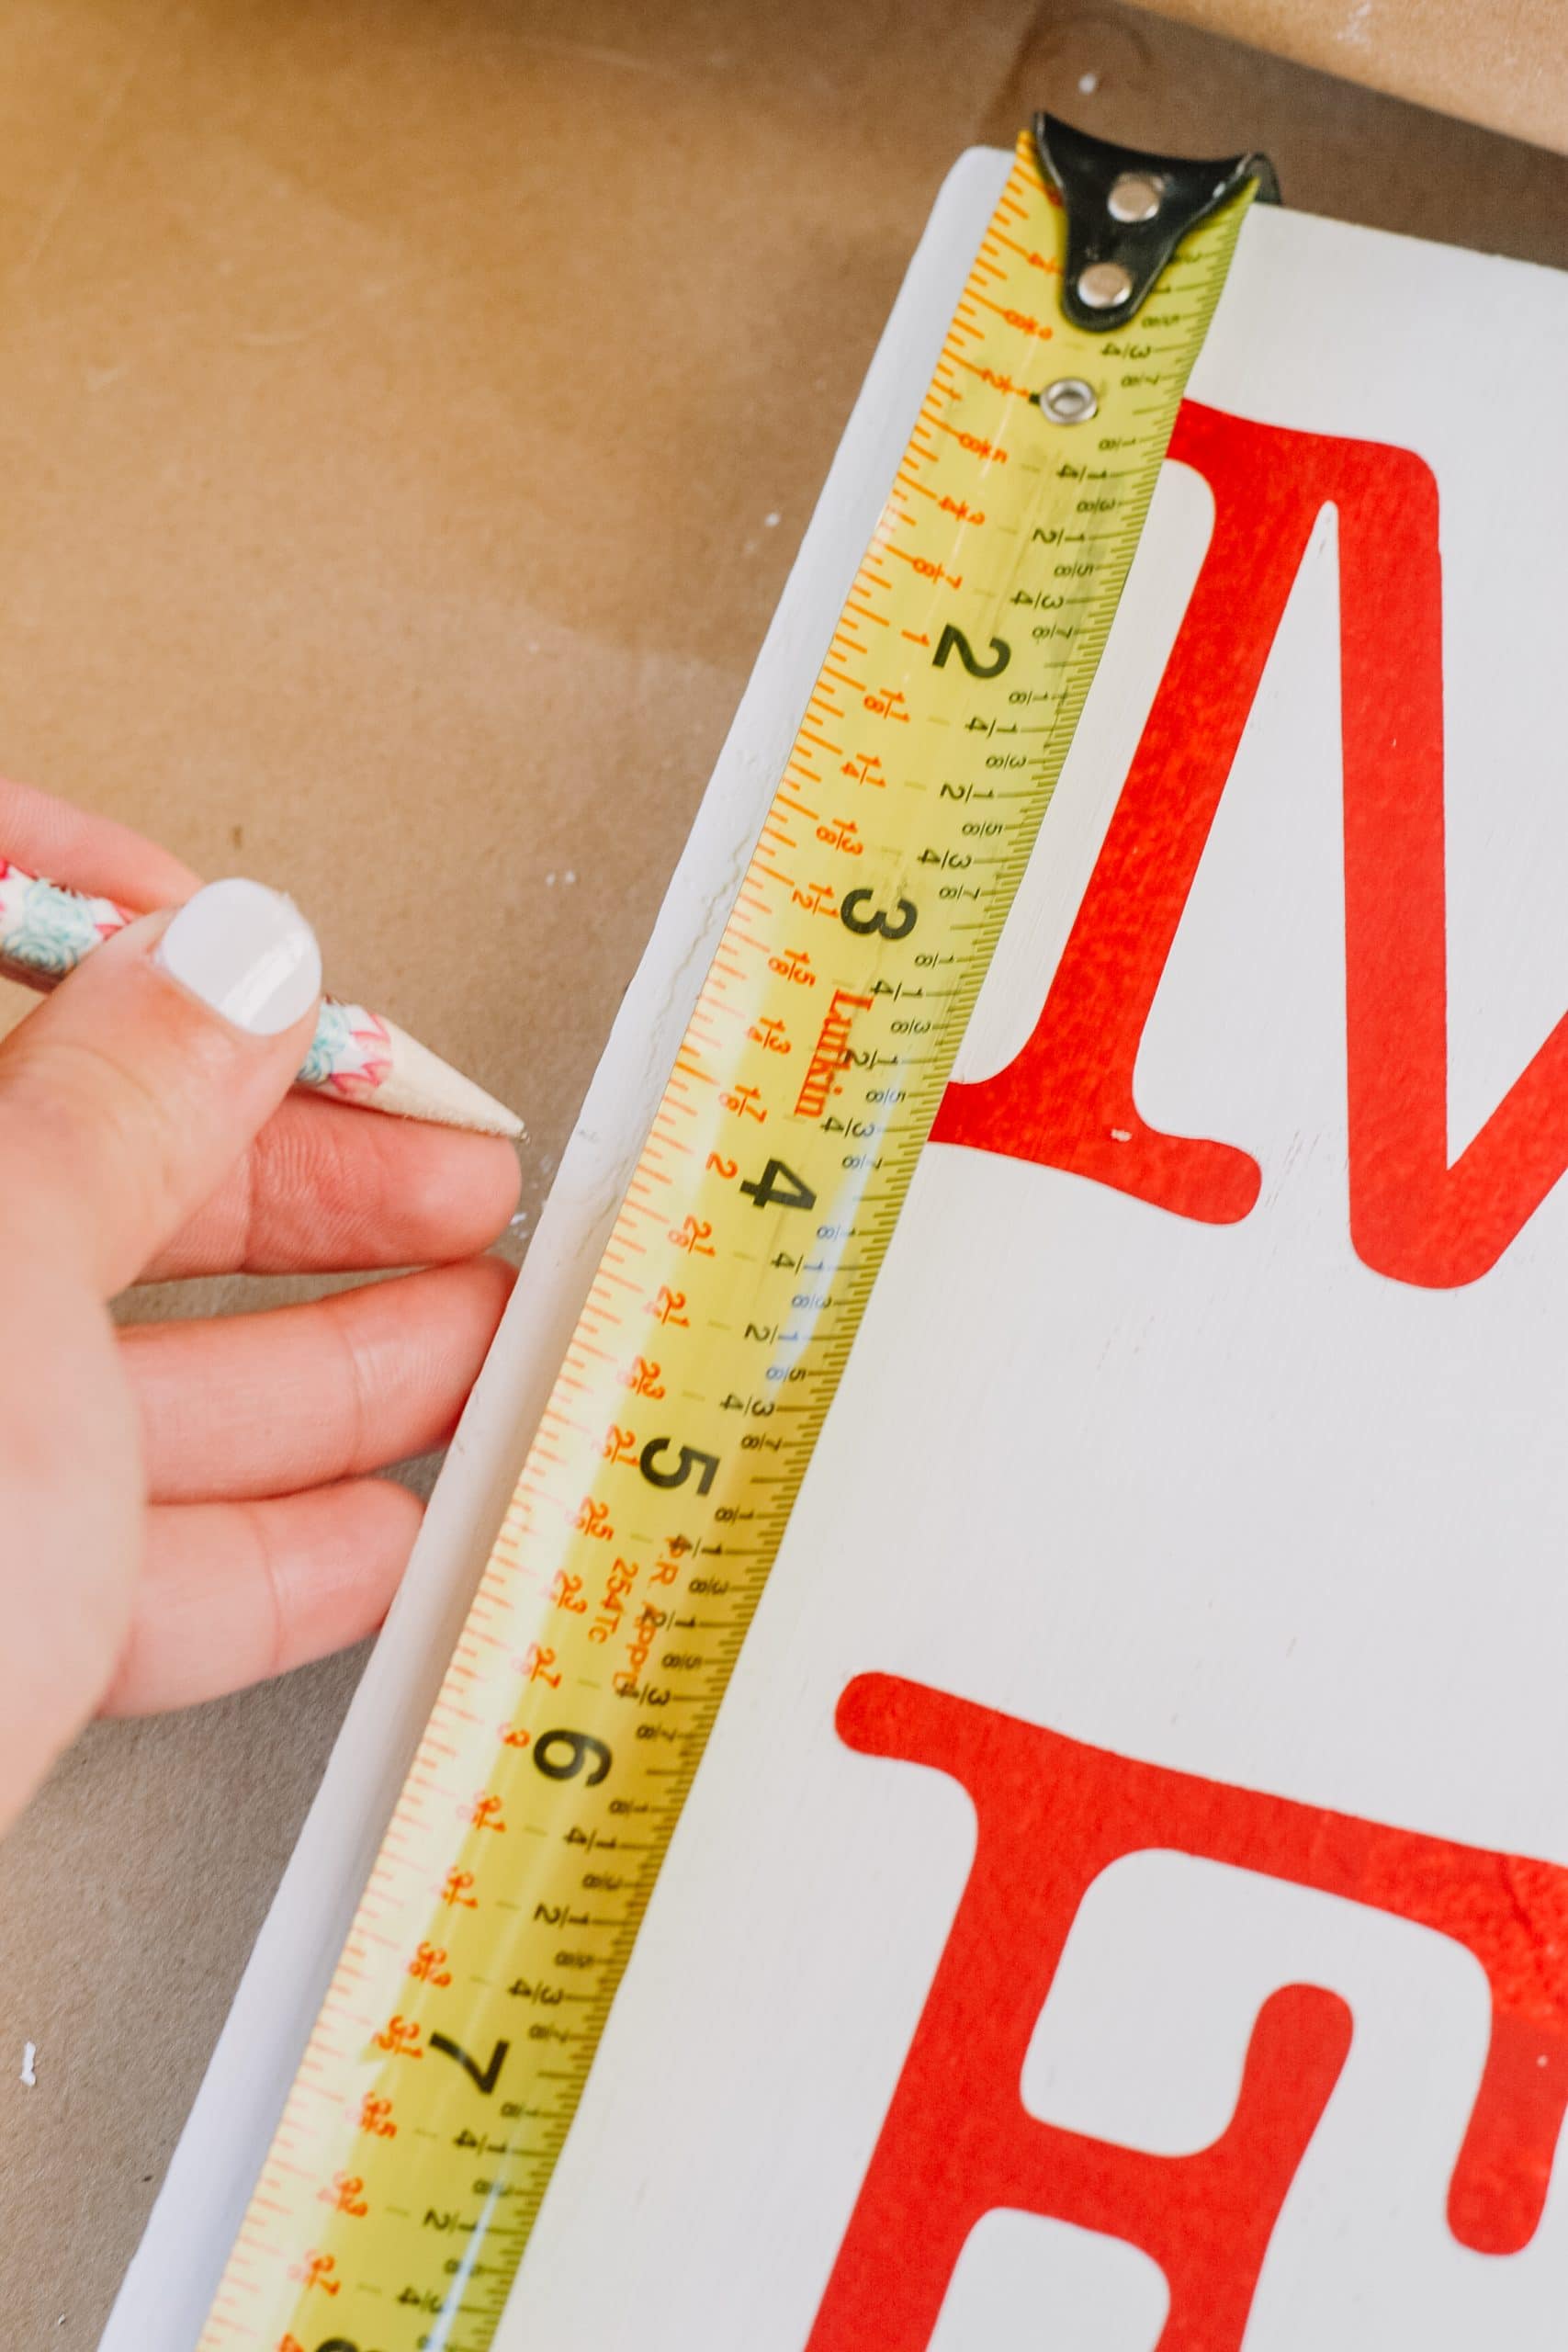
- Use a measuring tape or ruler, to measure and mark 4 inches down from the top edge of the board. Measure down 8 inches between the next 5 marks. Use a drill to pre-drill holes for where the binder clips will screw in.
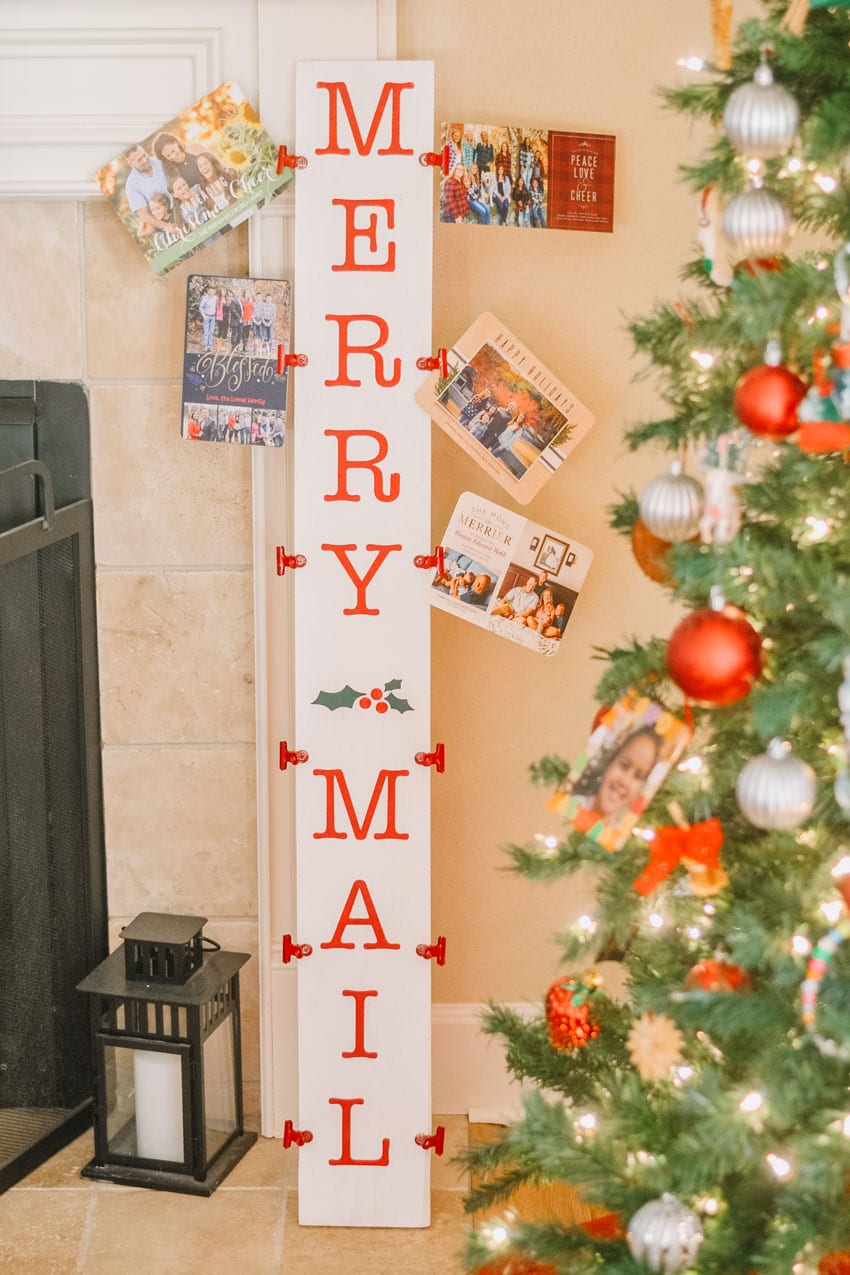
- Screw in spray painted clips using spray painted screws into the pre-drilled holes. Use this sign to display all of your beautiful holiday cards throughout the season.
I hope these tips help you create a variety of beautiful gifts this season!
Happy crafting and happy holidays friends!