St. Patrick’s Peek A Boo DIY Glitter Wine Glass
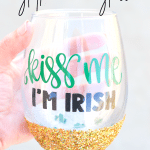
Peek a boo glittered wine glasses have quickly become one of my favorite craft projects. They’re fairly simple to make, but look oh, so fancy! Perfect for gift giving, or even just always having your own custom festive glass on hand!

Best of all, my absolute favorite base for this project is the $1 stemless wine glasses from Dollar Tree. The Dollar Tree wine glasses are thick and sturdy, plus they hold a TON of wine. I think that’s a win all around!
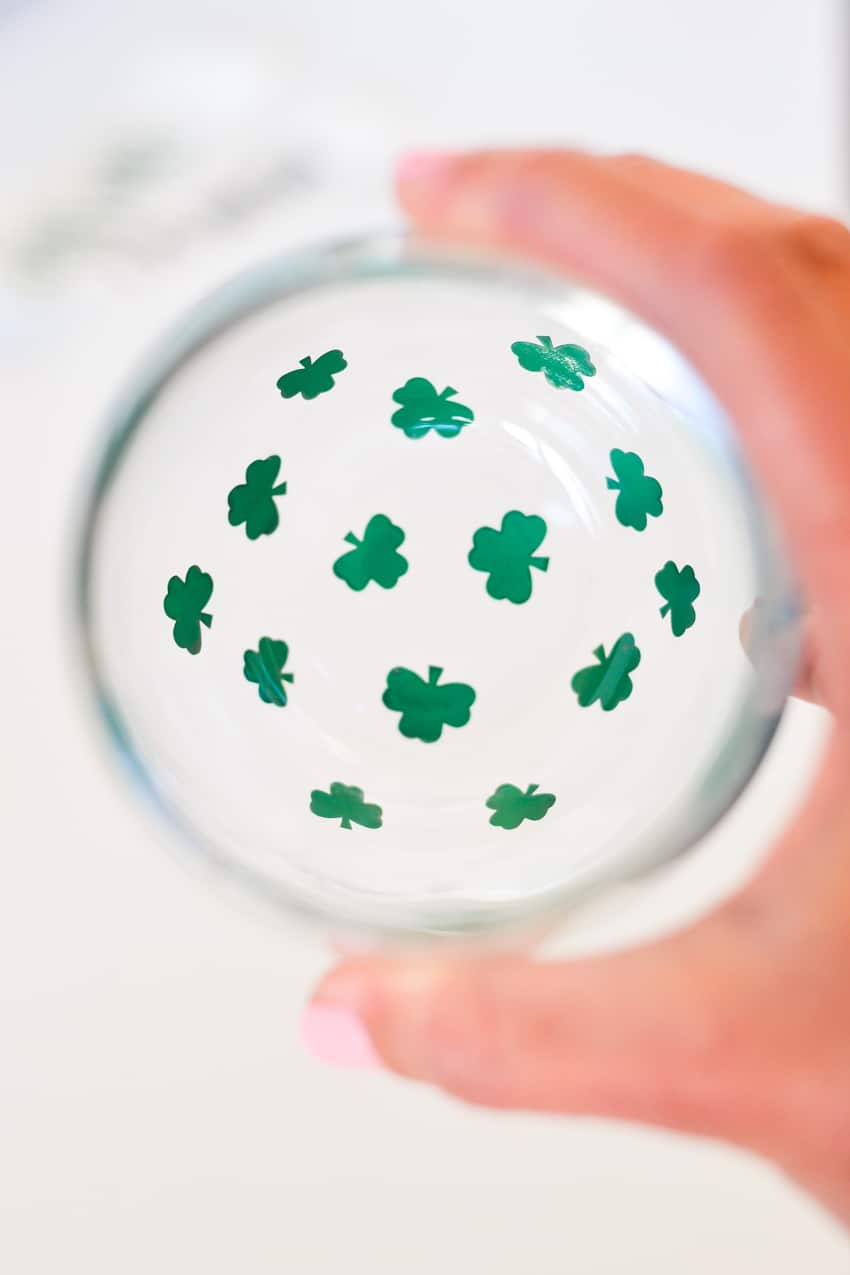
Because this project uses smaller pieces of vinyl, it’s perfect for using up any scrap vinyl that you might have on hand! When it comes to cutting out the tiny peek-a-boo pieces for the bottom of the wine glass, I’ve found that making them approximate .25 inches in width/height, works perfectly. Thankfully, the Cricut does a fantastic job of cutting out tiny intricate pieces.
Pro tip: .25 inches is also a perfect size for creating stickers for adult finger nails
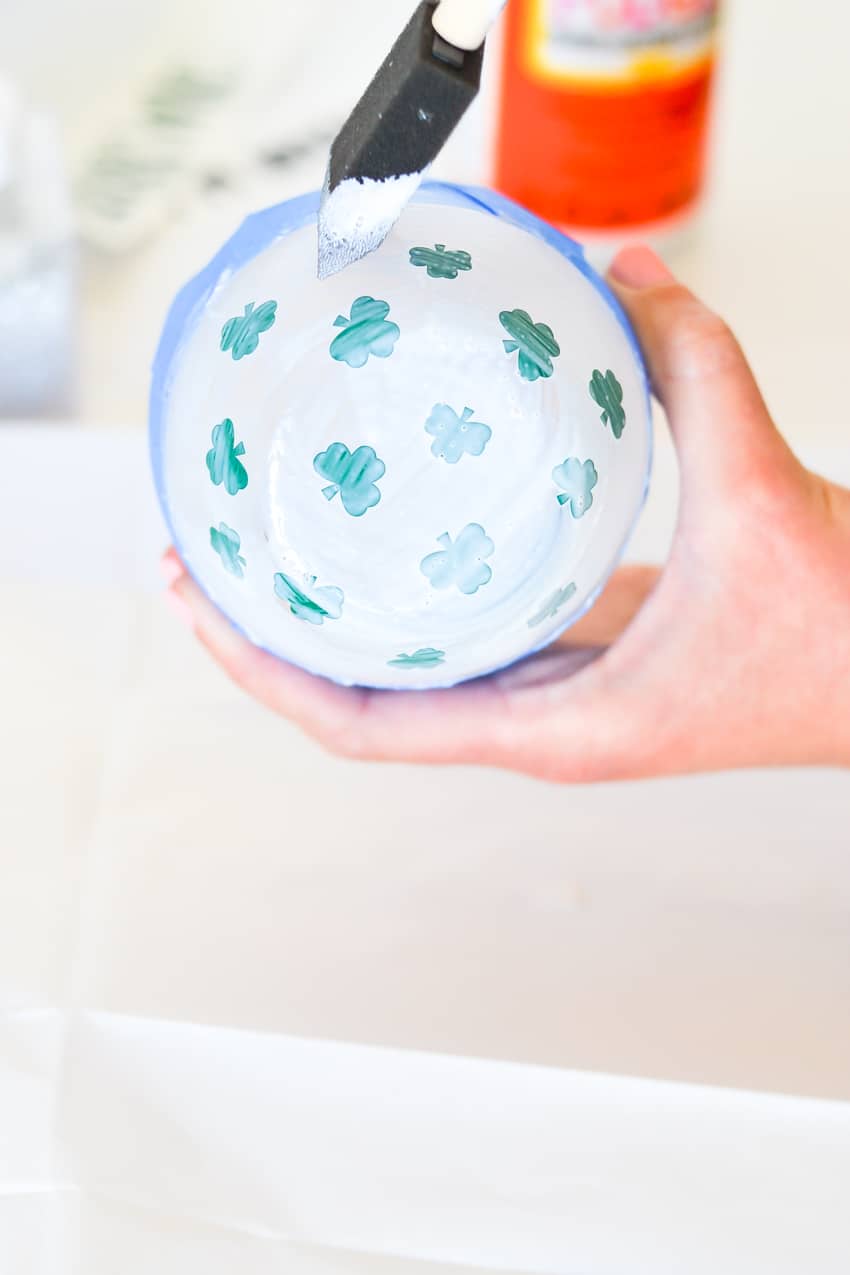
Thinning out the Mod Podge helps to make it spread out thinly and a bit more evenly. In the past, I’ve simply poured some into a disposable cup, and added a few drops of water. Once that jar of Mod Podge got low, I added the drops of water straight to the jar.
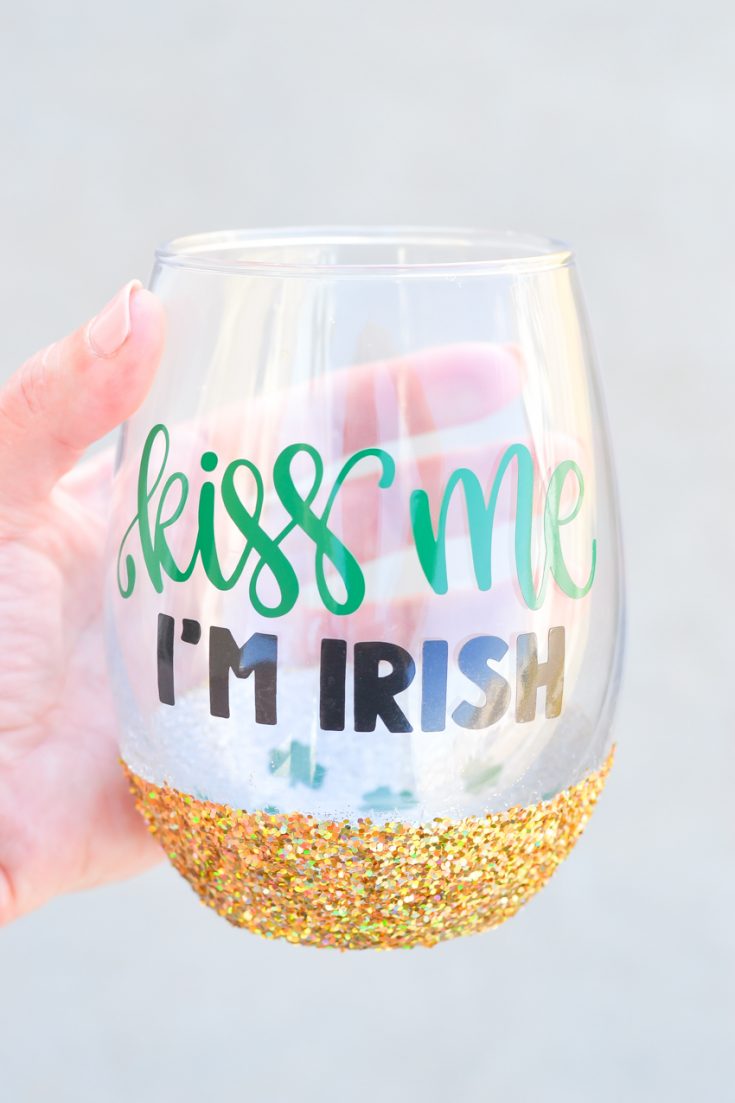
Typically, I prefer to use extra-fine glitter for these DIY glittered wine glasses, but because of the St. Patrick’s Day theme, I knew I had to throw some chunky gold glitter in there as well! I found this gorgeous rainbow gold glitter at Joann, and it worked PERFECTLY!

Peek A Boo DIY Glitter Wine Glass
Materials
- Stemless wine glass
- Painters tape
- Vinyl
- Mod Podge
- Extra fine glitter
Tools
- Cricut Explore Air 2
- Foam Brushes
- Alcohol wipe
Instructions
- Before beginning, wipe the exterior of the wine glass down with alcohol and allow to dry completely.
- Use the painters/masking tape to create a level line around the glass approximately 1-2 inches up from the base.
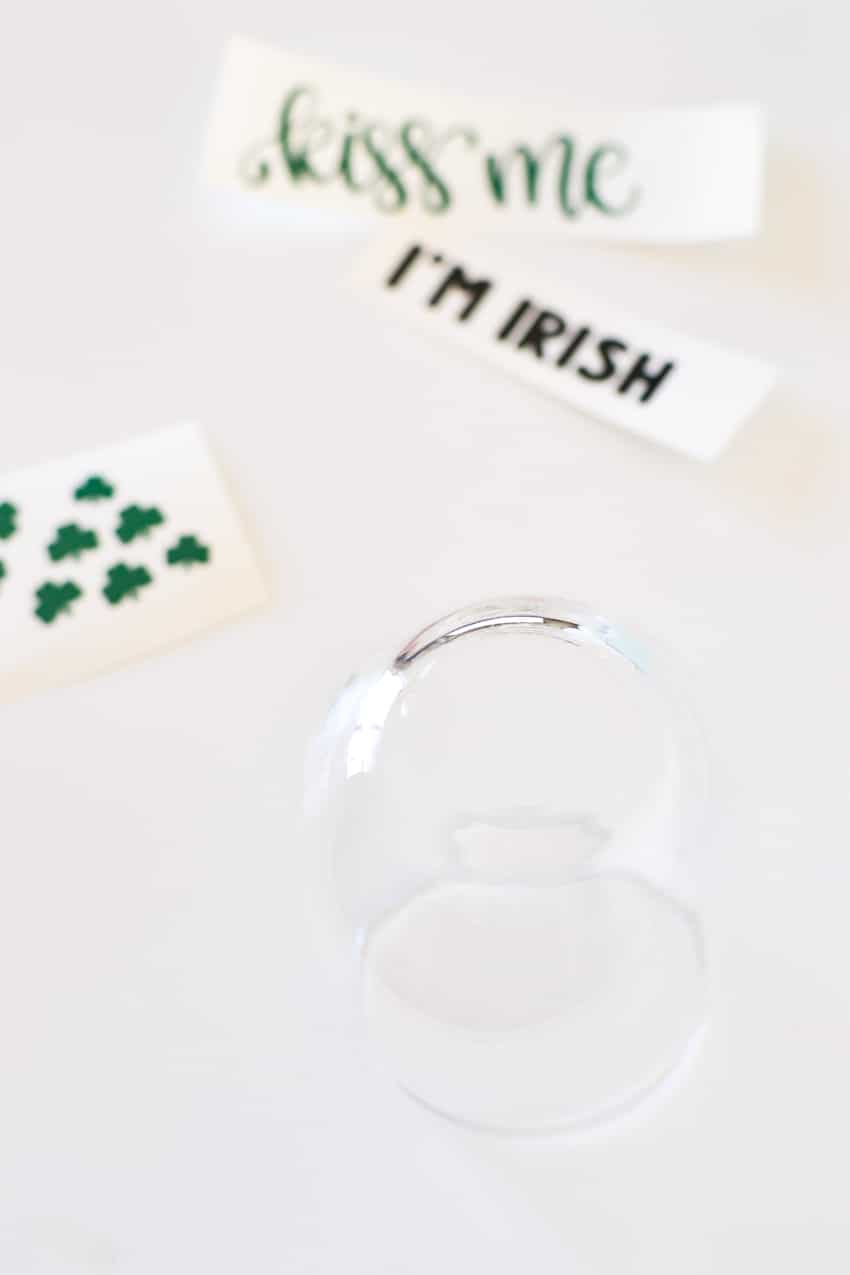
- Cut desired peek-a-boo shapes and phrase for glass out using vinyl using a Cricut or similar cutting machine. Approximately .25" seems to be the ideal size for the peek-a-boo designs.
- Apply peek-a-boo vinyl pieces below the tape to the base of the wine glass. Be sure to look through the top of the glass to ensure even placement.
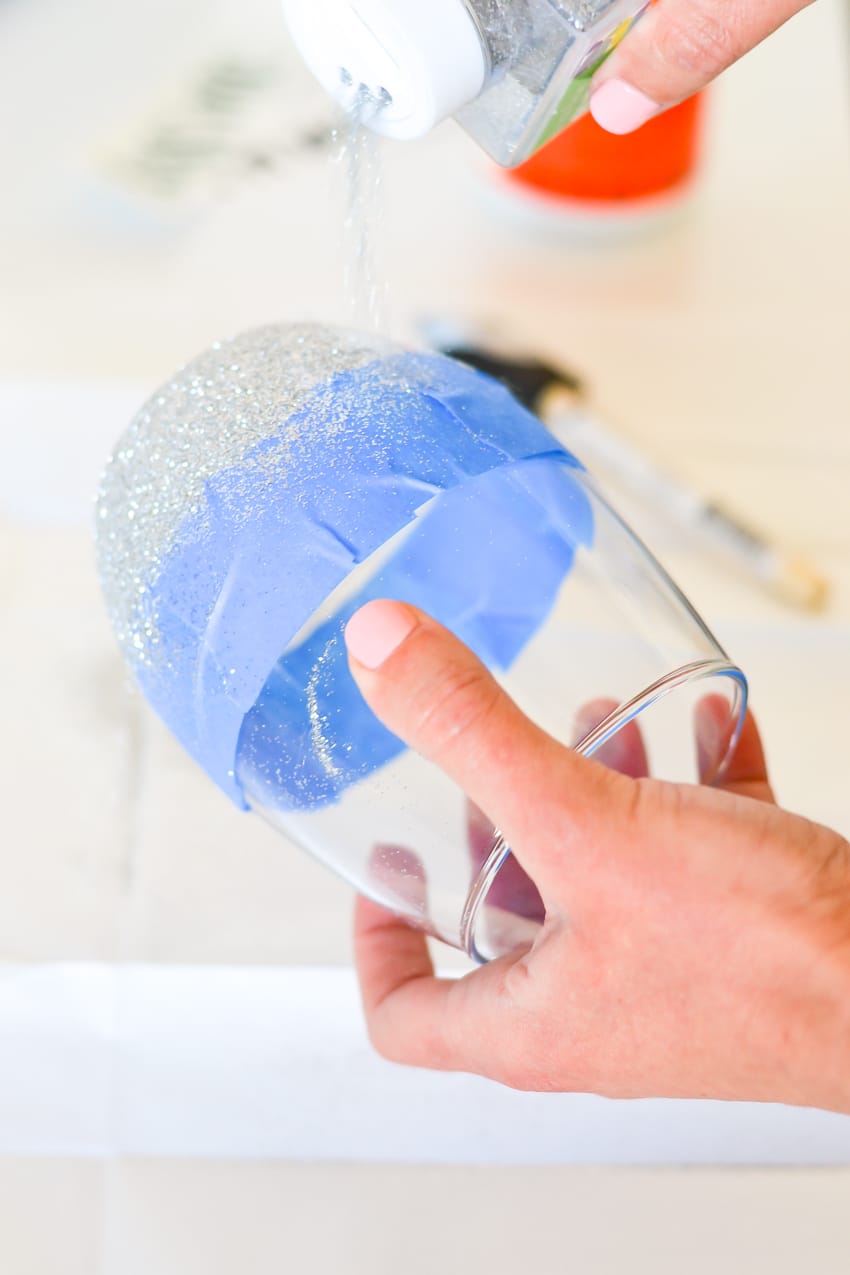
- Using a foam brush, apply a thin layer of Mod Podge to the wine glass, below the tape. A drop or two of water may be necessary to help thin out the Mod Podge before application.
- Sprinkle glitter evenly along the base of the wine glass, ensuring even coverage. Tap the glass gently, to remove any excess glitter. Remove the tape and place the glass upside down to dry, until completely dry.
- Once the first layer of Mod Podge and glitter have dried, carefully apply a second thin coat of Mod Podge over all of the existing glitter. Apply a second coat of glitter.
- After the second layer of Mod Podge and glitter have dried, carefully brush on one last thin layer of Mod Podge. Allow to dry for at least 24 hours.
Notes
For this particular glass, I used a fine silver glitter for the first layer and a chunky rainbow gold glitter for the second layer.
Even when using dishwasher-safe Mod Podge, hand washing is recommended and do not soak.
Click for >> My exact project in Cricut Design Space
Recommended Products
As an Amazon Associate and member of other affiliate programs, I earn from qualifying purchases.


I’m looking forward to sharing more of these peek-a-boo wine glitter wine glasses in the future! The new Cricut Joy will be perfect for this type of project!
Get my exact project in Design Space here: Shamrock Peek-A-Boo Glitter Wine Glass