4 Tips for Better Youth Sport Photos
This post contains affiliate links, which help keep the blog running, at absolutely no cost to you!
Hello, hello!
Now, I know I only have one season of soccer momming under my belt, but I wanted to share a handful of helpful tips for taking better photos at youth sporting events. This post has been sitting in the drafts for quite a while. After having to continuously move it down my Co-Schedule calendar I figured I should probably get this posted!
Why the delay? Two reasons. The first being that someone stole my SD card with all the good sport shots. And by someone, I mostly mean the tiniest person in the household. The second reason, I’ll be touching on in a little heart to heart post next week!
I’m by no means a camera pro, but practice does make perfect! I took a photography class in high school, that has made it infinitely easier for me to learn to use my DSLR. The more I practice shooting, the more I learn, and the better my images turn out.
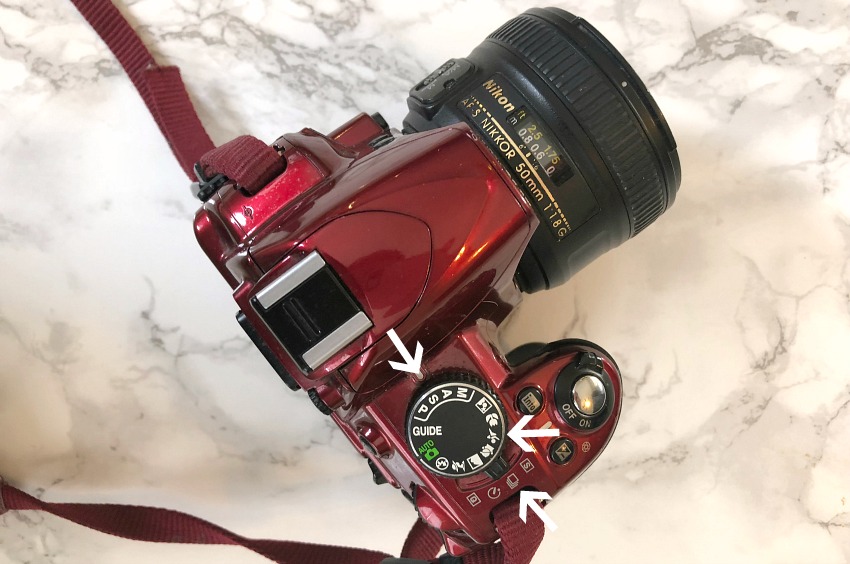
Chose the right settings
Depending on your level of comfort with your camera, there are two great options for snapping a crisp clear action shot!
Action/Sport Setting
The easier setting is the little action/sport running man on the camera dial. In this setting, the camera will basically do all the work for you!
Shutter Priority
If you’re slightly more comfortable, try switching the camera to the “S” which is shutter-priority. In this mode, you control the shutter speed of the camera, which you want as fast as possible. Typically, the higher the bottom number in the fraction, the better! My camera goes down to 1/4000, which means the shutter will open for 1/4000th of a second.
If there isn’t enough lighting, try increasing the ISO.
**Don’t forget to set the shooting mode to continuous, so you can get plenty of photos!
The right equipment
You little one has all of the equipment they need to exceed in the game, why shouldn’t you?! I ordered a zoom lens for my camera YEARS before the girls ever got into sports and it’s been the perfect tool for catching close up snaps of my littles in action. My 50mm lens stays on my camera about 95% of the time, but a 55-200mm is perfect for those instances that you can’t get up nice and close. School assemblies are one example. Even if your kids isn’t a sporting superstar, this lens is a great investment.
Choose a good location
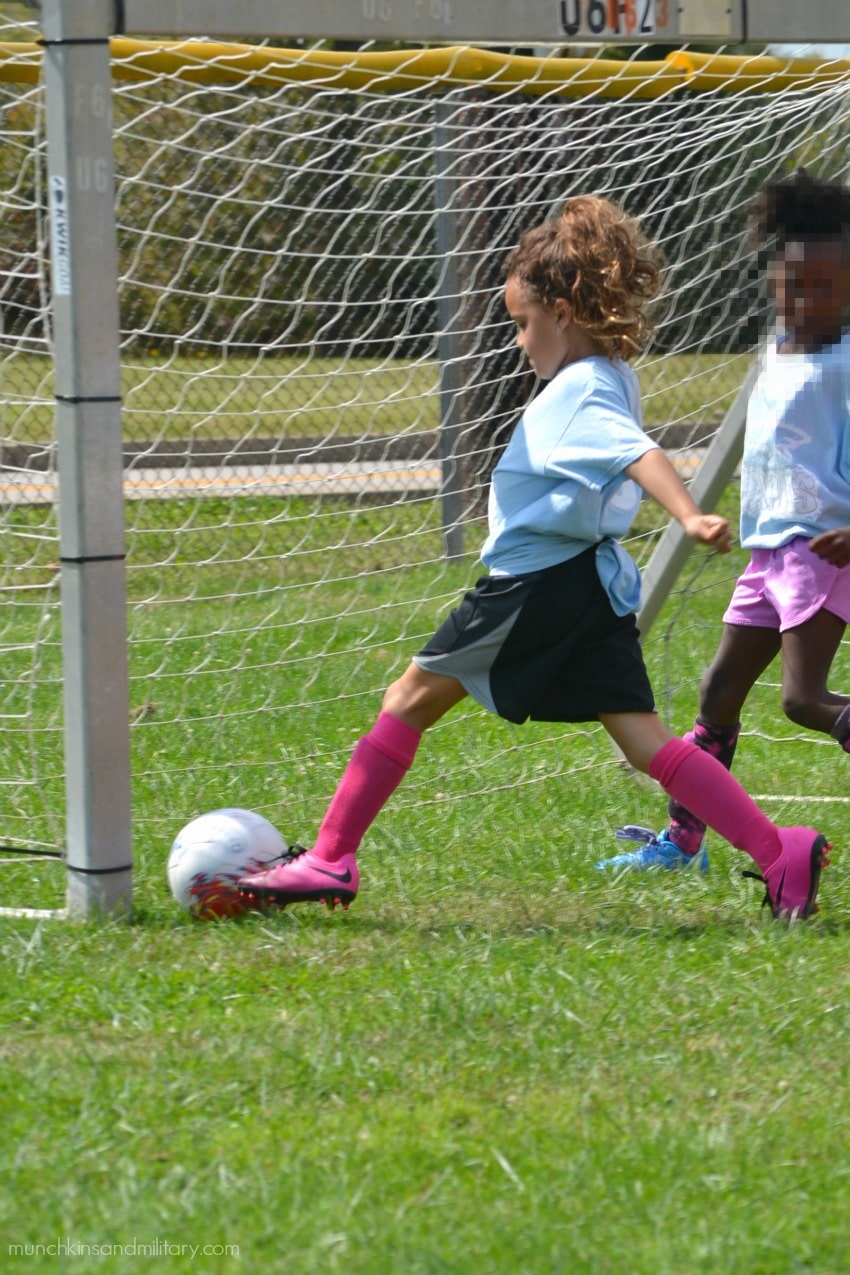
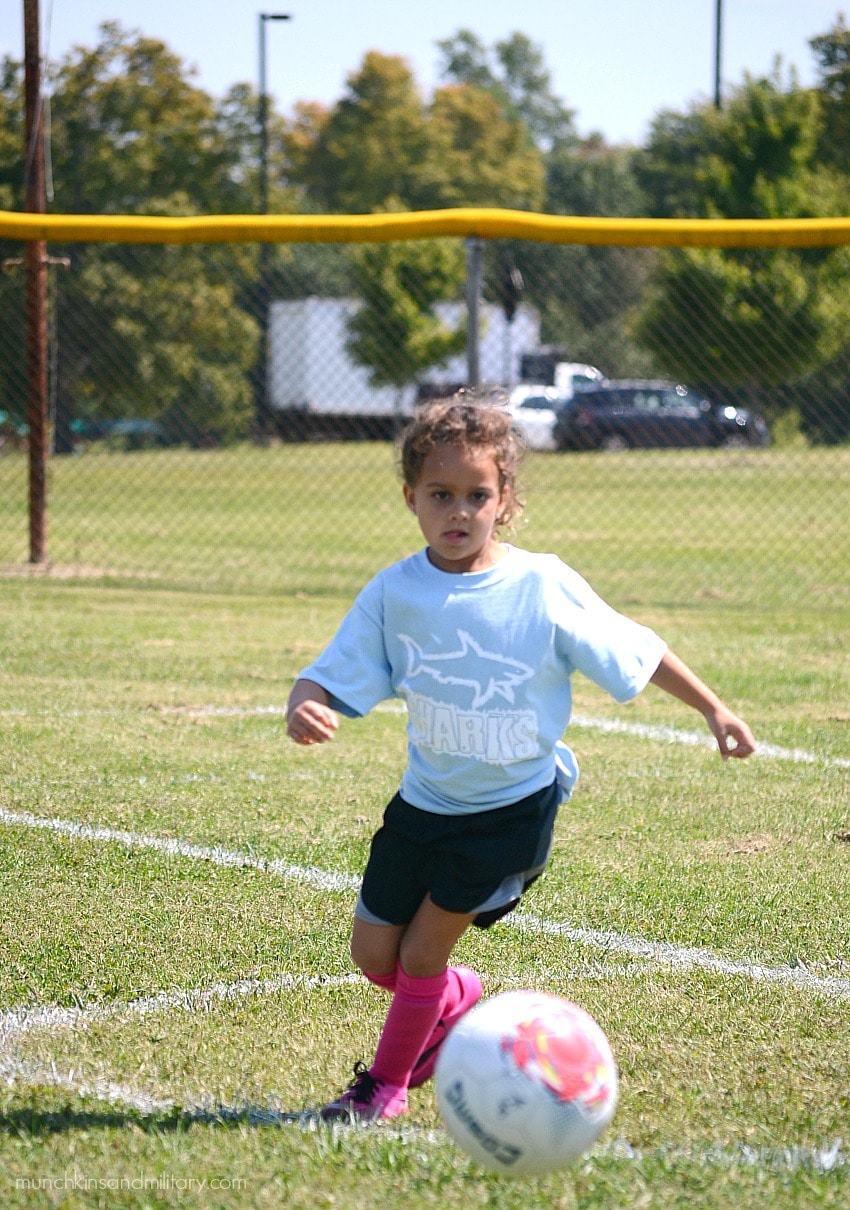
For best results, you’re going to want the sun behind you! Depending on which side of the field the seating is located, that might not always be an option. In this case, aim for shots as far to the side of the sun as possible. During evening games this isn’t so much of an issue, as you’ll likely be working with some heavenly “golden hour” lighting.
The closer you can get to the action, the better! I always try to snag a first-row seat to avoid having other parents in my photos. Plus, being closer helps improve the photo quality!
Put the camera down
Trying to get ALL the shots may seem important, but don’t forget to live in the moment, mama! I try to take lots of photos, since I know I won’t remember any part of the game after a week. But you’re also there to watch! Believe me, your little star loves looking up and seeing your bright eyes staring back at them!