Getting Thanksgathering Ready
This shop has been compensated by Collective Bias, Inc. and its advertiser. All opinions are mine alone. #Prep4Gathering #CollectiveBias
With the holidays quickly approaching, I’ve been working extra hard to get the house ready for guests. As a military family stationed overseas, we often come together with other military families to celebrate major holidays, away from home. I love cooking and hosting the big holiday dinners, which means we often find our home full of friends and family.
For the last few weeks, I’ve been sprucing up and shopping around in order to get our home in tip top shape for Thanksgiving guests. After all, our closest friends (you know, the ones that you no longer clean the house for and have seen it at its worst) moved away this summer, so I’d like to make a good impression on any newcomers.
Outside of the kitchen and dining areas, when we serve large meals, a good amount of time is also spent in the bathroom. I always make sure that our bathrooms are spotless when guests visit. That’s why I save bathroom cleaning for Fridays, before the weekend when guests are most likely to visit! Being that our guest bathroom is also the bathroom that the kids use, it can sometimes be difficult to keep in order.
Inspired partially by a bathroom that I saw on a TV show and partially by a floating shelf I saw on Pinterest, I enlisted the Hubster’s help for a redo of the girls’/guest bathroom.
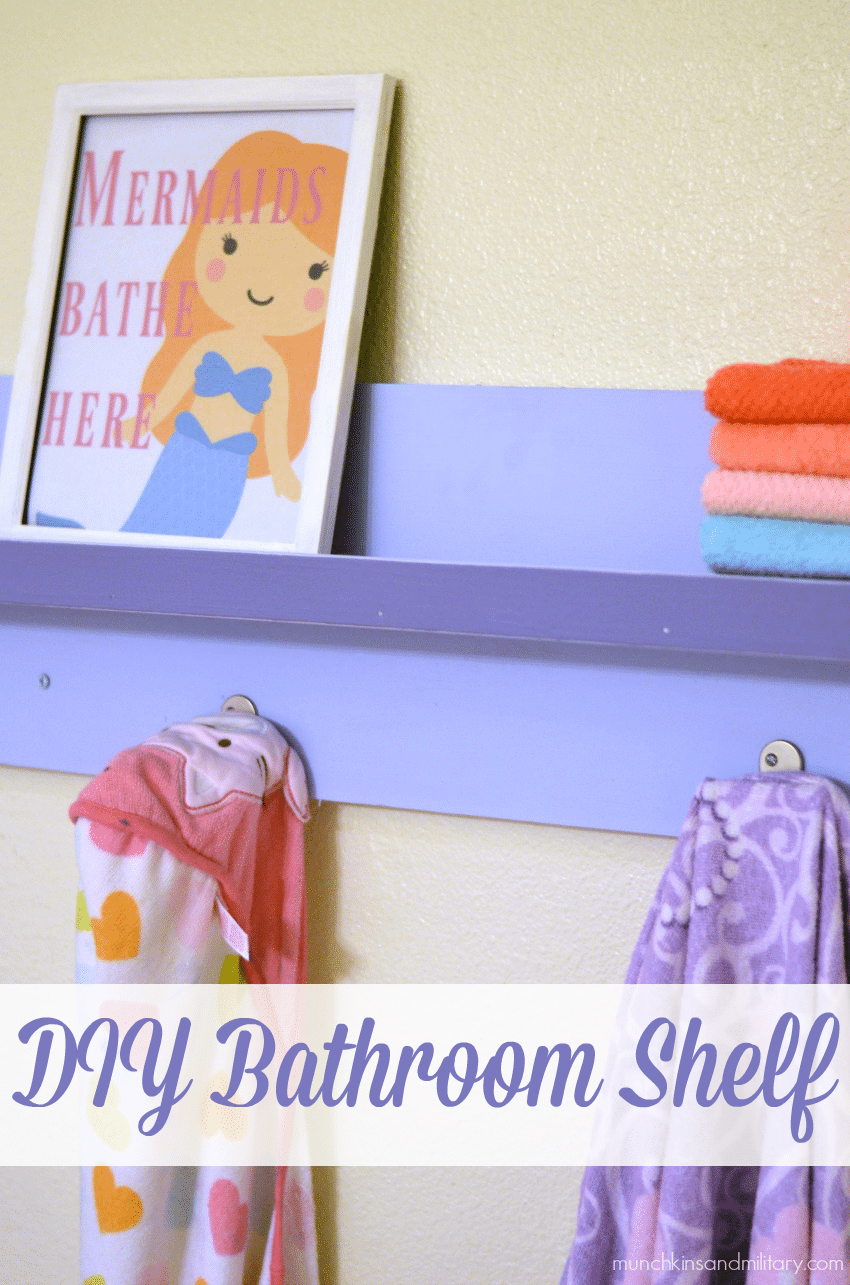
One of the biggest issues that we faced in the main bathroom, was that the girls were unable to hang their towels back up after bath time. The towel racks that came in our on-base house were just out of reach for little hands. Veronica and Adri would sometimes try to swing their towels over the bar, but they often fell straight to the ground. I wanted to make a shelf that not only looked great, but made hanging towels easy for my littles.

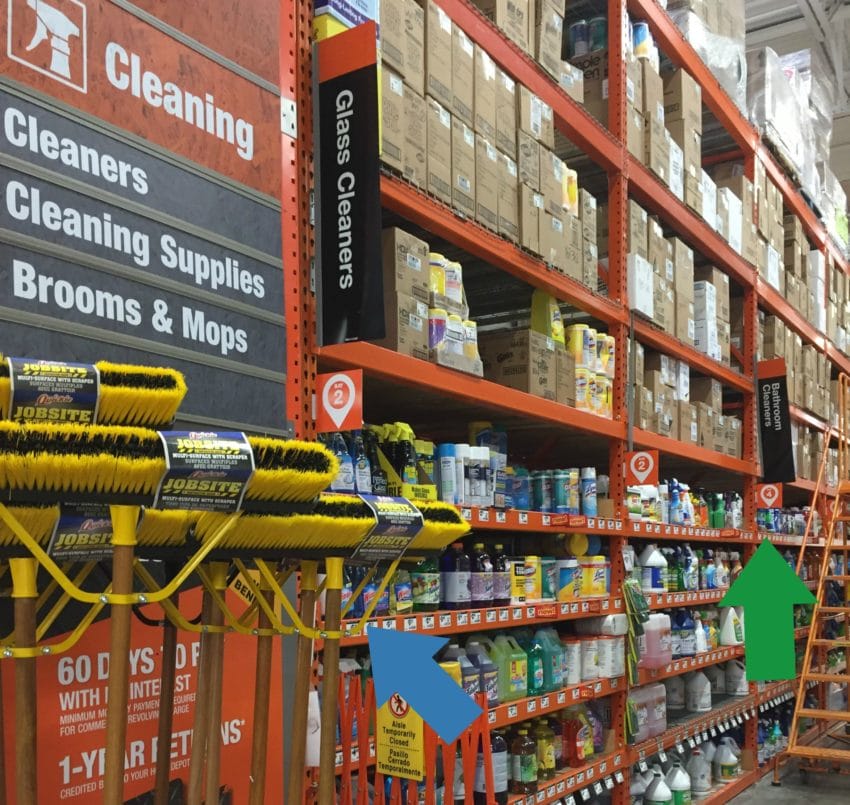
Without any actual plans, the first step in getting a shelf built was to head to the garage. Over the summer, some of our neighbors moved out and left a plethora of great wood! You know I had to snatch it all up! I measured out the wood that we had on hand, and then I headed out to the Home Depot for some additional supplies.
What you’ll need
- 4.5 ft 1×10″ plank
- 4.5 ft 1×4″ plank
- 4.5 ft 1×2″ plank
- 5 finishing nails
- 4 octopus hooks
- 4 2″ wood screws
- 4 3″ sheet metal screws
- wood glue
- paint
How to put it all together
You’ve heard it before, but here’s a little reminder… Measure twice, cut once. Our planks weren’t all 4.5′ to begin with, so John started by cutting them all down to size.
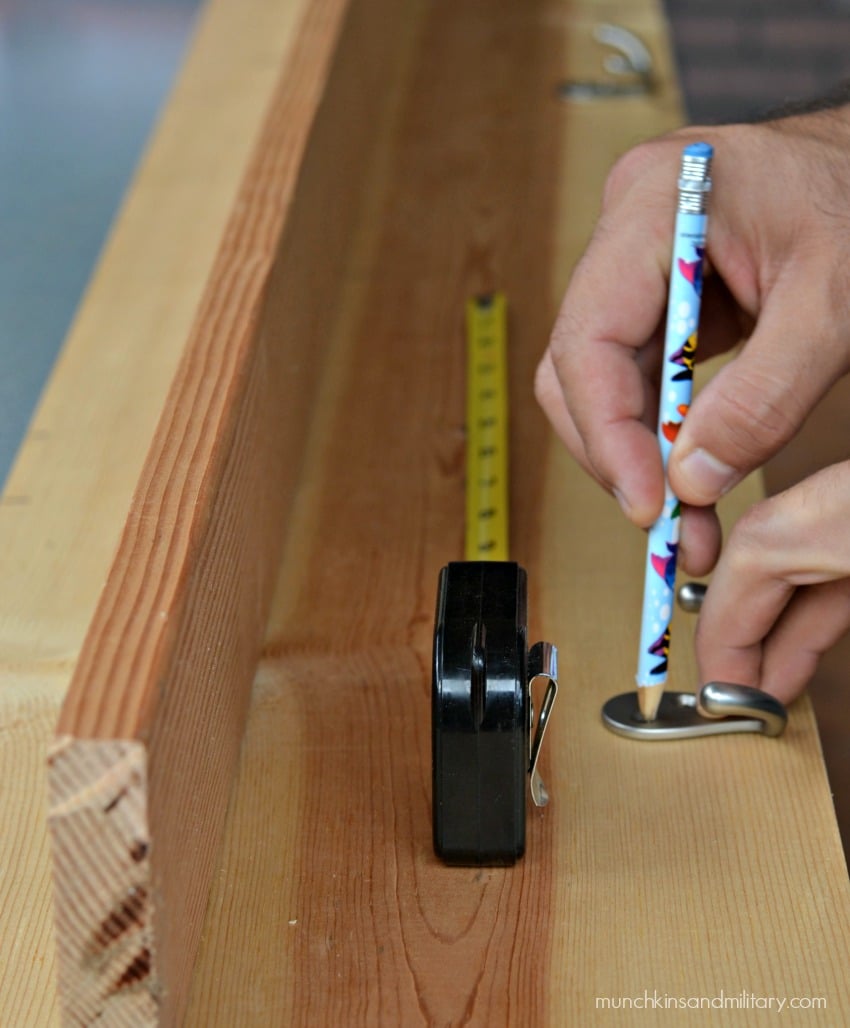
The next step in making your shelves is to pre-drill any holes for screws. Pre-drilling the holes in wood helps avoid splitting and cracking when driving in the screws. You’ll need to drill holes into the 1×10″ plank, where it will attach to the 1×4″, which will create the flat surface of the shelf. Holes will also need to be drilled for the octopus hooks and the screws that will attach the shelf to the wall. The width of each hole will depend on the width of each screw.
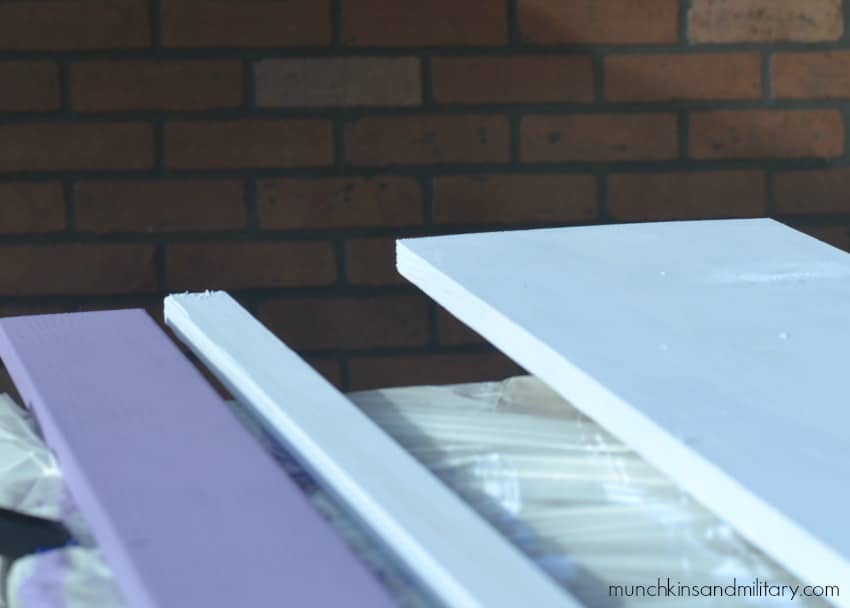
Before moving on to attaching the planks together, paint your planks with your desired color. We were lucky enough to find two pints of premixed paint for only $1 each at the Home Depot paint counter!
Once the paint is dry, use finishing nails and wood glue to attach the 1×2″ to the 1×4″ to create a lip for your shelf. While you’re allowing for the glue to dry, attach the octopus hooks evenly to the 1×10″.
The final step to create the shelf is to attach the 1×4″ shelf to the 1×10″. We eyeballed a shelf location and used the pre-drilled holes to attach all of the wood pieces.
Using the other holes that were pre-drilled in the 1×10″, attach the shelf directly to studs in the walls. The screws up top will be covered by whatever ends up on the shelves. I actually like the unfinished metal look of the bottom screws, as they blend in with the metal hooks.
To finish off the new look of our main bathroom, I used Windex® Original Glass Cleaner and Scrubbing Bubbles® Lemon Scent Bathroom Cleaner, which I found at the Home Depot, to clean everything up. I’m talking green toothpaste and soap scum all over the counter top and mirror.
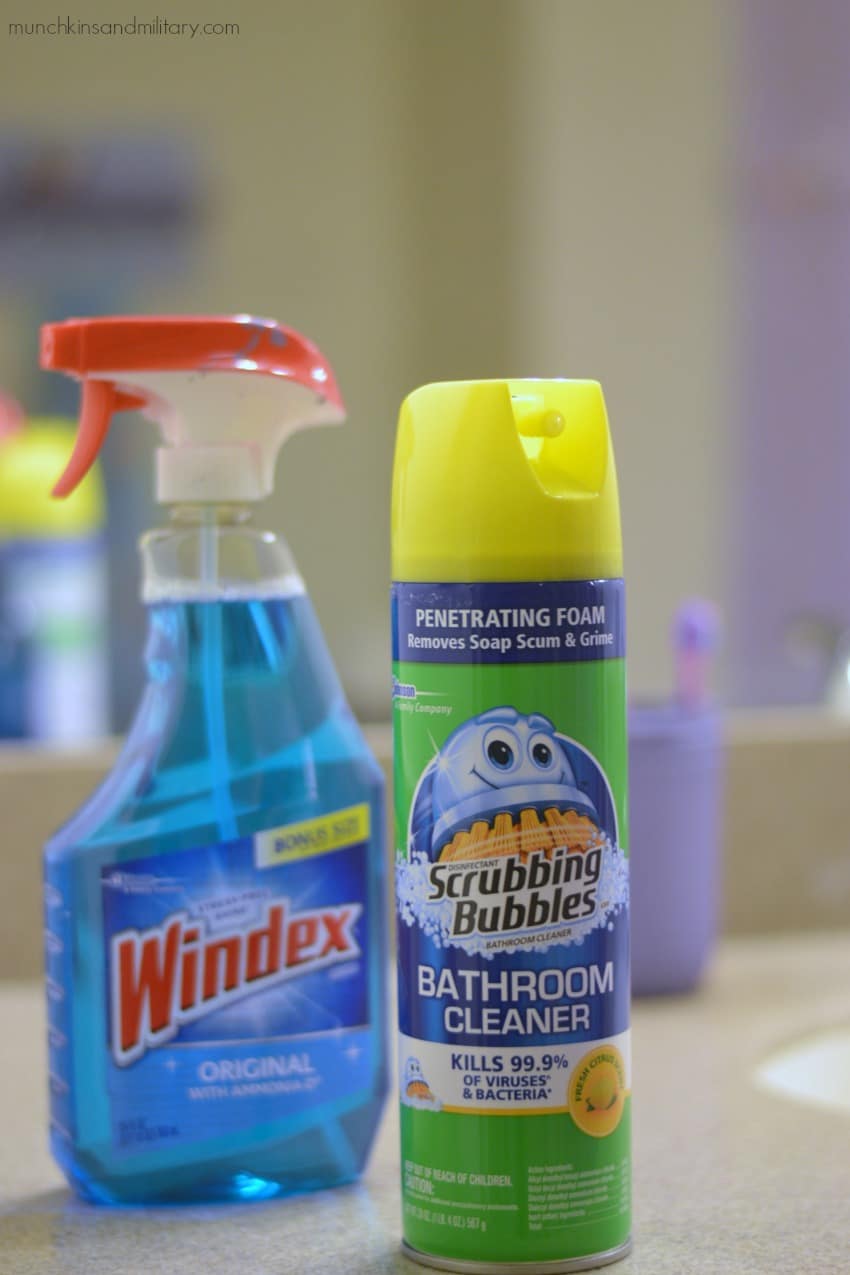
A few sprays of the Windex® Original Glass Cleaner cleared the mirror up with just a few wipes. You know those annoying little white specks that appear as a result of brushing your teeth?! Gone! It also works great on the countertop and chrome fixtures which were spotted as well.
For the sink and the tub, Scrubbing Bubbles® Lemon Scent Bathroom Cleaner foam helped me scrub up many of our messes that have been sitting around. Including that green toothpaste.
Scrubbing Bubbles® Lemon Scent Bathroom Cleaner is perfect for cleaning non-porous surfaces such as tile, so it works perfect in the bathtub and toilet as well.
Considering this was a project with no drawn out plan, I am thrilled with how it turned out! The color of the shelf adds a pop of color and an facelift to our boring base housing!
How do you plan to get your home ready for your Thanksgathering?!