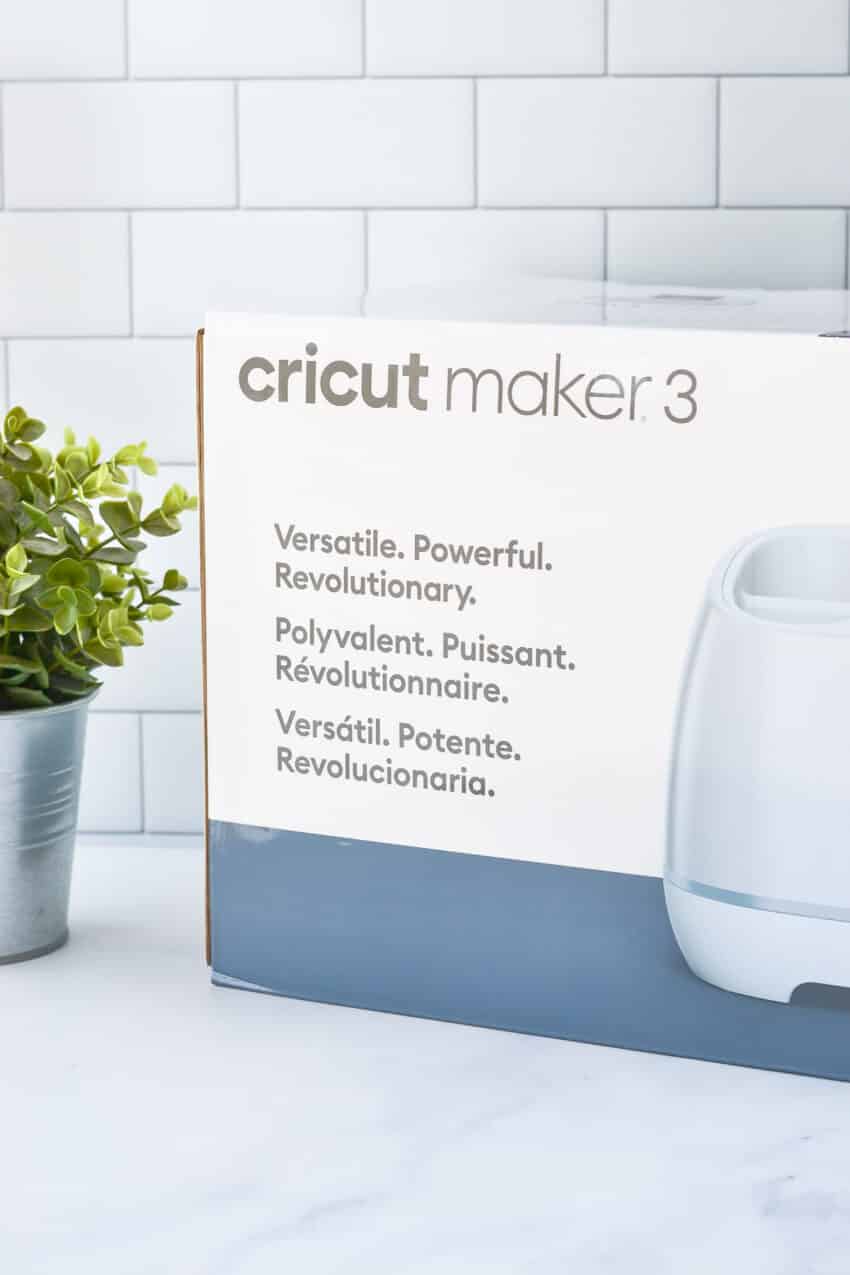
Unboxing the Cricut Maker 3: Your Ultimate Guide
This blog post is sponsored by Cricut, and I’m thrilled to share my genuine experience unboxing the Cricut Maker 3 with you. As always, all opinions and excitement expressed here are entirely my own!
Hey there crafty friends! Ready to feel the thrill of unboxing a creativity powerhouse? Welcome to the world of the Cricut Maker 3! We’ll not only unravel the magic within the box but also boost your confidence and excitement for the crafting journey ahead. Whether you’re a novice or a seasoned crafter, this post will be your go-to guide for infusing fun into your Cricut experience.
But first… Why the Cricut Maker 3?
Before we dive into the unboxing frenzy, let’s take a moment to appreciate why the Cricut Maker 3 is the talk of the crafting town. This creative companion empowers users to turn imagination into reality. With its versatility and cutting-edge technology, the Cricut Maker 3 is like having a crafting wizard on your desk.
Capable of cutting your typical Cricut materials like adhesive vinyl, heat transfer iron-on vinyl, and all sorts of paper, the Cricut Maker 3 can also handle over 300 materials including specialty materials like softwood and chipboard.
I’m beyond thrilled to guide you through the exhilarating world of unboxing the one and only Cricut Maker 3. Get ready to witness the birth of your crafting dreams in 3… 2… 1… let’s unbox the FUN!
Let the Unboxing Begin!
Unboxing the Cricut Maker 3
From the moment you lift the lid of the Cricut Maker 3 box, you’re stepping into a realm of endless possibilities. It’s like opening a present filled with endless creative possibilities. Cue the confetti!
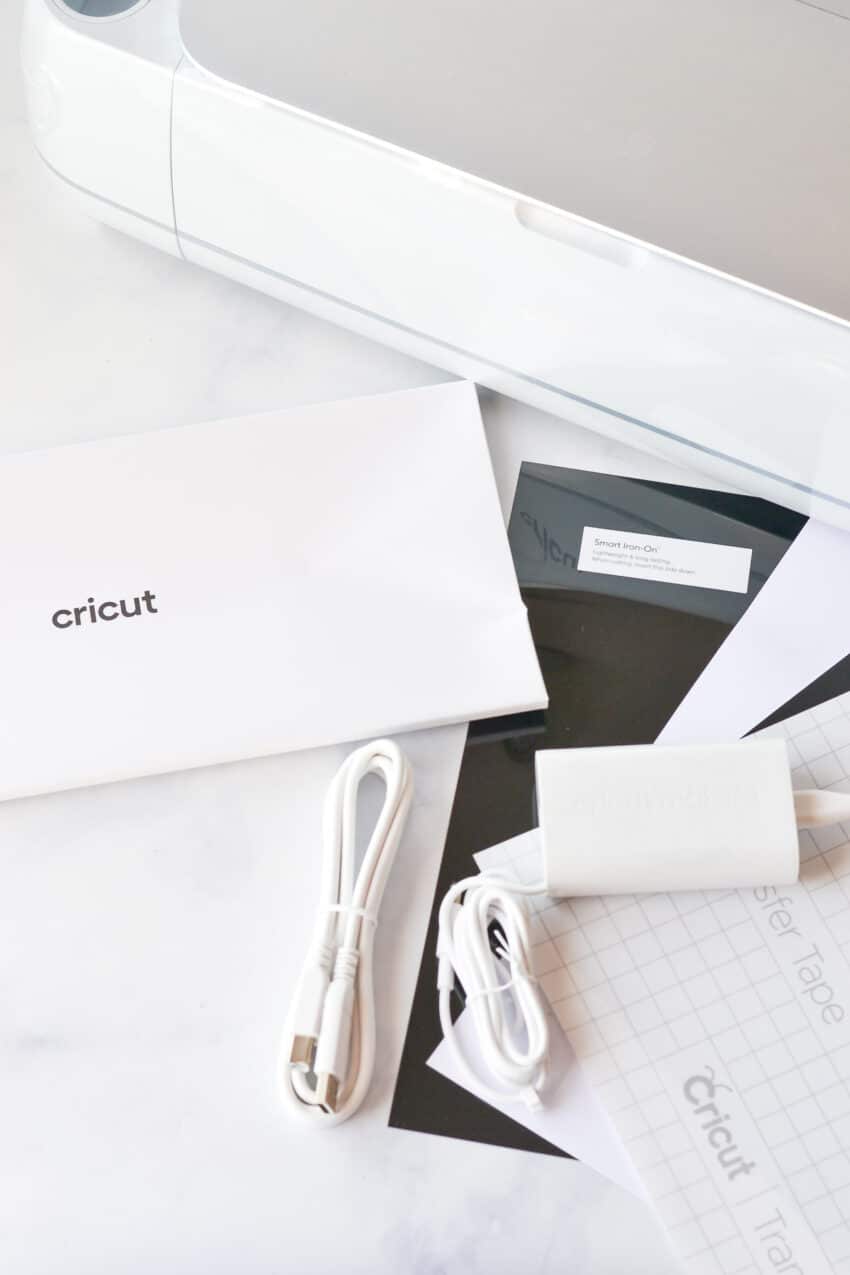
The Cricut Maker 3, comes carefully packaged in a box that includes snug cardboard padding. Since we move frequently, I keep the boxes, to ensure that my Cricuts are safe and snug while on the go.
What’s in the Box?
Included in the Cricut Maker 3 box you’ll find:
- Cricut Maker 3 (obvi) with the power cord
- Premium Fine-Point Blade + Housing
- Welcome card
- USB cable
- Free trial subscription to Cricut Access™ (for new subscribers)
- Materials for a practice cut
Cricut Setup and Registration
Getting started is simple! The virtual step-by-step instructions found at cricut.com/setup will help you breeze through the setup and activation process like it’s a piece of cake.
The Cricut Design Space program is required to use a Cricut Maker 3 and can be installed on your Windows or Mac computer or on your iOS or Android device. Personally, I prefer the convenience of creating from a computer, but a phone or tablet works just as great for those who prefer them or don’t have a computer available.
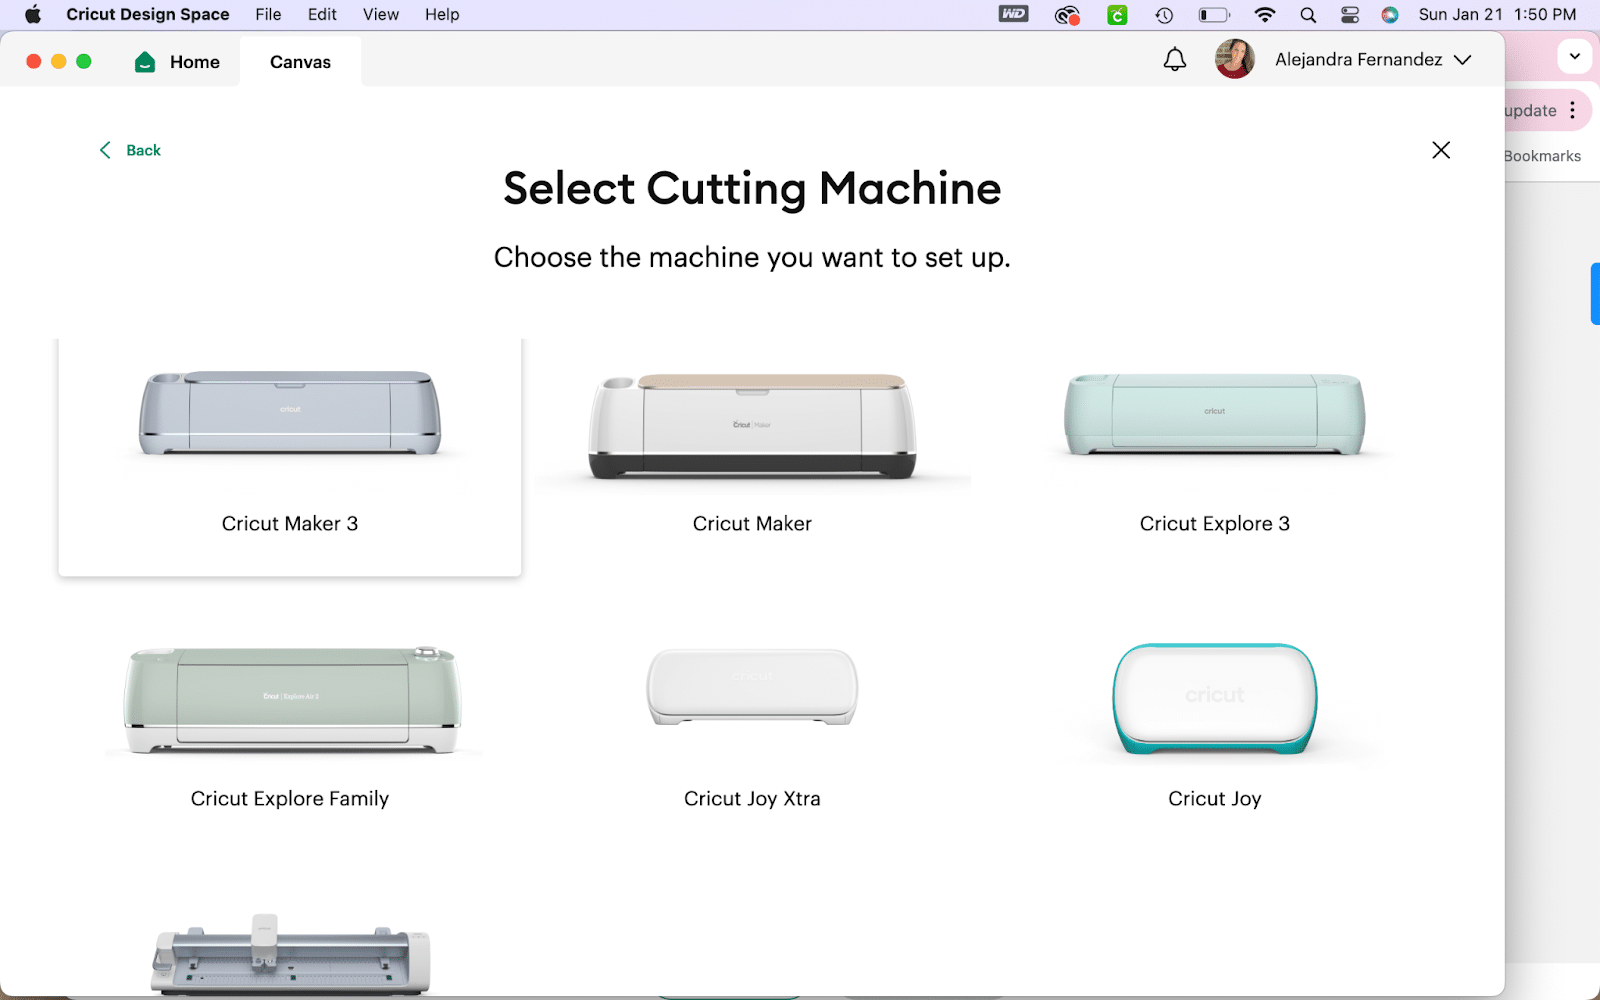
Installing Cricut Design Space
- Start by visiting: cricut.com/setup from your preferred internet browser and select the cutting machine type and specific machine for set up.
- Check the box to agree to Cricut terms, then click the download button.
- When the download is complete, find the file in your download folder, then double click the file to begin the installation.
- With the installation complete, either sign in or create a new Cricut ID, to unlock the magic.
Connecting Your Cricut to Bluetooth
- With your Cricut Maker 3 powered on and your computer or mobile device within 10-15 feet of the Cricut, go to the device settings.
- Ensure that Bluetooth is turned on on your computer/mobile device and search for a new device.
- Select the Cricut Maker 3 (it should appear as something like Maker3-xxxx), as a new device. If prompted, try the password “0000” or “1234”.
- All set! In the future, your Cricut should automatically connect to this device. The process will need to be repeated on other devices that you wish to use Design Space on.
If your computer does not have Bluetooth capabilities, you can use the included USB cord to connect your Cricut, using the slot in the back of the machine.
Making Your First Cut
The moment of truth! Making your first cut is like the icing on the crafting cake. With the included materials, Cricut Design Space will even walk you through your very first project in the setup and activation process!
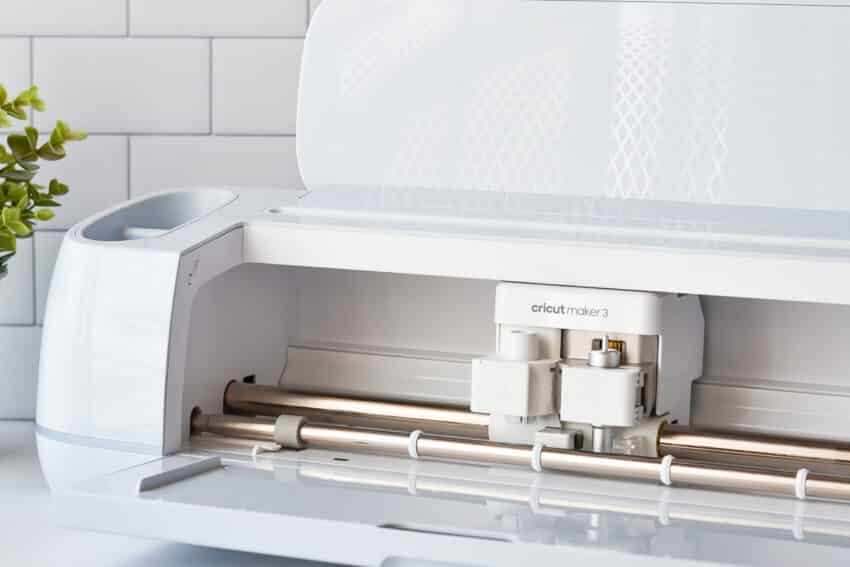
One of the many great things that sets the Cricut Maker 3 apart from previous Cricut machines is that there is no cutting mat necessary when using Cricut’s Smart Materials. Follow the on-screen prompts to insert the SmartVinyl in your Maker 3, and let it unleash the magic!
Personal Recommendations
Must-Have Cricut Accessories
What I love most about the Cricut world is the variety of additional tools and accessories available to compliment your machine. While not necessary at all, they are convenient to have on hand!
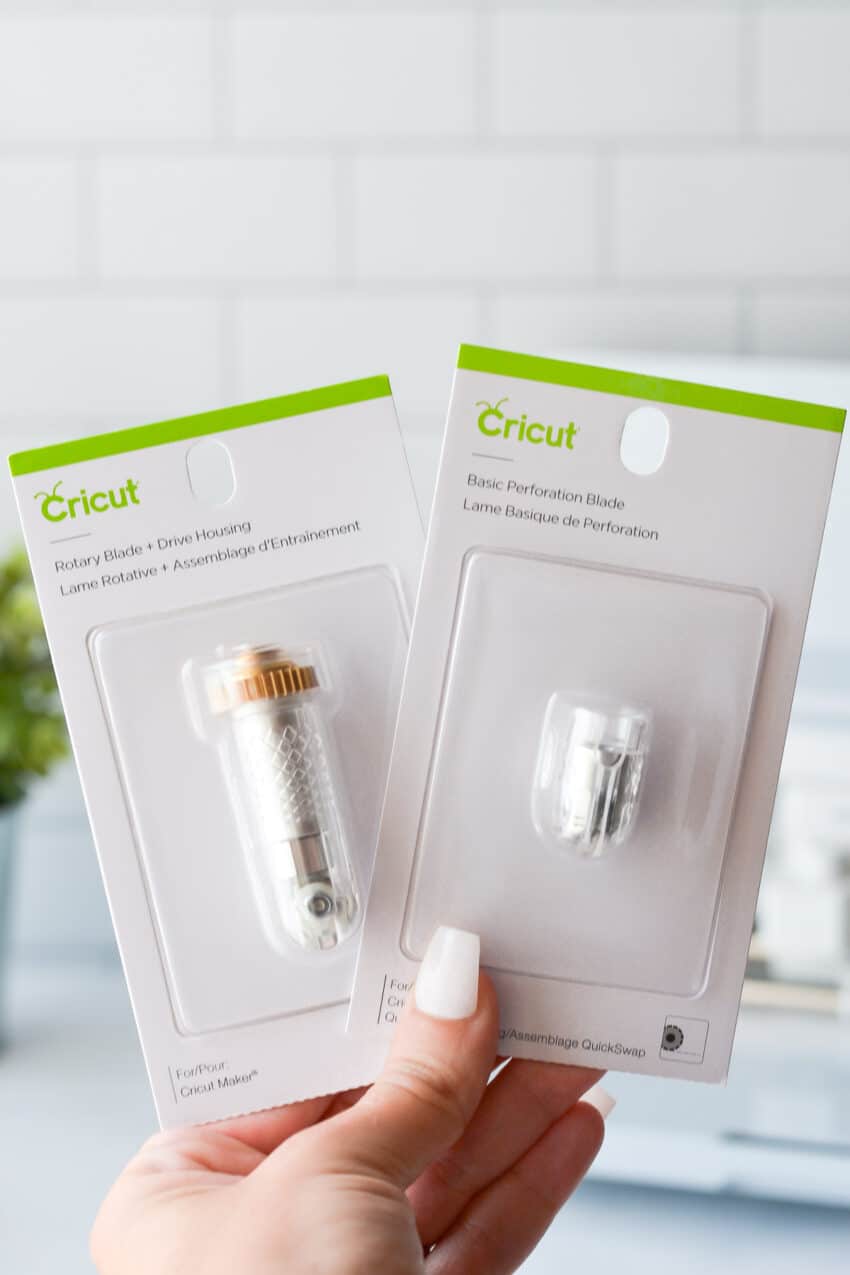
If you’re making paper crafts: use the scraper and spatula set to remove your paper and scraps from the cutting mat. Two of my all-time favorite blades to use with the Maker 3 are the Scoring Wheel and Perforation Blade. The Scoring Wheel is great for easily folding cut projects. And then the Perforation Blade is just cool for creating pull-apart items such as tickets.
If you want to make cards: get yourself the 2×2 Card Mat. Knock out 4 beautifully personalized cards all at the same time! My favorite cards to make are the Watercolor Cards using the Watercolor Marker and Brush Set, but the Cutaway Cards are a very close second. Cards present the perfect opportunity to put the Foil Transfer Tool to use, but I’ll get into that in a future post!
If you’re making adhesive vinyl projects: weeding tools are going to be your best friend! Use them to remove excess vinyl from around your cut designs. Don’t forget to also grab some Transfer Tape, to transfer your vinyl decal from the backing, to its new home, while maintaining perfect alignment.
If you’re making iron-on projects: those weeding tools are once again going to come in pretty handy! While using a home iron to adhere heat transfer iron-on vinyl to materials is an option, I have not gone back to my iron after getting my Cricut EasyPress. Along with the Heat Guide, using the EasyPress provides accurate and consistent heating for a secure project in a lot less time.
If you want to try Infusible Ink: the brayer and remover tool are a must! Keep your Infusible Ink clean and free of oils and other impurities from your hands, for perfect seamless designs. I’m also a huge fan of Using Infusible Ink on mugs with the Cricut Mug Press.
If you’re making fabric projects: don’t forget to get yourself a FabricGrip mat and rotary blade! The rotary blade is great because it easily slices through fabric, without the need for it to be bonded. Think quilting or making doll clothes!
Machine Bundles
Ready to go all out from the get go?! Cricut offers some fantastic machine bundles that are like getting a crafting starter pack with all the toppings. With the Cricut Maker 3 Essentials Bundle, you’ll get:
- Everyday Iron-On Sampler
- Premium Vinyl Sampler Removable
- Transfer Tape
- True Control Knife
- Cutting Mat Variety Pack
- Basic Tool Set
- Portable Trimmer
I use all of these items on a regular basis and would recommend them to a newbie as an affordable way to find out what Cricuting direction they want to head in.
Confidence in Your Crafting
Banish those self-doubts– Cricut’s got your back with a solid support system and learning resources. From newbies to pros, they’ve got everything you need to feel like a crafting rockstar!
Cricut Learn is your one stop shop for mastering your Cricut craft. Build the skills to create with confidence through on demand and real-time workshops and courses.
Some workshops to get you started:
- Introduction to Crafting: Terms & Supplies
- Introduction: Design Space Tour
- Introduction to Cricut Maker 3
- Workshop: Vinyl Decals
- Workshop: Iron-on T-shirt
- How to: Layer Iron-on (HTV)
- How to: Upload Images
Answering Your Frequently Asked Questions
Is it easy for someone like me?
Absolutely! Cricut is designed for all skill levels. The user-friendly interface and guides will have you crafting like a pro in no time. Check Cricut Learn for expert guided lessons and information.
Will I be able to learn how to use it?
Worry not, friends! Cricut Learn will be your virtual buddy, guiding you from setup to crafting expertise. There are also a plethora of YouTube videos and Cricut Facebook Groups with friendly crafters willing to lend a helping hand. And if all else fails, drop me a comment below! With over 12 years of Cricut experience,
Do you need to be an advanced crafter to use it?
Not at all! The Cricut Maker 3 can be your crafting companion, whether you’re just starting or already have a crafty black belt. There are plenty of ready to make projects in Design Space for beginners, and as your craft experience grows, the Cricut Maker 3 can handle more advanced projects and ideas.
How much will it cost to use it?
Once you’ve purchased your machine and materials, your crafty journey could be F-R-E-E! There is no cost to download the Cricut Design Space app or use it! The Cricut Access subscription costs $9.99 a month, but it is not required in order to use Design Space.
Do I have to pay for a subscription?
While the Cricut Access subscription is absolutely worth it and adds some extra flair to your crafting journey, it’s not required. Design Space is completely free to use and features free images and fonts for creators to use. Like I mentioned above, you can also upload your own design.
I find it worth it to maintain my Access subscription, to avoid having to use other platforms to find and upload designs.
What hidden costs are there?
No secrets here! Once you’ve paid for your machine and materials, all additional spending is up to you! The Cricut Maker 3 comes with the Premium Fine-Point Blade + Housing, which is exactly what you’ll need to start cutting paper and vinyl.
Are there maintenance things I need to think about?
Think of your Cricut Maker 3 as low-maintenance fun! You’ll want to gently clean off dust or paper particles that can accumulate over time with a gentle cloth, but otherwise,
After prolonged use, Cricut Cutting Mats can lose some of their stickiness. Avoid having dust accumulate on the mat by replacing the clear protective sheet after use. Using SmartVinyl replaces the need to use a mat completely and is quicker and more convenient to use anyway, in my opinion.
Can I use my own designs?
Absolutely! With the upload feature, you can upload your own images and designs for 100% custom crafting. There are files, known as SVGs (scalable vector graphics: an image with separate layered colors) that are generally pretty plug and play (you can find them on sites like Etsy). But if you want to use a different type of image, Cricut Design Space even has a background removal tool in the upload process.
As we wrap up this crafting carnival, remember that Cricut is not just a machine; it’s a ticket to a world where creativity has no bounds. Whether you’re crafting like there’s no tomorrow, the Cricut Maker 3 is your partner in craft. Embrace the joy of crafting, and let’s turn those creative dreams into reality with a sprinkle of Cricut magic!
Still have questions?! Drop them below and I’ll do my best to answer! And be sure to come back next month where we’ll take a deeper dive into putting that Cricut Maker 3 to work!
Connect with me on Cricut Design Space to see my latest projects!