XOXO Valentine’s DIY Doormat
February is just around the corner, and with it comes Valentine’s Day! This year, why not make your own doormat as a fun and easy DIY project? All you need is a few simple supplies and some creativity. Plus, homemade projects always make great gifts! Keep reading for instructions on how to make your very own Valentine’s DIY Doormat.
This post contains affiliate links.

Seasonal welcome mats have become one of my favorite type of craft projects! They’re fairly easy to make and really don’t cost a whole lot in terms of materials. The best part though, is that they’re 100% customizable!
Earlier this week, I put together a cute mat for our front door, for Valentine’s day. With as simple and cheap as it is to make these doormats, there’s no reason why you can’t switch them out for each season or holiday.
The Valentine’s design that I chose for this mat is fairly simple, making it a super easy project, but still super cute! I designed it directly in Cricut Design Space, which also means you are able to click over and use my exact design!
>> Click HERE to go to my Valentine’s DIY Doormat Design Space Canvas <<
Valentines DIY Doormat Materials
To make your own mat, you’ll need:
- Freezer paper
- Cricut
- 24 inch Cricut mat
- Blank 30″x18″ doormat
- EasyPress or iron
- Painters tape
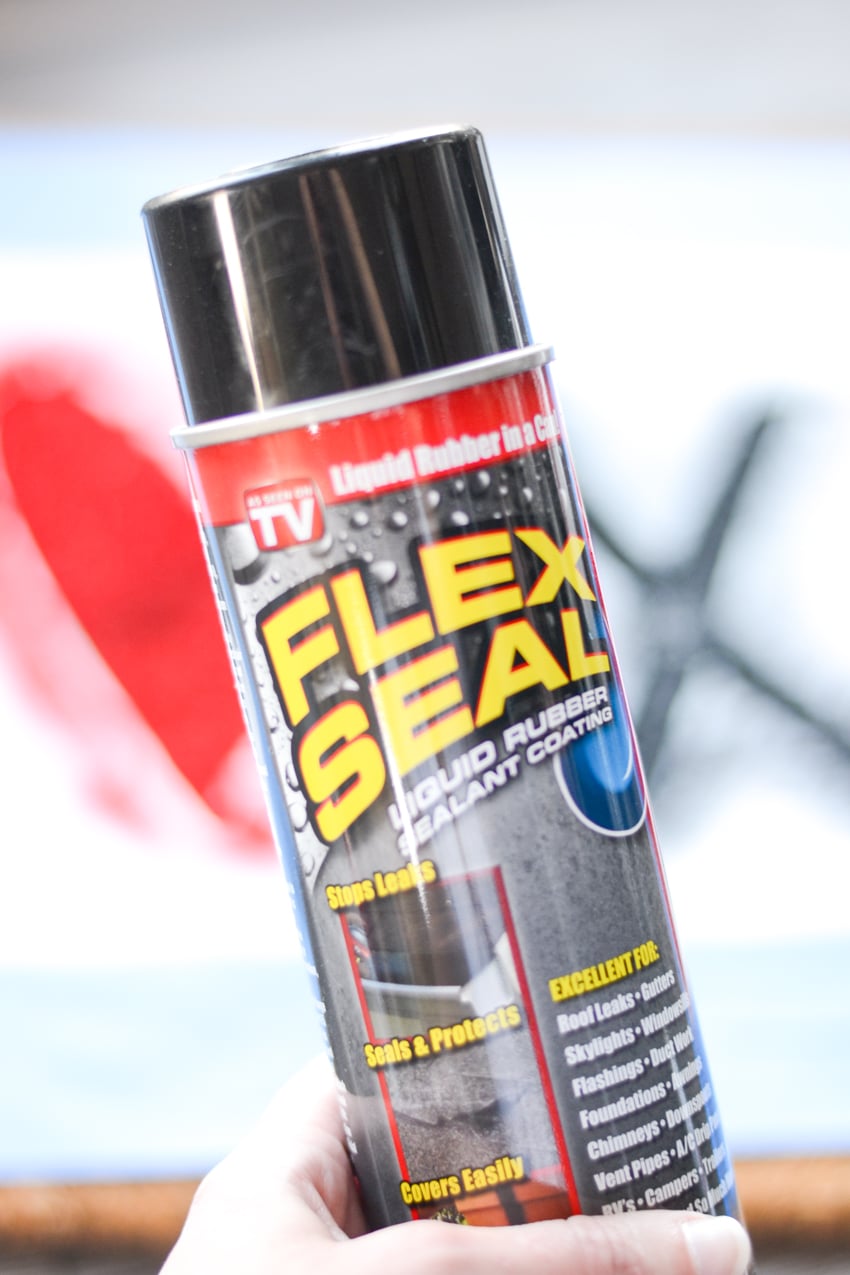
- Flex Seal Spray
The freezer paper makes an excellent stencil, which sticks well to the mat when ironed on, but also peels off easily. Make sure to cut and apply the stencil with the plastic shiny side down.

I always make sure to center the design on the mat before cutting, but I tend to get a little wild when spraying the paint, so I always use painters tape around the border of the freezer paper, to avoid overspray. Painters tape also helps hold the stencil down around the edges, just to make sure everything stays in place.


I’ve experimented plenty with paint types, and I have to say, Flex Seal is BY FAR the best option. From application, to fade resistance, nothing else has worked as well. On my covered porch, it’s held up well to constant traffic and lots of sunlight.

You’ll notice on this doormat that the red had a little overspray outside of the hearts. I wanted to use what I had on hand, which was regular red spray paint. Flex Seal is a bit thicker than typical spray paint, so it’s less likely to bleed or get under the stencil when sprayed lightly. Next time, I’ll grab the red Flex Seal. Flex Seal comes in a bunch of colors now that you can find on Amazon or even hardware stores.

XOXO Valentine's DIY Doormat

Making your own DIY doormat is a fun and easy project! All you need is a few simple supplies and some creativity. Plus, homemade projects always make great gifts!
Materials
- Blank welcome mat
- Freezer paper
- Painters tape
- Flex Seal spray
Tools
- Cricut
- Cricut mat
- EasyPress or Iron
Instructions
- Add text and images to the canvas in Cricut Design Space. Make the max dimensions between 11.5" and 23.5". OR you may use the exact canvas that I designed: HERE
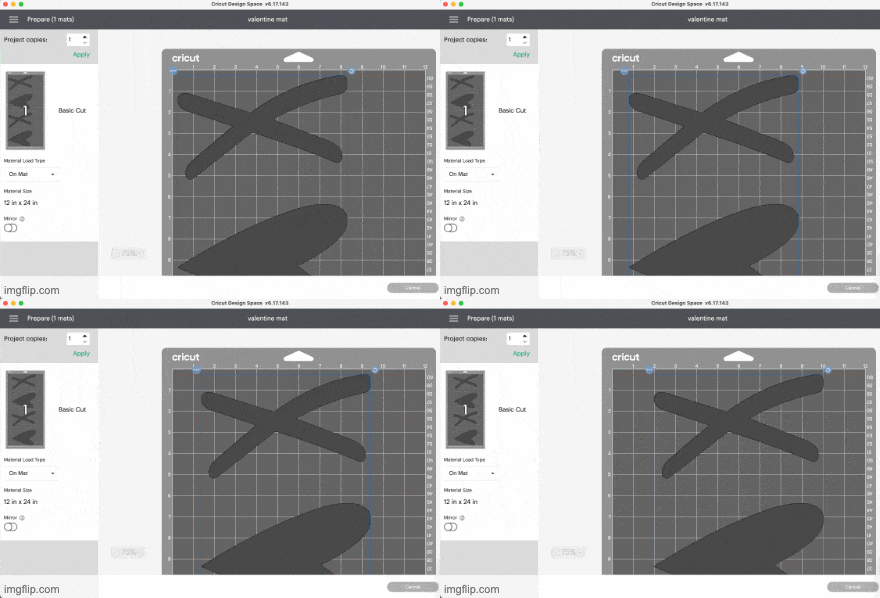
- Cut freezer paper down to size so that it fits on the Cricut mat. Place freezer paper on the Cricut mat with the shiny side touching the mat. Center the design on the mat on the cut preview page. Use Cricut's freezer paper cutting settings to cut out your design.
- Remove the freezer paper stencil from the Cricut mat and position on welcome mat. Use EasyPress or iron set to 300º F, to adhere the freezer paper to the doormat. Use painters tape on the border of the freezer paper to cover the mat and avoid overspray.
- Lightly spray 2 to 3 coats of Flex Seal over the stencil. Allow to dry briefly, before removing the stencil.
Notes
My exact design can be found in Cricut Design Space here: https://design.cricut.com/landing/project-detail/61ddc5dfaf78a592bd2869af
Recommended Products
As an Amazon Associate and member of other affiliate programs, I earn from qualifying purchases.
There are so many adorable options for creating your own DIY holiday doormats!


