DIY Tote Bags with Cricut Infusible Ink
This is a sponsored conversation written by me on behalf of Cricut. The opinions and text are all mine.
In America, more than 14 million households are food insecure, with limited or uncertain access to enough food. Having lived all across this country, we’ve witnessed many within our communities struggle to make ends meet. I’m thrilled to be partnering with a brand that I absolutely love to support a cause that’s important to me!
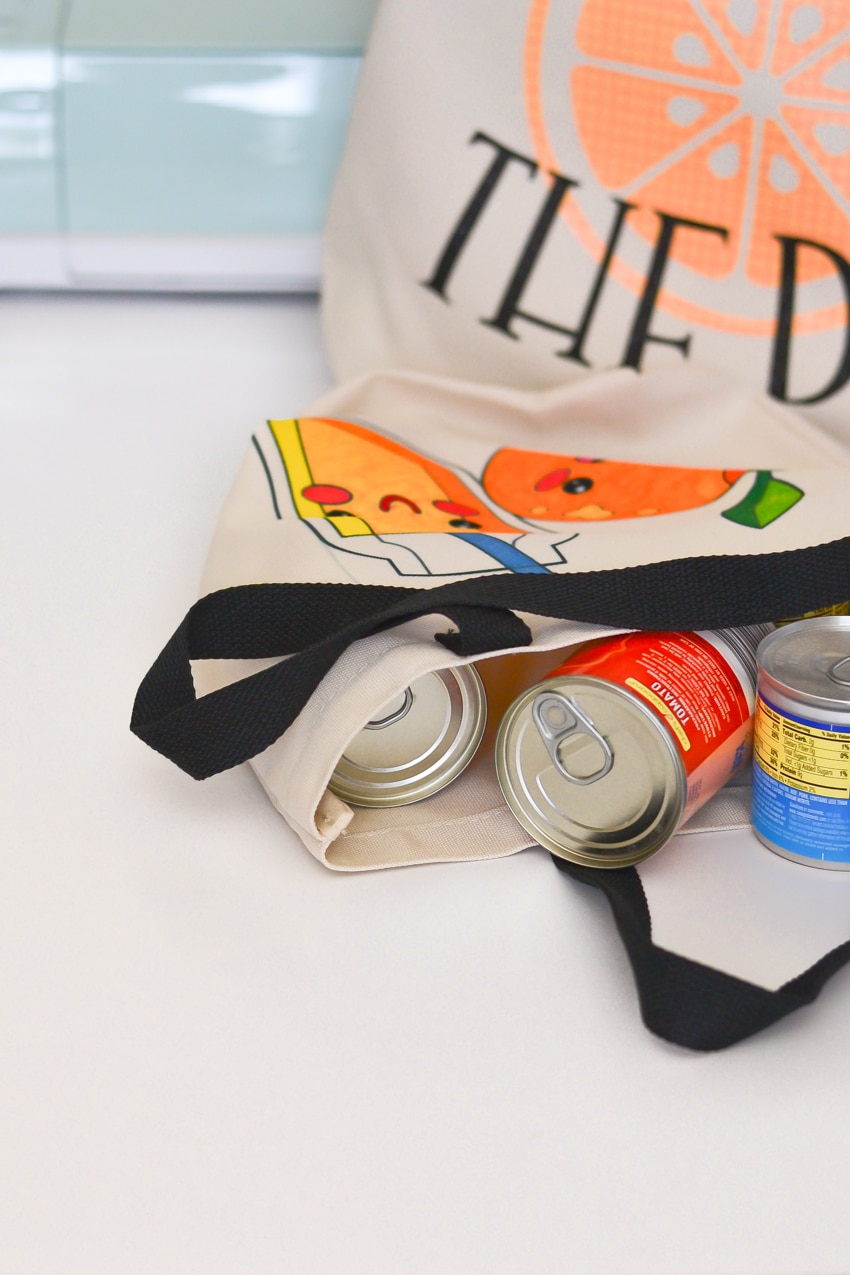
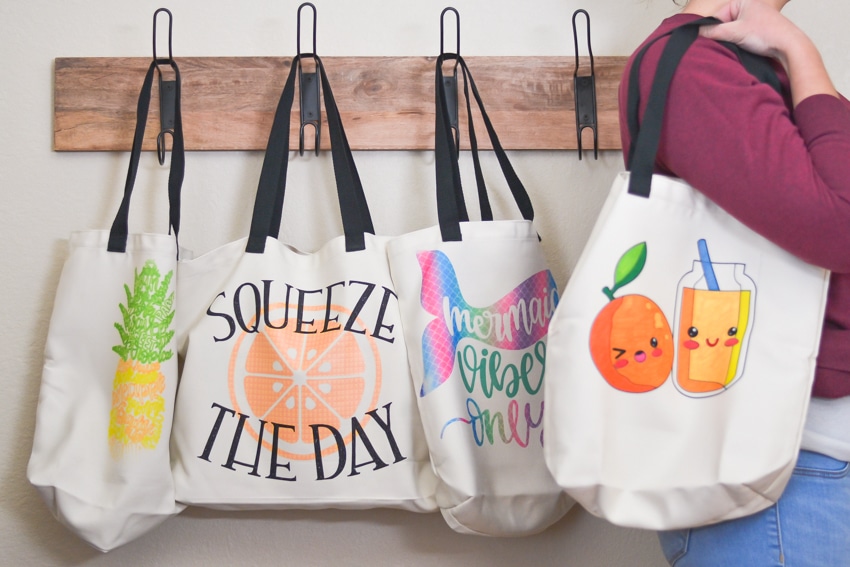
Cricut challenged me, along with other bloggers, to create totes for the local food bank, in an effort to pay it forward. My intention when making these totes, was to make them fun and light-hearted, in hopes of brightening the recipient’s day, and give them an uplift tote to carry their groceries in.
Using Cricut Infusible Ink
A few weeks ago, I shared my very first impressions of Cricut’s Infusible Ink on my Instagram Stories. With each new project I create, I’m impressed with the versatility and vibrance of the beautiful colors. Between the Infusible Ink transfer sheets and Infusible Ink markers, the options are limitless for creating permanent projects! I can’t wait to tackle ceramic coasters next!
>> Check out my Cricut highlights on Instagram!
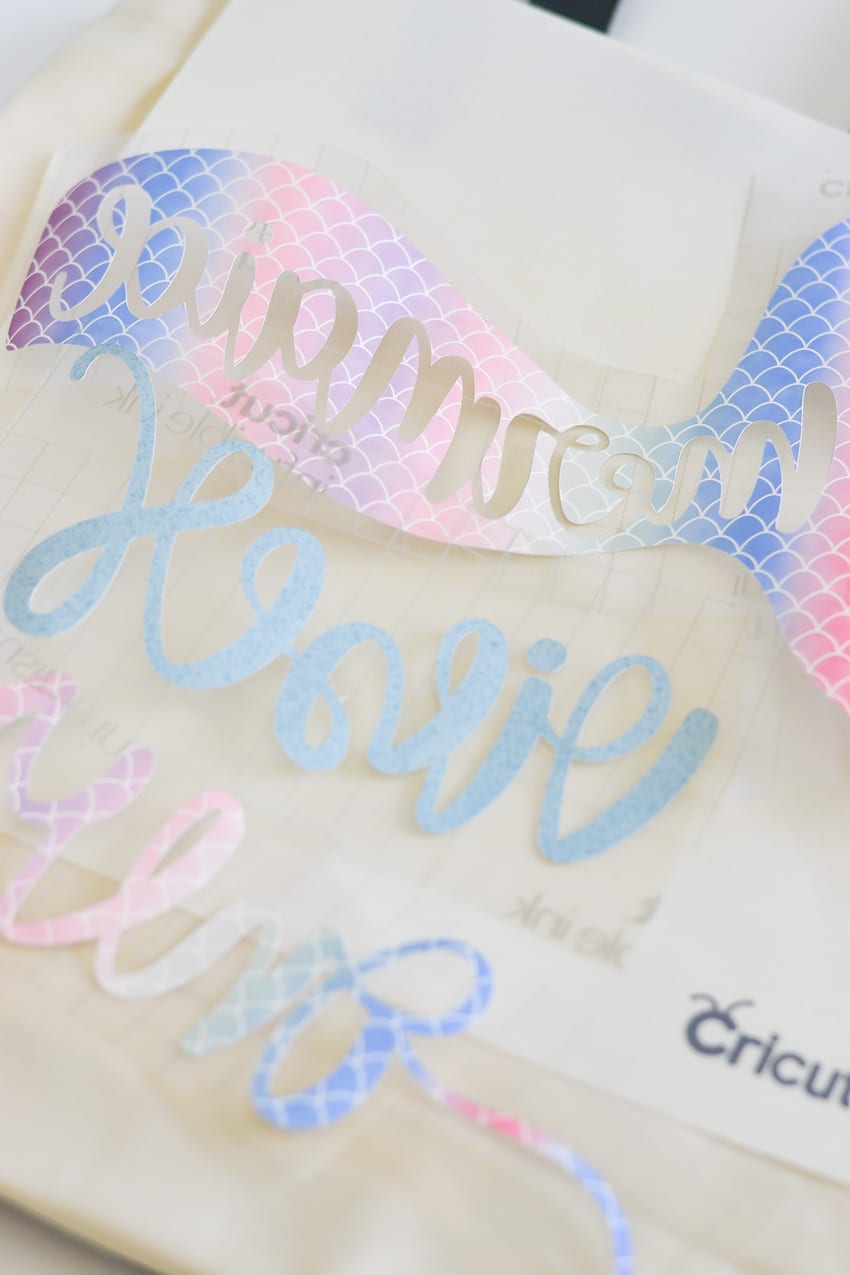
Cricut Infusible Ink Transfer Sheets: Cricut Infusible Ink transfer sheets work basically the same way as iron-on vinyl. You want to lay the sheet on your Cricut mat with the shiny side down and the color/pattern facing up. Set the dial on the Cricut Explore Air 2 to “custom,” and select the setting for Infusible Ink Transfer sheets. Don’t forget to mirror!
Once the project cuts out completely, eject it from the Cricut machine, and weed away the unnecessary parts. As someone who frequently works with iron-on vinyl, using Infusible Ink transfer sheets was a bit trippy at first, since it seems like the design is on the “wrong side.” I try to cut away as much excess plastic transfer sheet as possible, so that nothing gets in the way when layering all the pieces together.

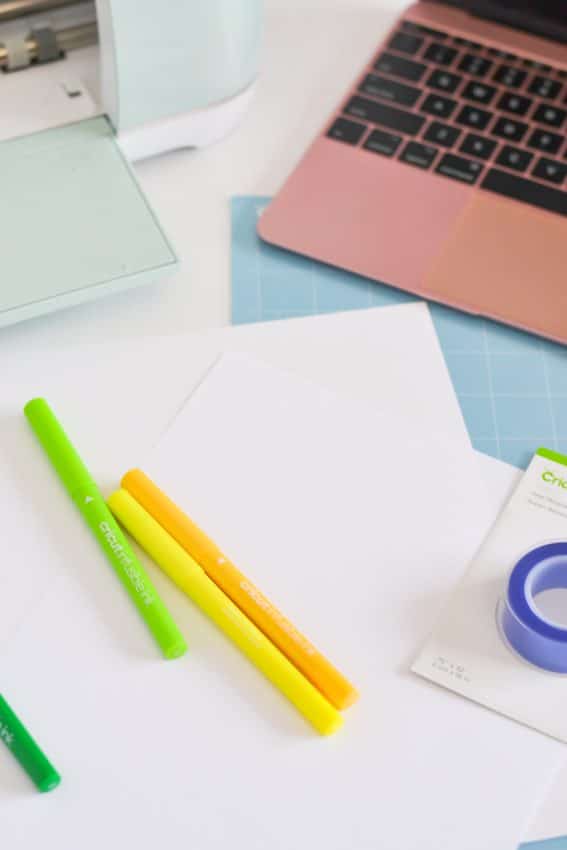
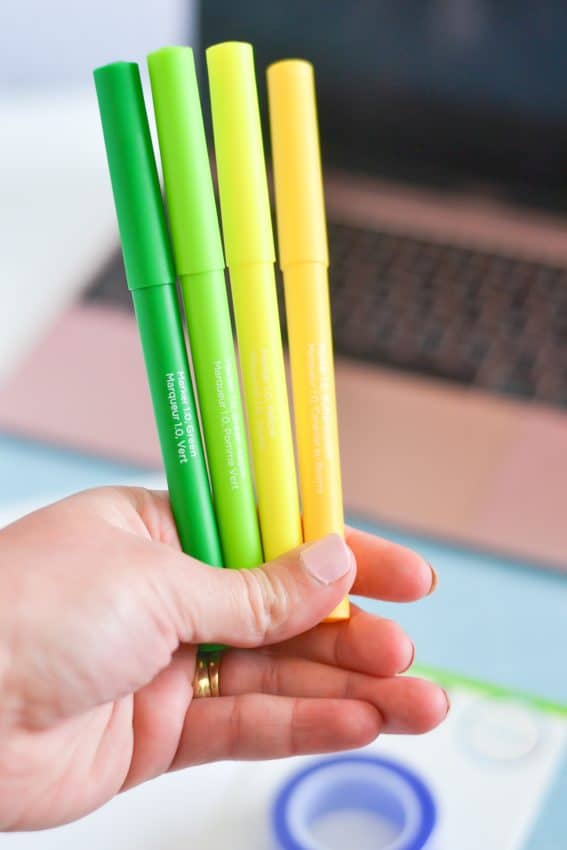
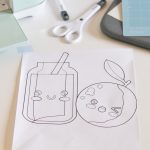
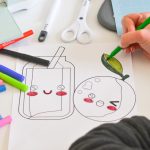
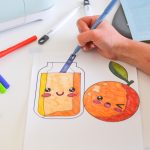
Cricut Infusible Ink Markers: One of the fabulous things about the Cricut Explore Air 2 is the slot for pens. The Cricut Infusible Ink markers fit perfectly in the slots and are great for using the Cricut to “draw” images for you. For this project, I had the Cricut draw two images for me. One, which was perfectly good to go right off the mat, and the second, which I therapeutically spent the afternoon coloring in.


It’s advised to use laser copy paper when creating your own Infusible Ink designs. The paper is able to withstand the heat from the EasyPress 2 and transfers the images perfectly. Don’t forget to use the paper setting and light grip mat!

When working on iron-on and Infusible Ink projects, don’t forget that more often than not, mirroring is required when going to draw or cut.
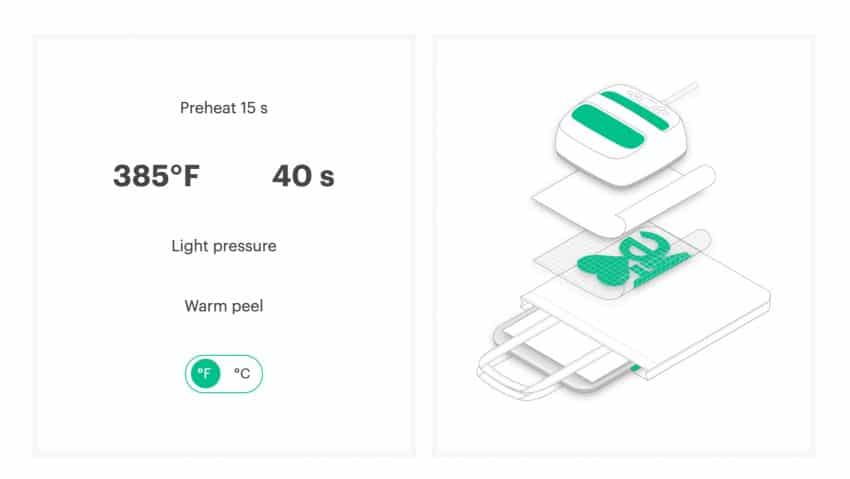
Before pressing your projects, take a look at Cricut’s Heat Guide for the proper temperature and time to use on your EasyPress 2.
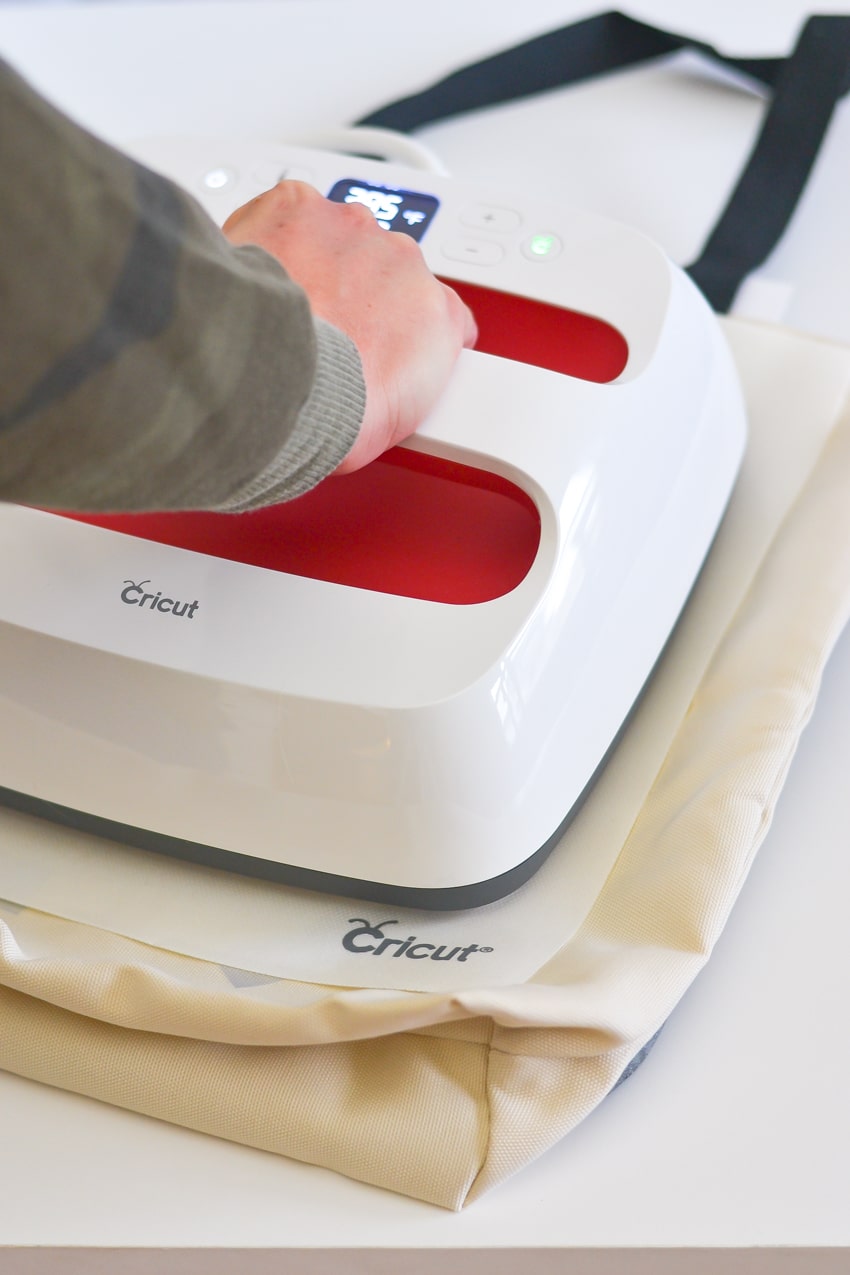
Using the EasyPress 2, will provide the necessary consistent heat to transfer the Infusible Ink permanently to projects. I also love using a bit of heat resistant tape, to keep the designs from moving, which could cause a blurry transfer.
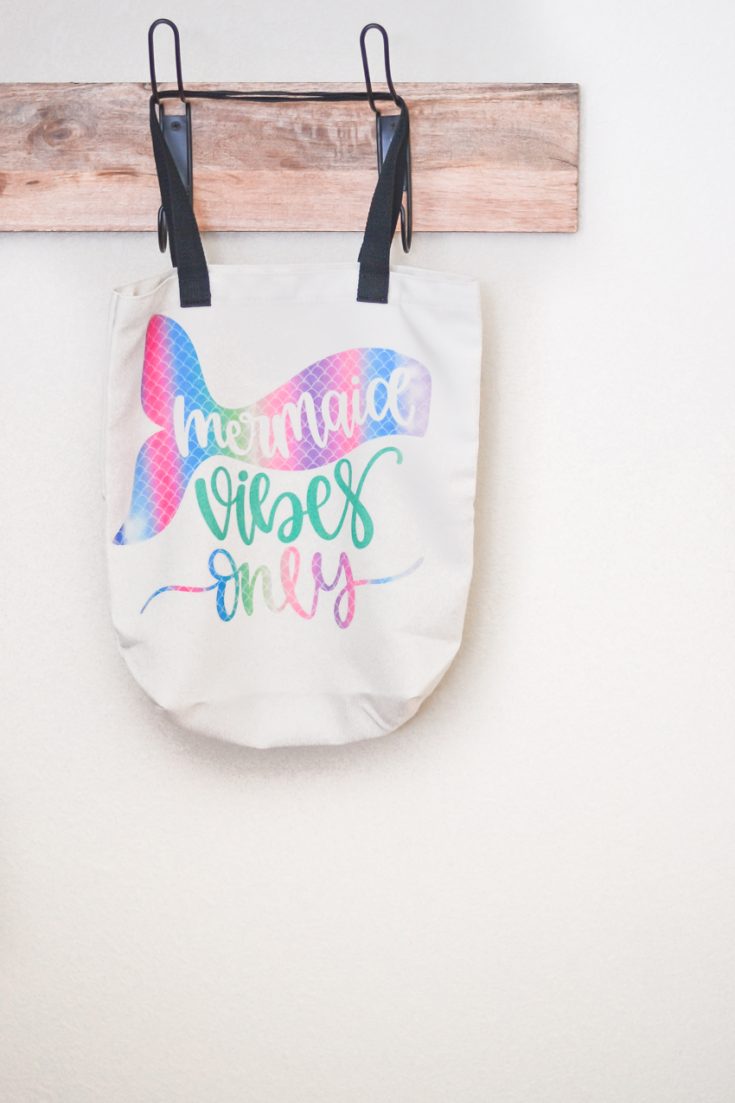
Cricut Infusible Ink Tote Bag
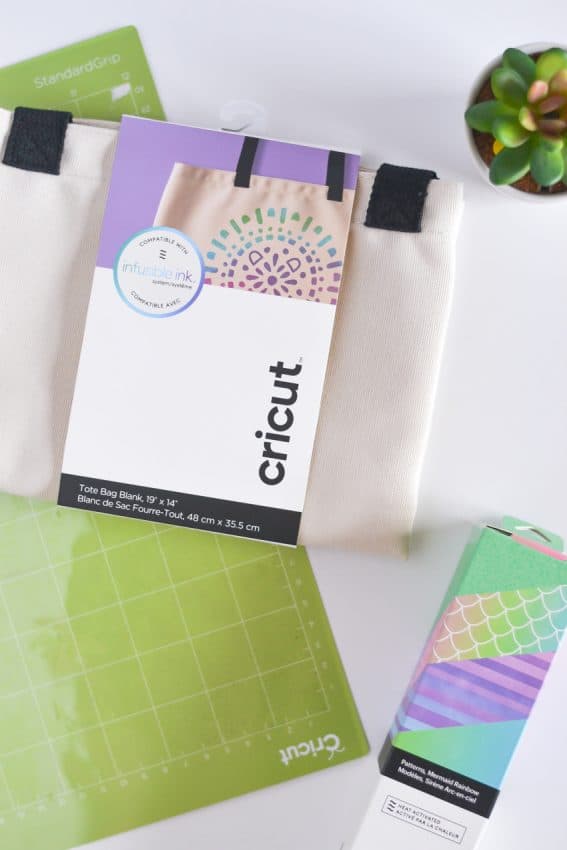
Materials
- Cricut Infusible Ink Transfer Sheets
- Blank Cricut Tote Bag
- Card stock
- Butcher paper
Tools
- Cricut Explore Air 2
- Cricut EasyPress 2
- Cricut EasyPress mat
Instructions
- Open Cricut Design Space and select desired image(s).
- Set the Cricut Explore Air 2 setting to "custom." Place the Infusible Ink Transfer sheet onto the Cricut cutting mat with the shiny side facing down.
- Send the image to cut on the Cricut Explore Air 2, making sure to mirror the image.
- Load the Cricut cutting mat into the Cricut Explore Air 2, and press the flashing button to cut.
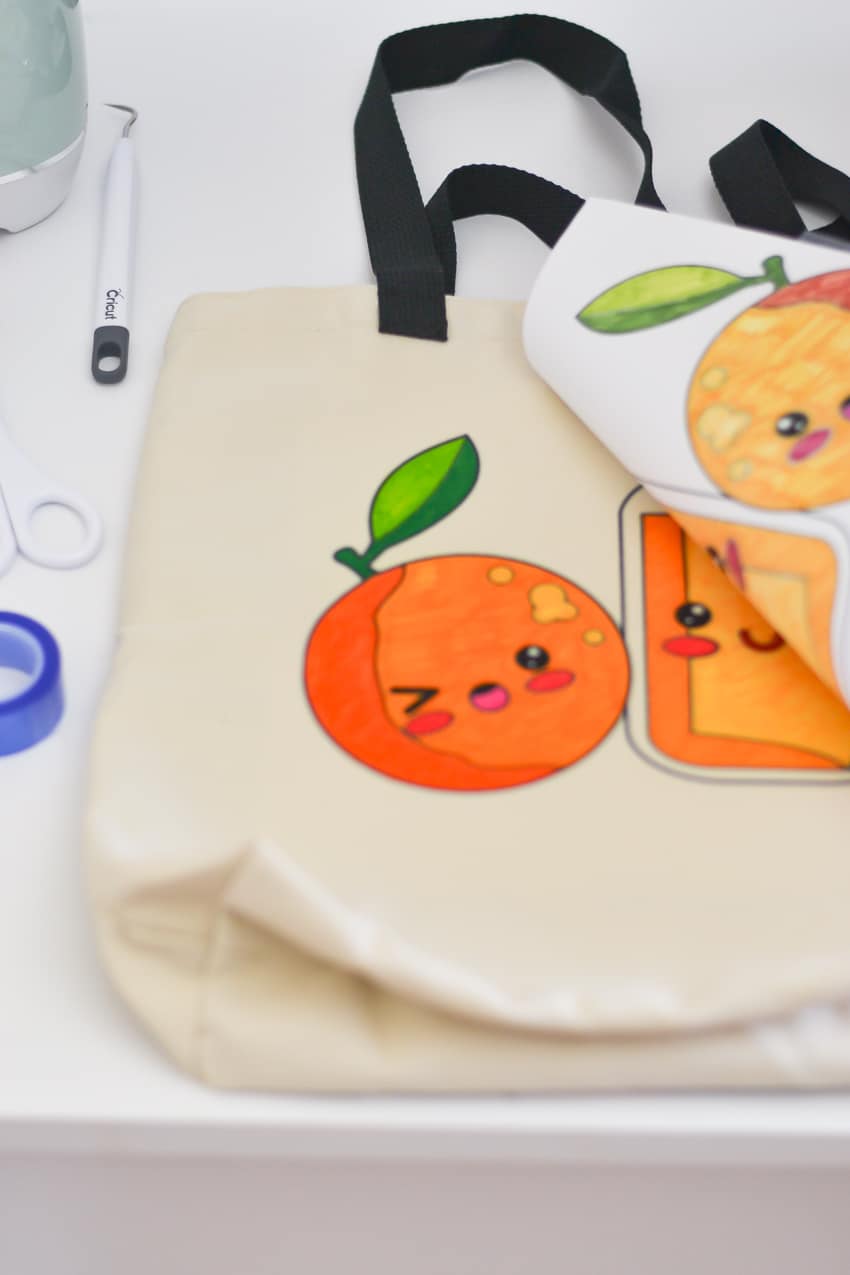
- When cutting is complete, eject the mat from the machine, and weed out the excess transfer sheet material.
- Adjust the settings on the Cricut EasyPress 2 using the Cricut Heat Guide. Place a blank tote on the Cricut EasyPress mat, and press for 15 seconds.
- Add a blank sheet of card stock between the two layers of the tote bag. Place the weeded Infusible Ink transfer sheet in desired location on tote. Place a sheet of butcher paper over the tote.
- Press the image using a Cricut EasyPress 2, with the settings from the Cricut Heat Guide. Allow to cool slightly, before removing the used transfer sheets.
I hope you’ll join me in supporting the cause against hunger and homelessness by donating. Below is a list of the top items needed at food banks.
Top 10 Items Needed at Food Banks
- Canned meat & chili
- Canned vegetables
- Canned fruit
- Pasta sauce
- Non-perishable snack items for children (i.e. granola bars, juice boxes, applesauce)
- Macaroni & Cheese
- Low-sugar cereals
- Peanut Butter
- Instant Oatmeal
- Toothbrush & toothpaste
If you’re local to Fort Riley, visit kansasfoodbank.org for more information on how you can help OR check out feedingamerica.org to find a food bank locally!