Cake Smash!
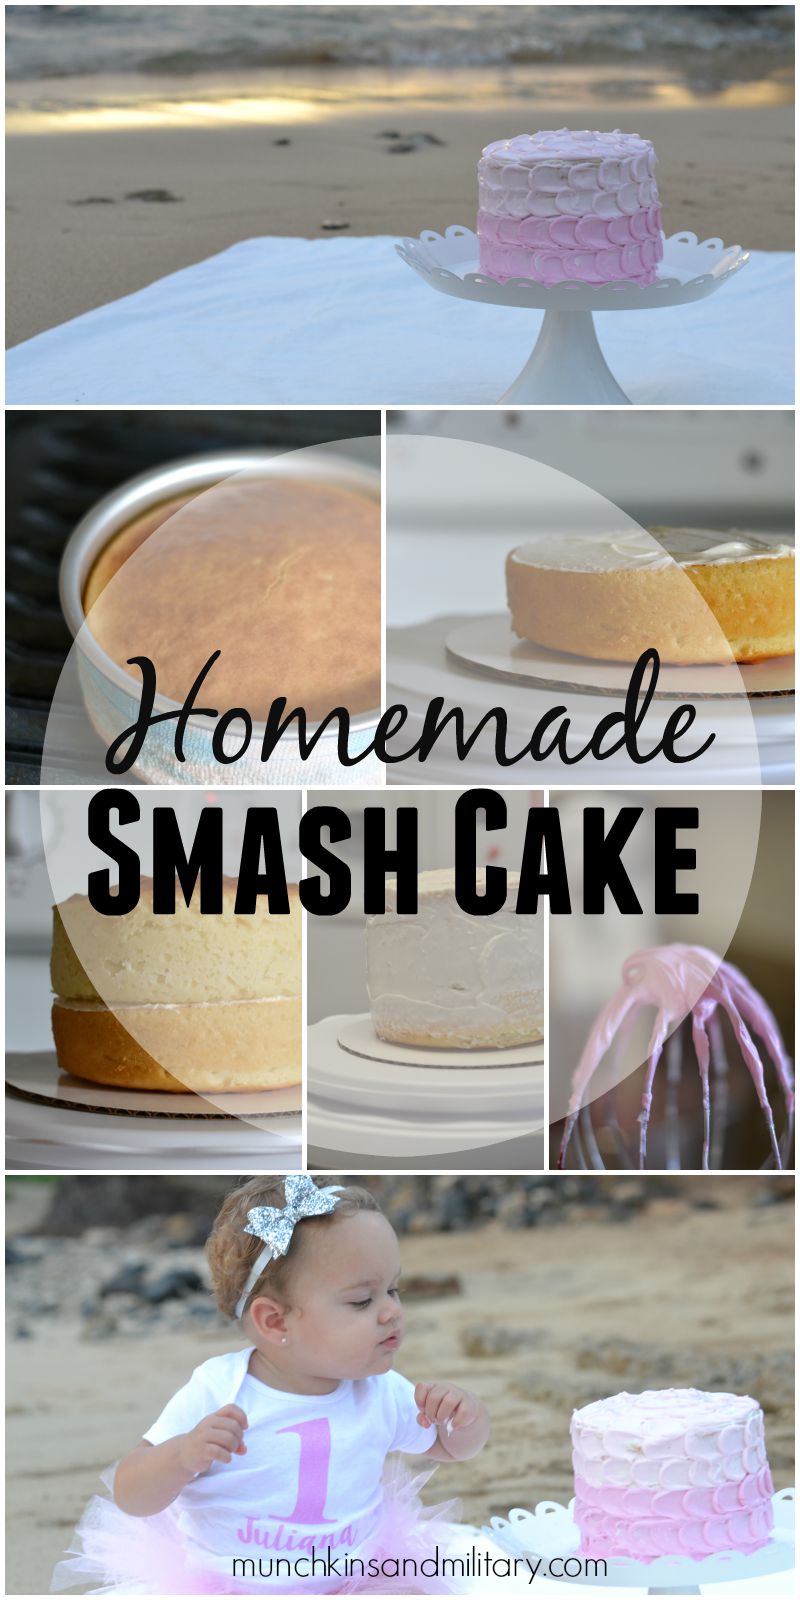
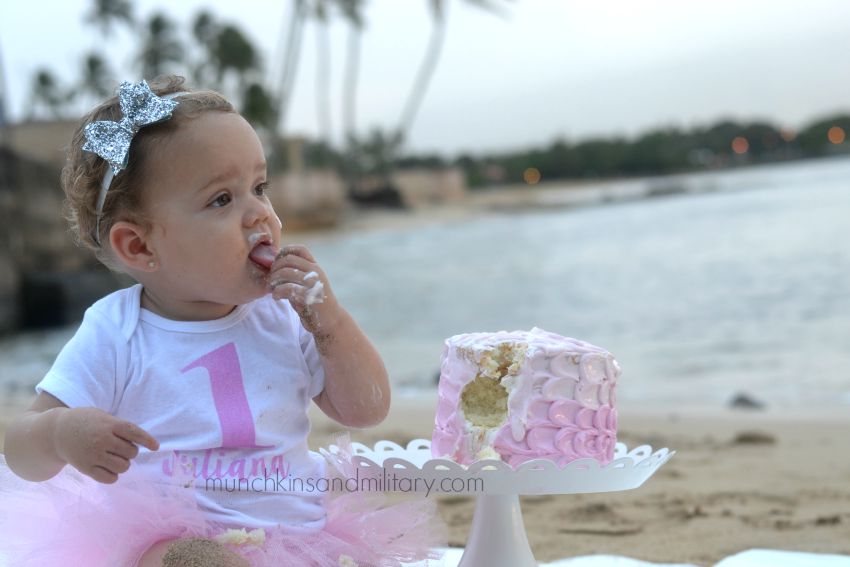
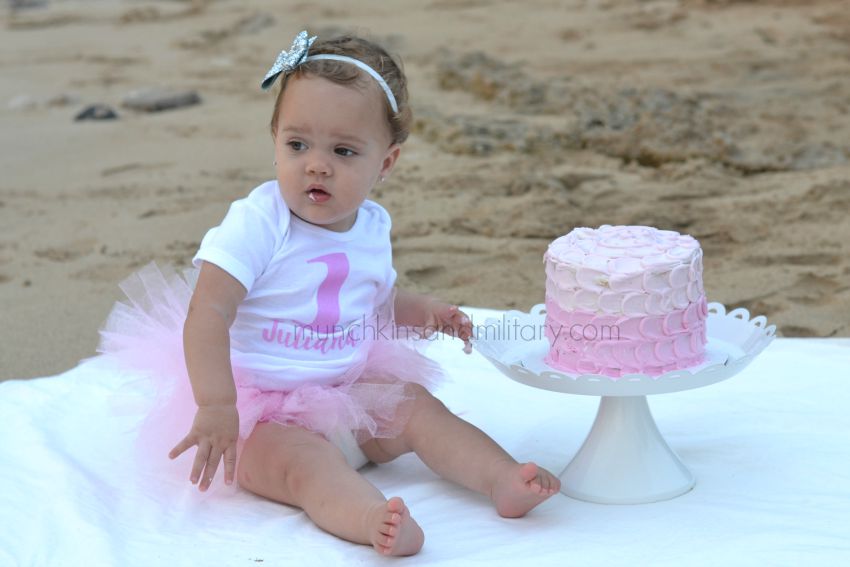
I already shared a few of Juli’s cake smash photos in her birthday post, but I have a few more to share today! I love how these photos turned out and even more so due to the fact that I took them myself and made the outfit and cake. The homemade smash cake was SO easy, and her little outfit was even easier!
The onesie was a simple little project using my Cricut. I cut the glitter heat transfer vinyl then ironed it on to a white Gerber onesie from Walmart. Easy.
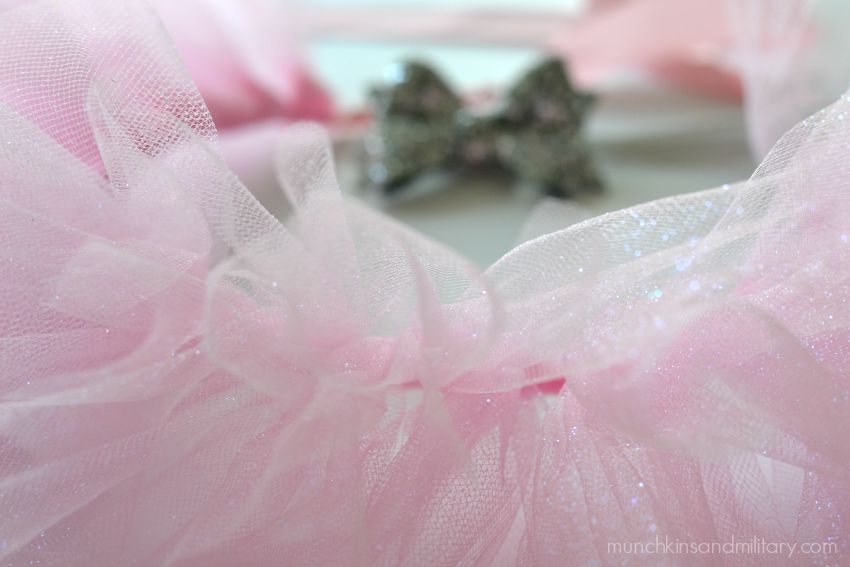
The no-sew tutu was another simple project using a roll of sparkly tulle from Walmart and some ribbon that I already had at home. One roll of tulle was the perfect amount for a cute little fluffy tutu.
I bought the bow on Etsy, from one of my favorite little shops, Her Joyful Studio.
For the cake I just used a box. As I was baking, I realized that the only difference between boxed white cake and yellow cake is the egg yolks/whites. Ain’t nobody got time to separate, so yellow cake it was! The box made 2 and a half layers in a 6-inch cake pan, which provided the perfect sized little cake.
To avoid having to trim off lumps and humps on the cake, I wrapped each cake pan in a damp strip of towel. I thought about buying the Wilton strips, but a towel with a safety pin DIY version worked perfectly, and for free!
Originally, I had planned to make my own frosting, using Kait’s recipe, but due to time, I went with the premade stuff. I placed a thin layer between each slice of cake. Then once all three layers were put together, I did a thin layer on the entire thing as a crumb coat. To avoid any dye disasters, I used beet juice to color the frosting that got piped on. The technique that I used was a pretty easy dot, then smear. Not perfect, but the plan was for it to get smashed.

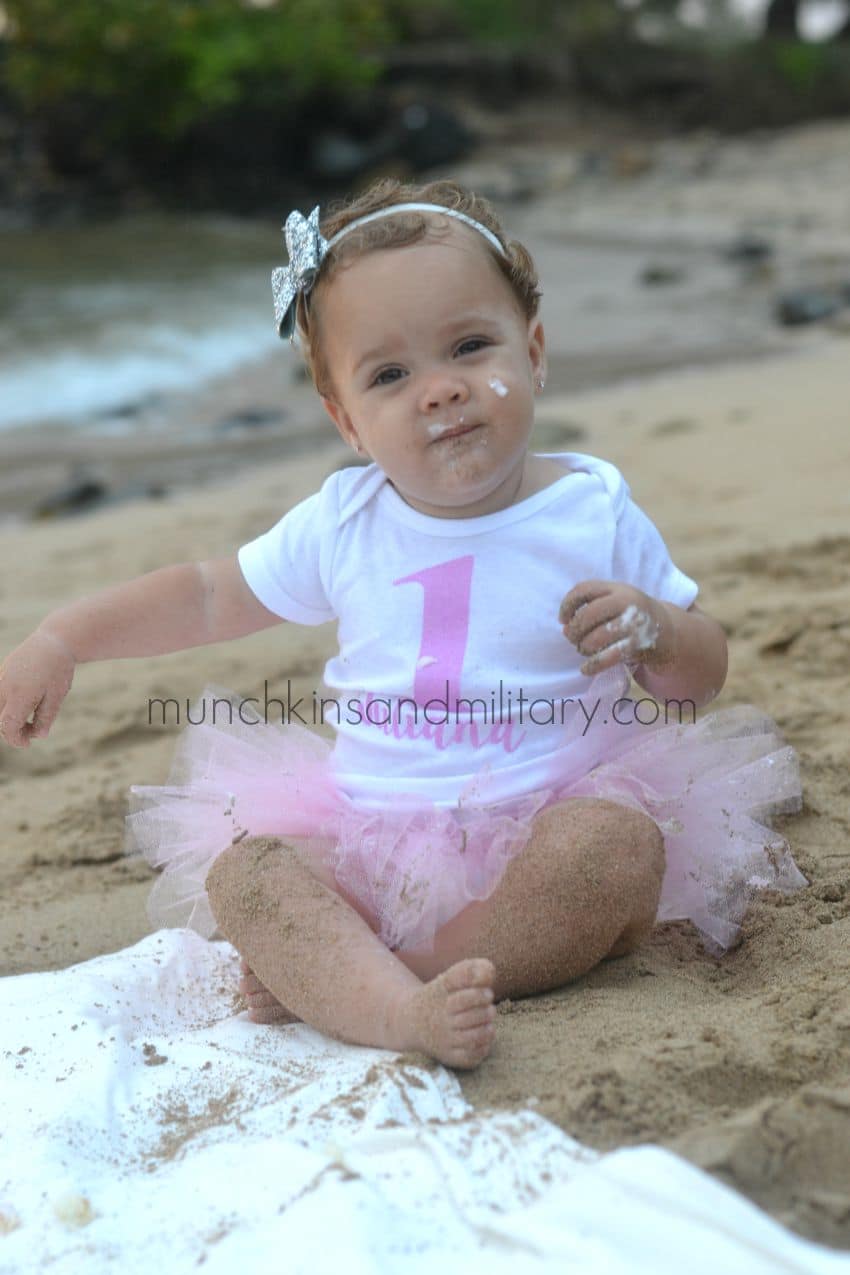
Being that Juli was born in Hawaii, I knew we had to do these photos for her first birthday on the beach. I had been checking the weather all day, but of course, when it came time to do the photos, it was raining. Well, sprinkling. So we went ahead and did them anyway.
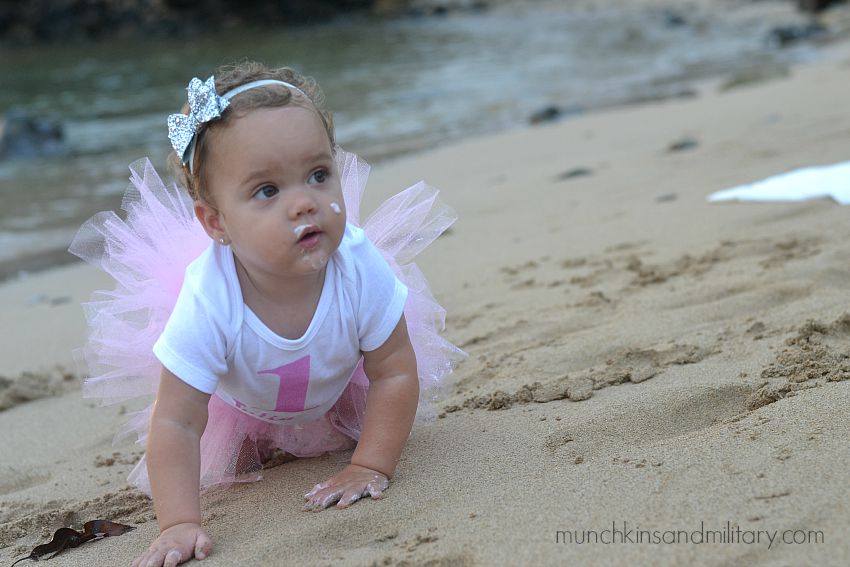
I chose a little bit before sunset for the pictures since that golden hour is when the sun is best for taking photos. Add in the cloudiness, and we had the perfect recipe for really soft lighting. Almost too light..? I do think the photos turned out great though. And with minimal editing.
A sweet photographer friend tagged along to shoot some photos of her own. Luckily, she had just gotten back on-island that morning! I can’t thank her enough for her help and I can’t wait to see how those photos turned out!
Oh, and as for Juli, well, she hardly even touched the cake. Any frosting that she’s wearing is mainly a result of the grown ups putting it on her. Can’t say we didn’t try!
Even with the weather, everything turned out fantastically. I really could not be happier. It’s extremely satisfying knowing that I was able to get nice quality results myself, and for cheap!